LED Fade-Off from Prototype to Gadget
Learning about : Circutes, Capasitor, Push-Button
Subject: LED Fade-off apply it on a PCB Board.
[NOTE: We are working on Electronic Devices, Voltage, Resistors and other Electronic Parts that may Become HOT due to un-stable current or Wrong Wire Connections.. PLEASE BE CAUTIOUS AND TAKE SAFETY NEEDED PROCEDURES.]
In one of my previous Post [Read Here] I did some connection on a breadboard using BC547 and a Capacitor to make an LED Fade-off in 60sec after pushing a button. In this post we will convert that circuit a simpler circuit doing the same thing from a breadboard to a PCB to be as a Gadget.
What we Need: Here is a list of what we will use:
- 1 LED (I will use a yellow one)
- 1 PCB Board 5x7cm.
- 1 1000uF 6.3v Capacitor.
- 1 Resistor 300 ohm.
- 1 2pin Push Button.
- 1 CR2032 Lithium Cell 3V Battery.
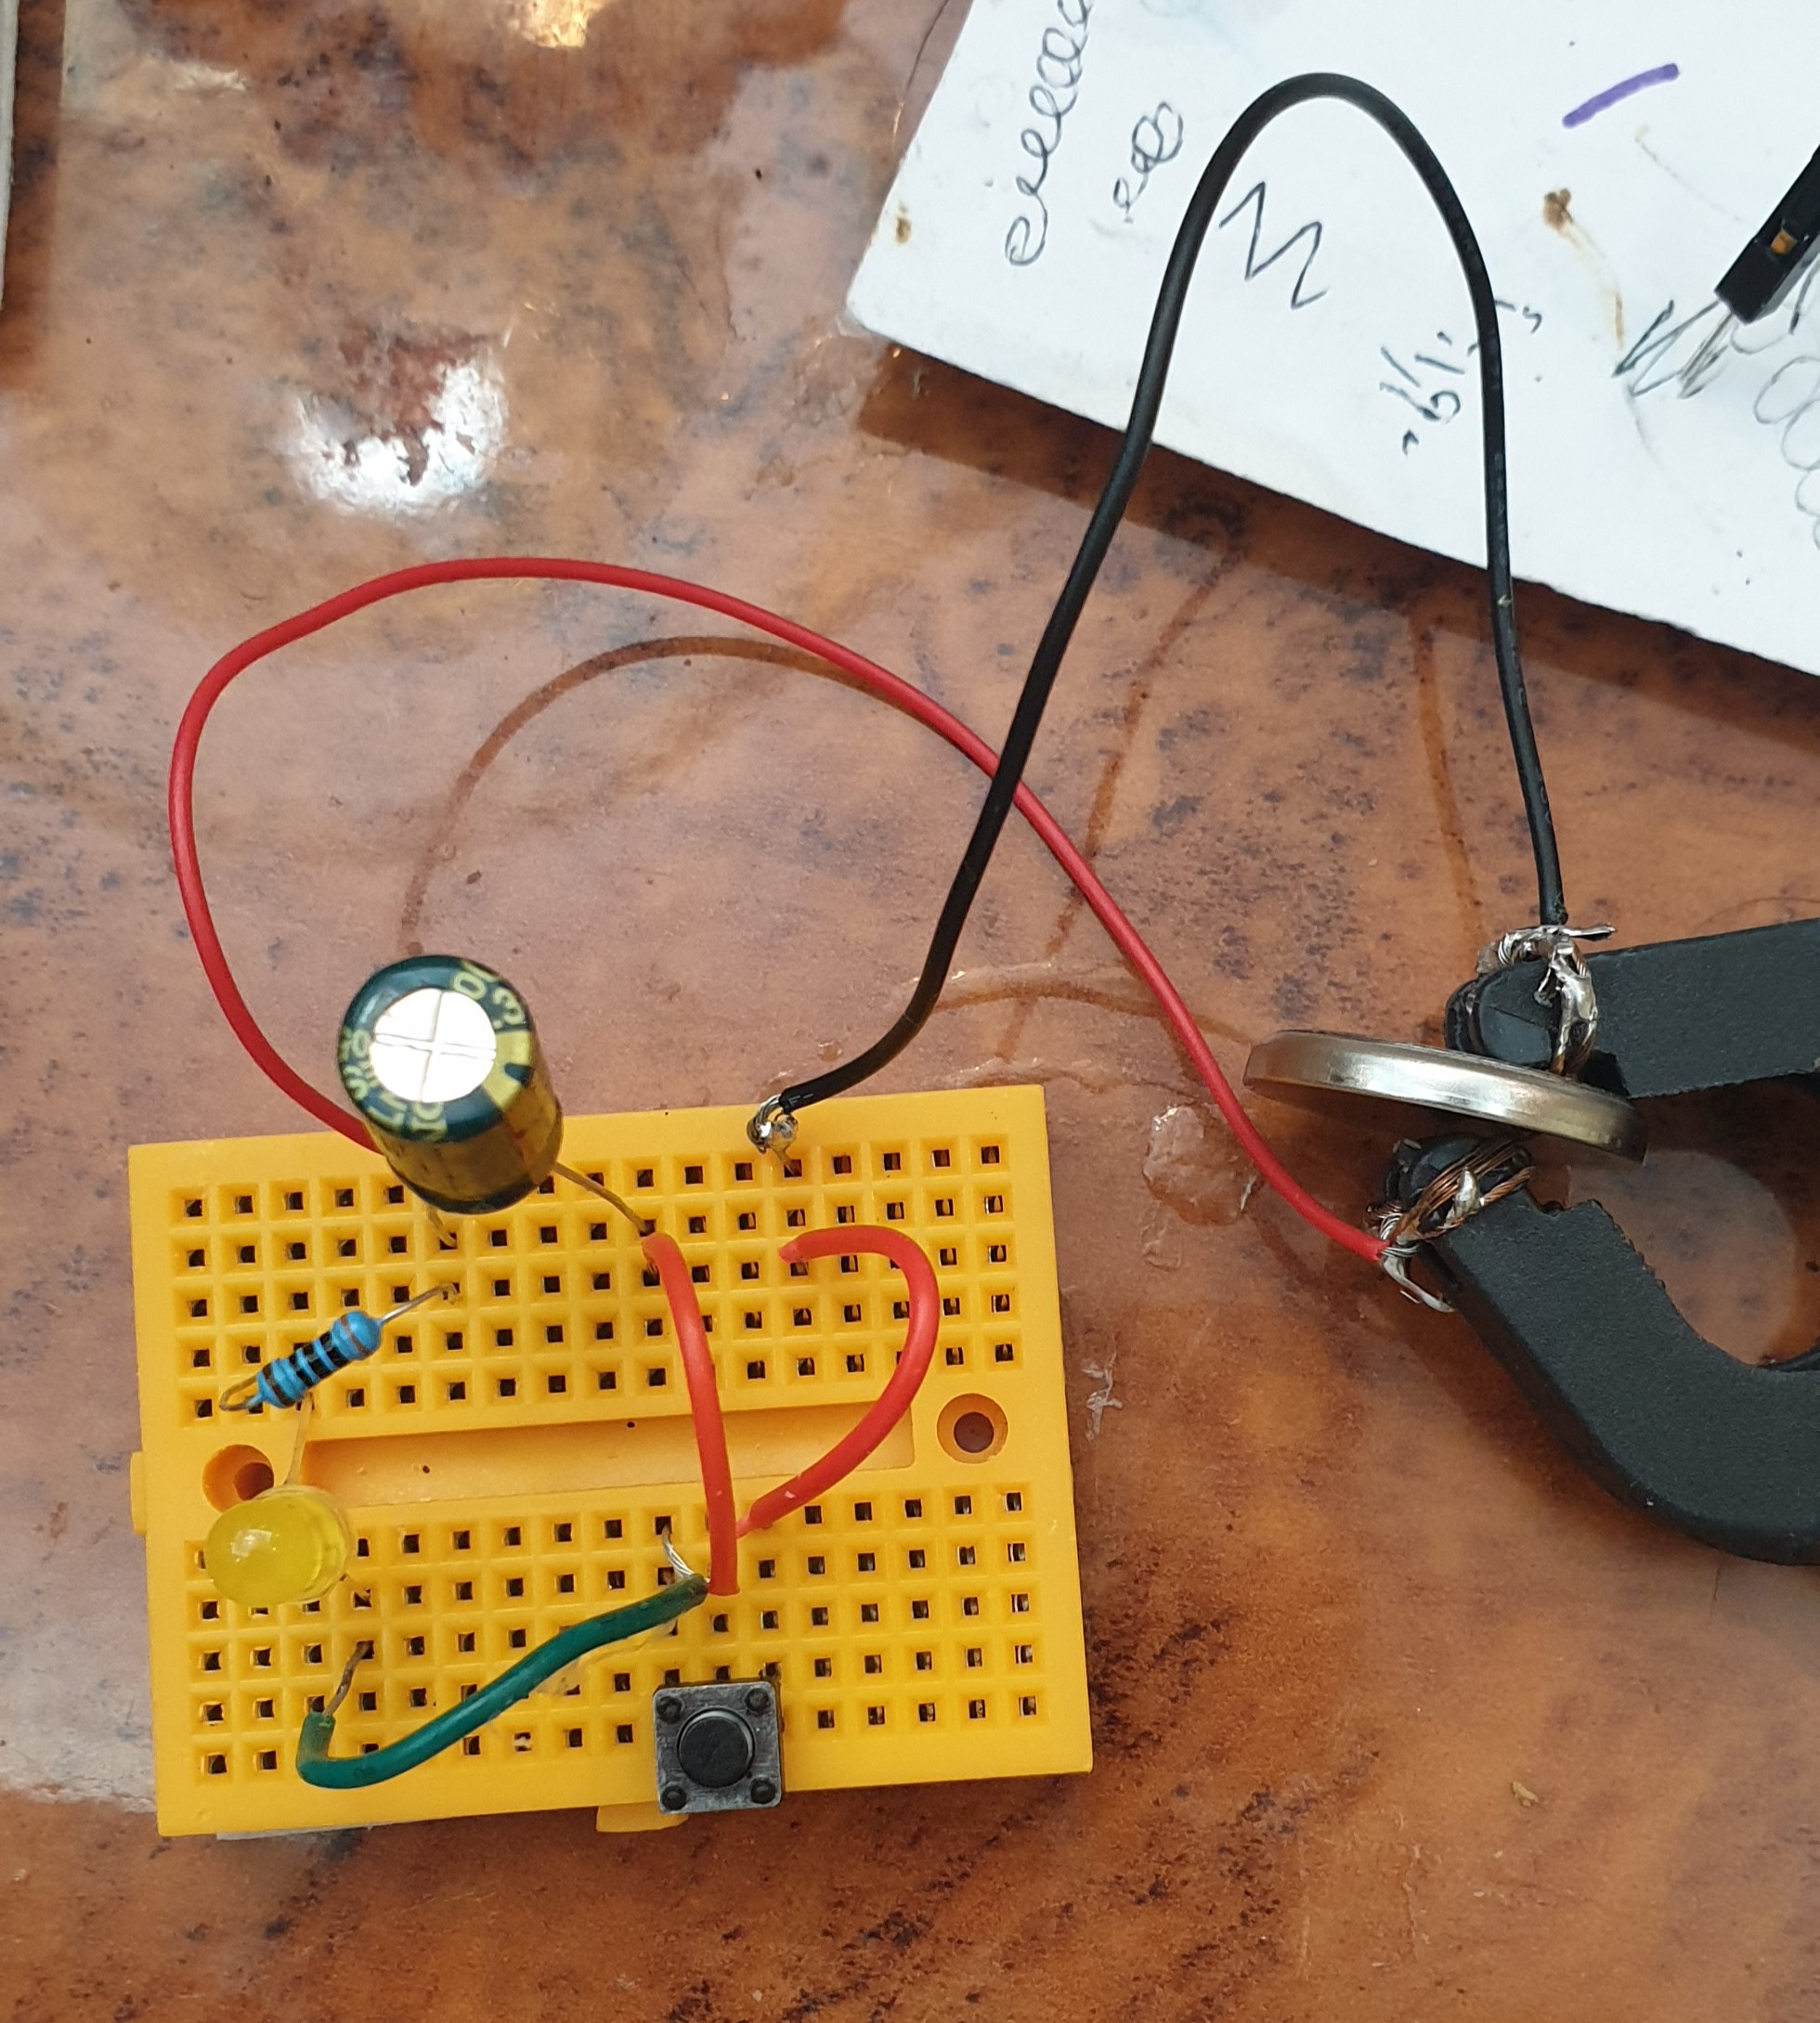
Connection: All the connections will be on a 5x7cm PCB Board, I use a thin steel wire to create a strap to hold the Battery, and:
- Connect the Negative (-) Battery to Pin1 of the Push Button.
- Pin2 of the Push Button will be connected to the Negative (-) pin of the Capacitor.
- Connect the 300ohm Resistor Between (+) Pin of the Capacitor and the (+) Pin of the LED.
- The Negative(-) Pin of the LED will be connected to the Pin2 of the Push Button.
Here is all connections on a small breadboard.
 |
Here I copy the circuit on a small 5x7cm PCB.
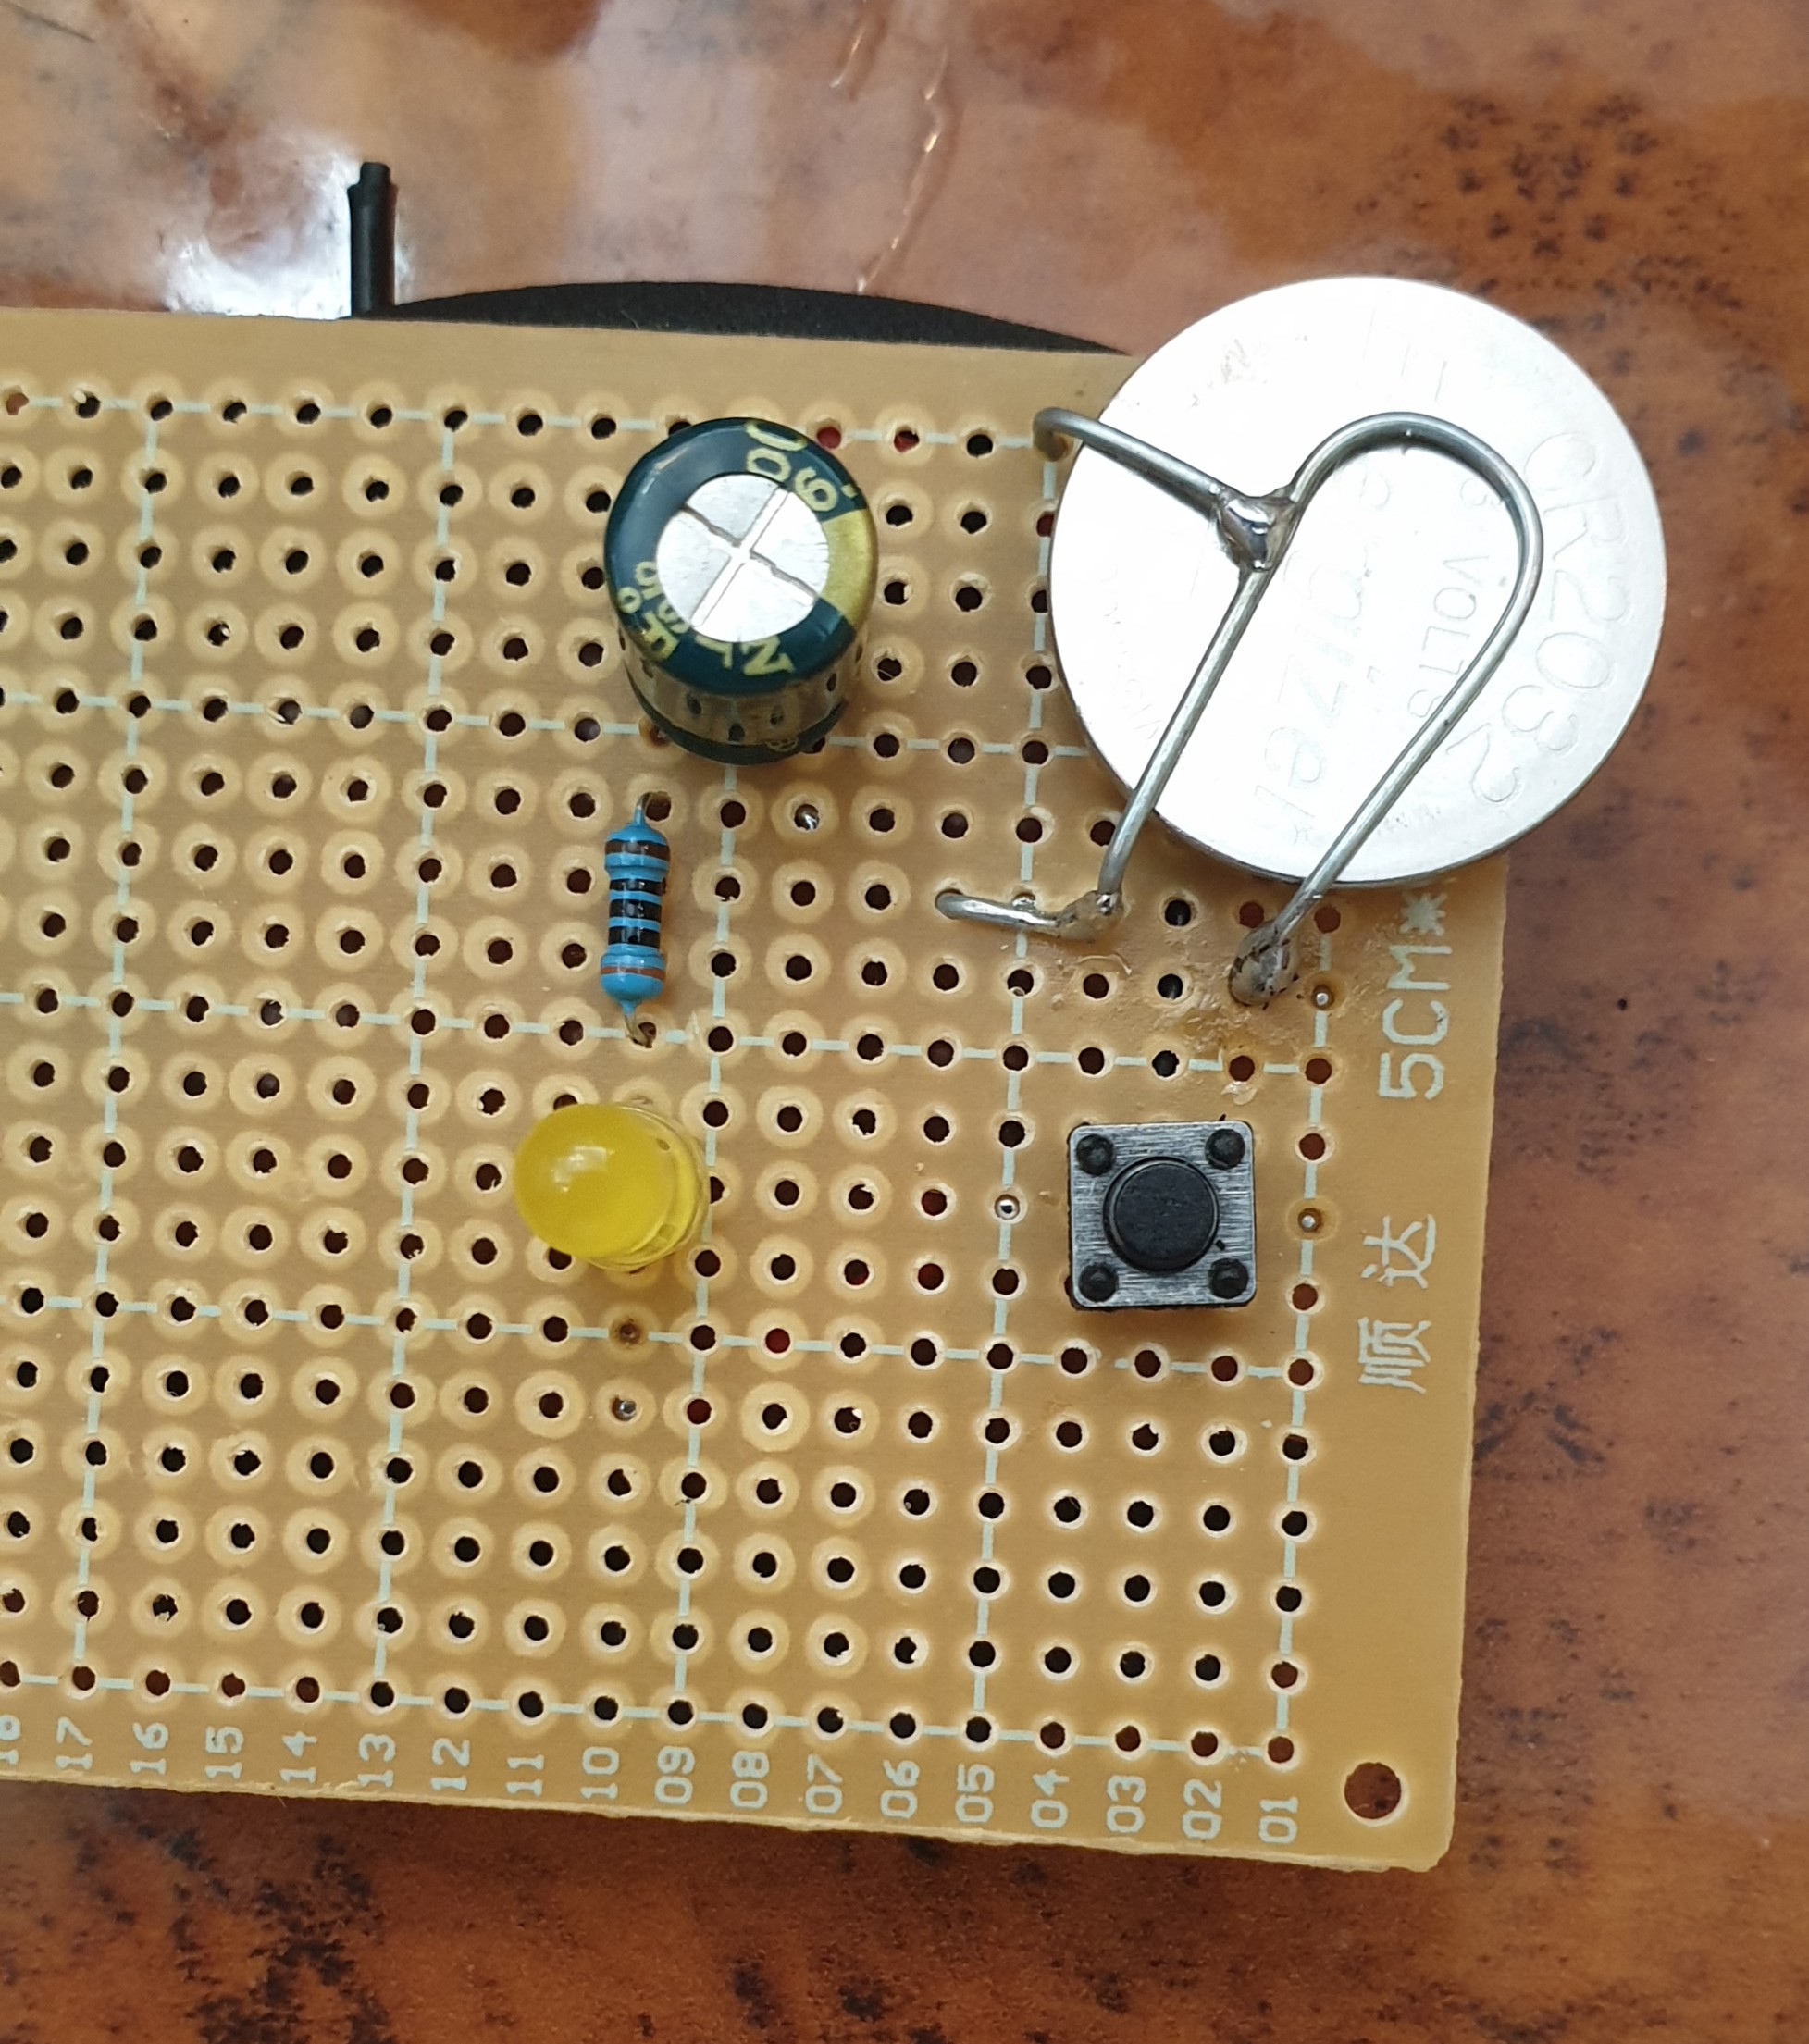 |
Back side Connections.
 |
Finslly, I cut the PCB to a smaller size and Label it.
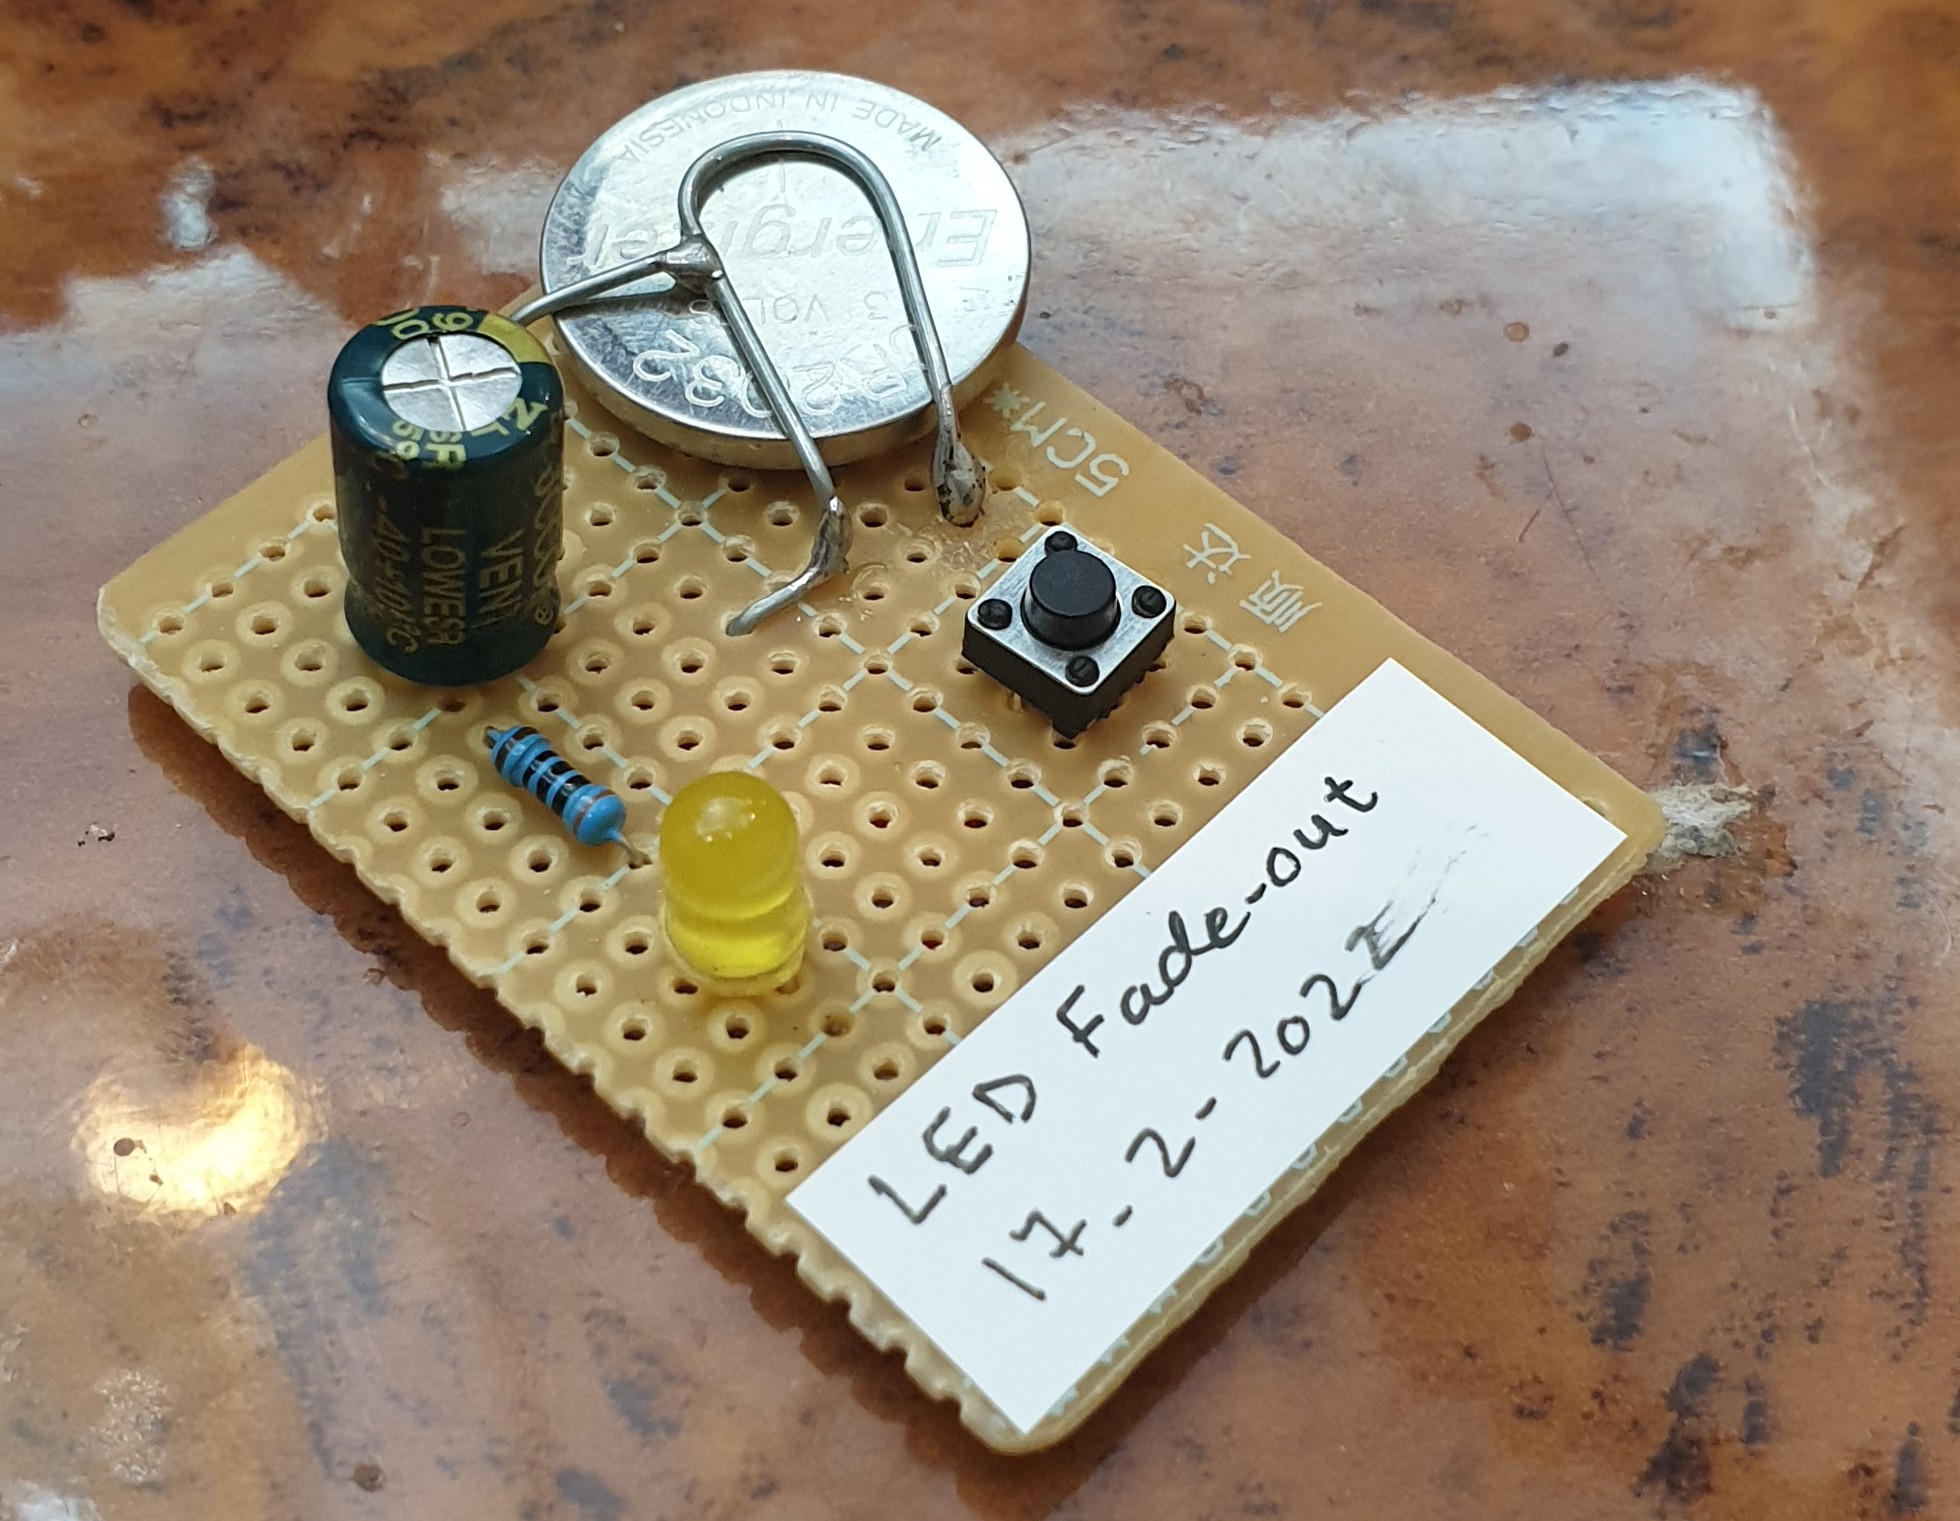 |
Now once we Push the Button the LED Turns On and Start Fading-Out. [you may need to give 5-10sec to charge the Capacitor before seeing the Fading Effect]
:: ARDUINO PROJECTS LIST ::
[ Click Here to See all ARDUINO Projects ]
To Download the ARDUINO Project [Code and Diagram] files {No Code in this Project}
 Follow me on Twitter..
By: Ali Radwani
Taking pictures is not my main daily practices, but when i start playing with my camera, i really enjoy my self.
Thanks for visiting my Space..


