Archive
One year back Sketch

On the 7th of May 2024, I drew this Hooded Mountain-Toucan, it is the sketch number 16 in sketchbook number 66. My first draw was in ink, then I decided to color it and so I did.
Photos from Qatar _4
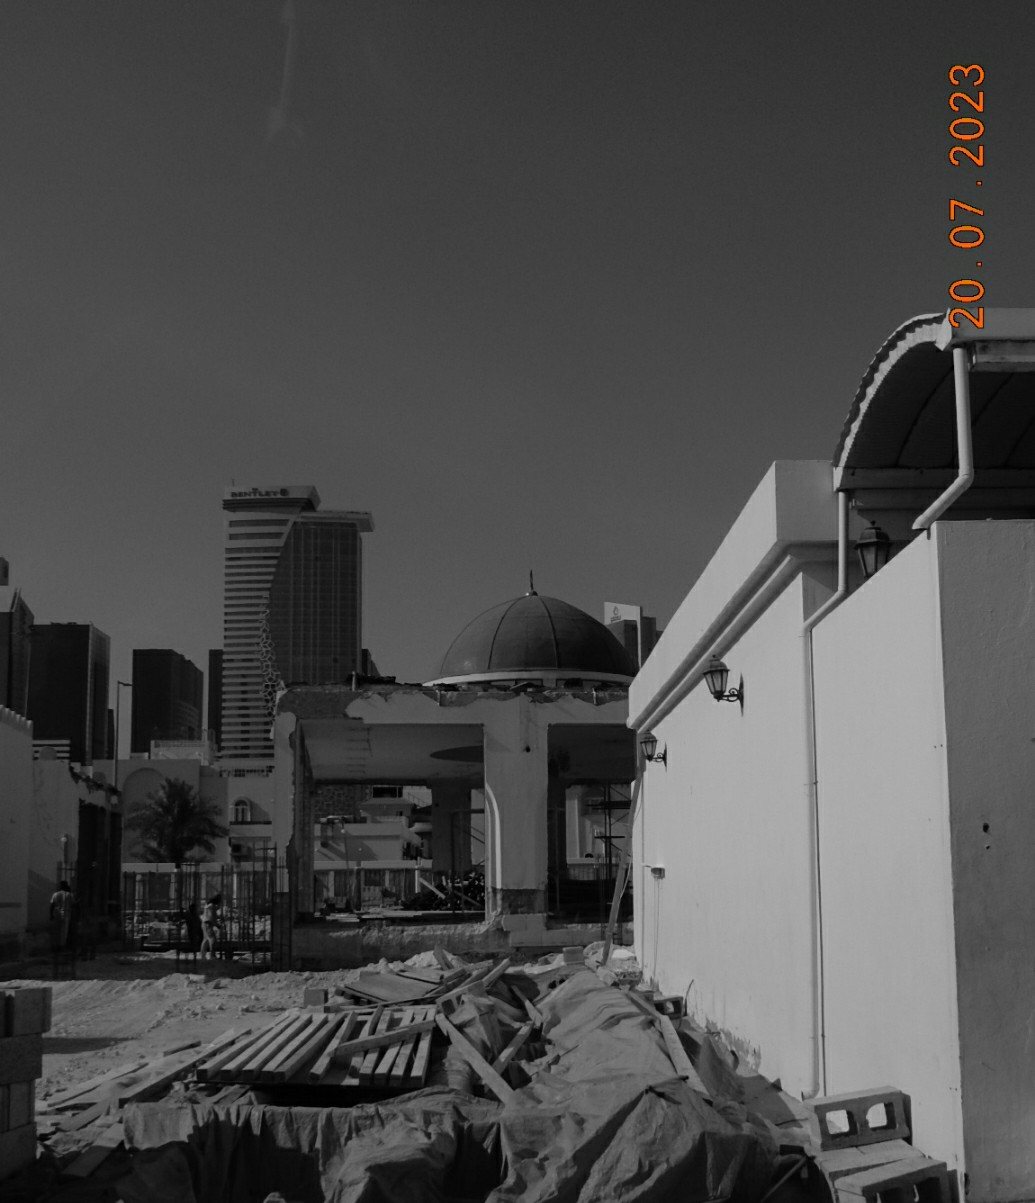
Title: A Mosque Under Restoration
In the way to my work, I seen this small mosque under restoration, all the needed materials stacked in the location, the workers were doing there jobs to finish the task, I stoped my car and take the shot using Nikon S9900 camera set’s to take Black and white Photos.
Click Here to see all photos with Nikon S9900.
By: Ali Radwani
Photos from Qatar _16

Title: Into the Shadows
From a height of a 10-story building around 33 meters i saw a bickrider passing and my Nikon S9900 was ready to catch the moment.
Camera was set to take Black and white Photos, Focal-Point 41mm, ISO 125, Shutter speed 1/40s and the F 6.3.
By: Ali Radwani
Photos from Qatar _7

Title: Mosque and Lights
I take this photo of the Mosque from almost 800meter away while I was waiting on traffic lights, my camera is Nikon S9900 and it was sets to take Black and white Photos.
By: Ali Radwani,
Photos from Qatar _6
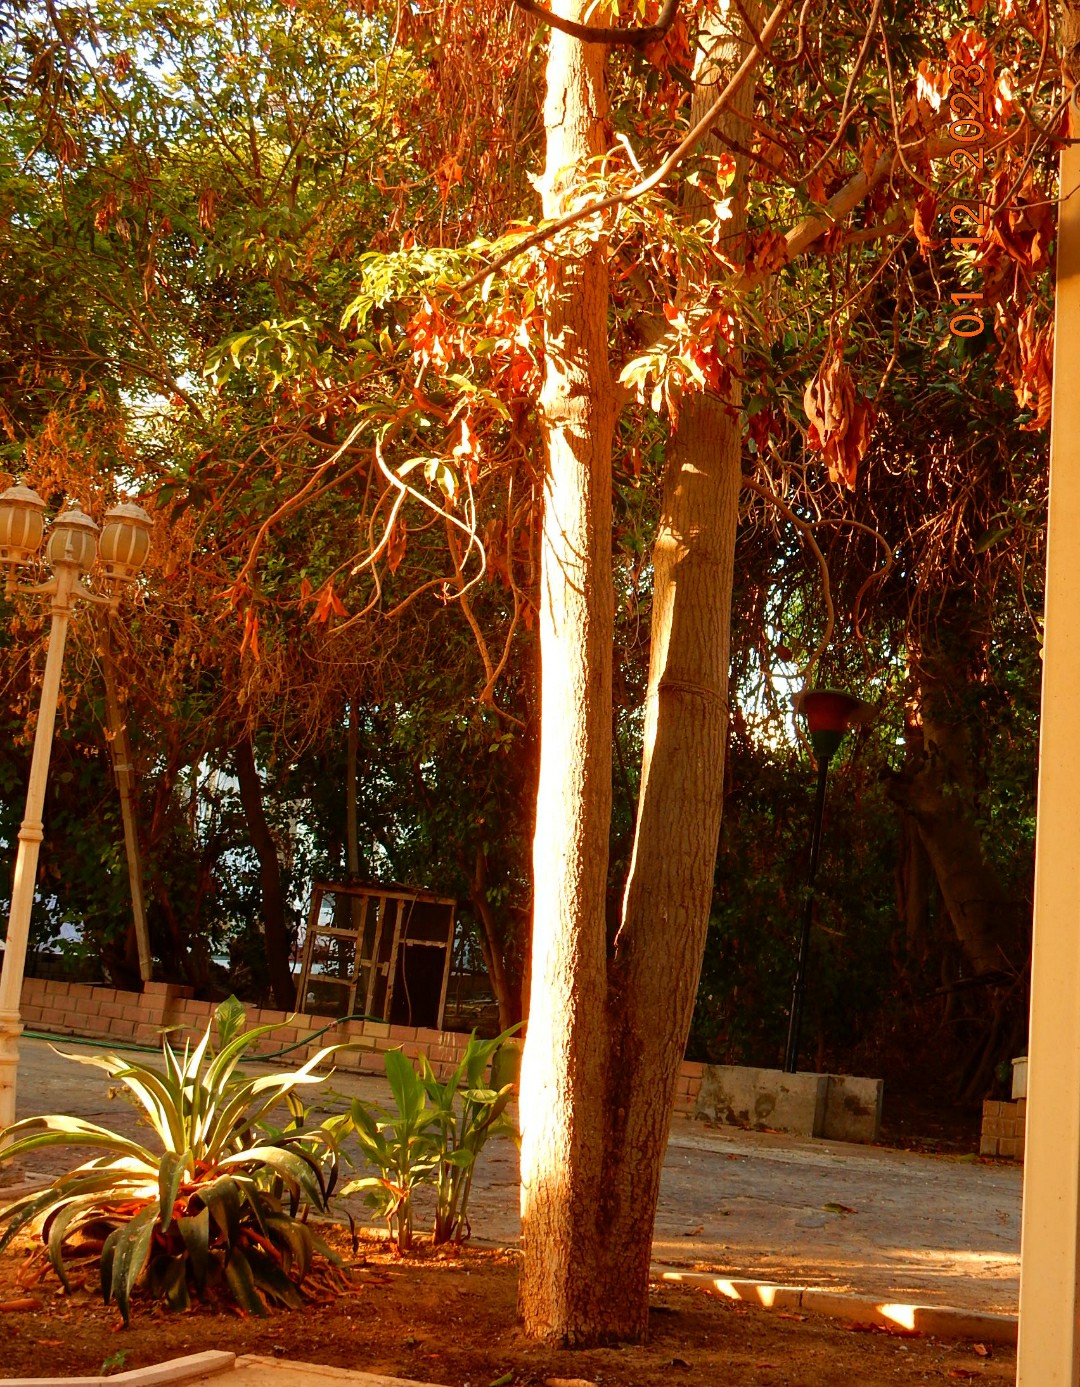
Title: Using Orange Filters
Taking a photo using Orange Filters in the Nikon S9900 camera, I take the photo of a tree during a sun-set sunny day that gives more strong color , camera in hand ISO set to 400.
By: Ali Radwani,
Photos from Qatar _5

Street Photography
Photo of a building showing it’s door and windows using Nikon S9900 camera in hand set’s to take Black and white Photos and I am setting in my car.
By: Ali Radwani
Photos from Qatar _8

Title: Food Delivery
Driving my car at 2pm, this Food Delivery motorbike man was checking out his distension on the mobile then start wearing the helmet. I take the shot using Nikon S9900 camera from my car on the other side of the road.
Camera setup: Black and white Photo mode, Focal-Point 5mm, F4, ISO 125 and Shutter speed 1/100s.
By: Ali Radwani
London 2023, Post 26

Title: The way Down
Photo from Oxford Street next to some shops , I think there stor is there.
Taking the shot using Nikon S9900 camera sets to take Black and white Photos.
By: Ali Radwani
London 2023, Post 25

Title: Shepherd’s Bush Market
The sun, the shadows, peoples and goods all you can find in Shepherd’s Bush Market in London, i use the ilford hp5 film simulation to take several black and white Photos and I really enjoy that.
Camera Setup: Fujifilm X-T30ii, Focal-Point 18mm, ISO 800, F 3.6 and Shutter-speed 1/1000 and i was using the ilford film Simulation.
Click-Here to see more film Simulations in my website.
By: Ali Radwani
Fujifilm X-T30ii and Nikon S9900
In London 2023 journey i use these two camera [Nikon S9900 and Fujifilm X-T30ii]. In this post I will show two shots of the same object. Both shots out of the camera without any editing only crop taken in different days, and I just notes that the one with Fujifilm was while it turned on, I think both are good and accepted to be posted on a blog.

Setting on the sofa almost 2 meters from the subject I take this shot using Fujifilm X-T30ii camera and ilford film simulation.
Click Here to see more film simulation on my blog.
This shot of same subject from same place taken with Nikon S9900 sets to take Black and white Photos. Camera in hand with No editing jpg file, the only thing is that the light is Off. 🙂
By: Ali Radwani
Taking pictures is not my main daily practices, but when i start playing with my camera, i really enjoy my self.
Thanks for visiting my Space..


