Archive
Photos from Qatar
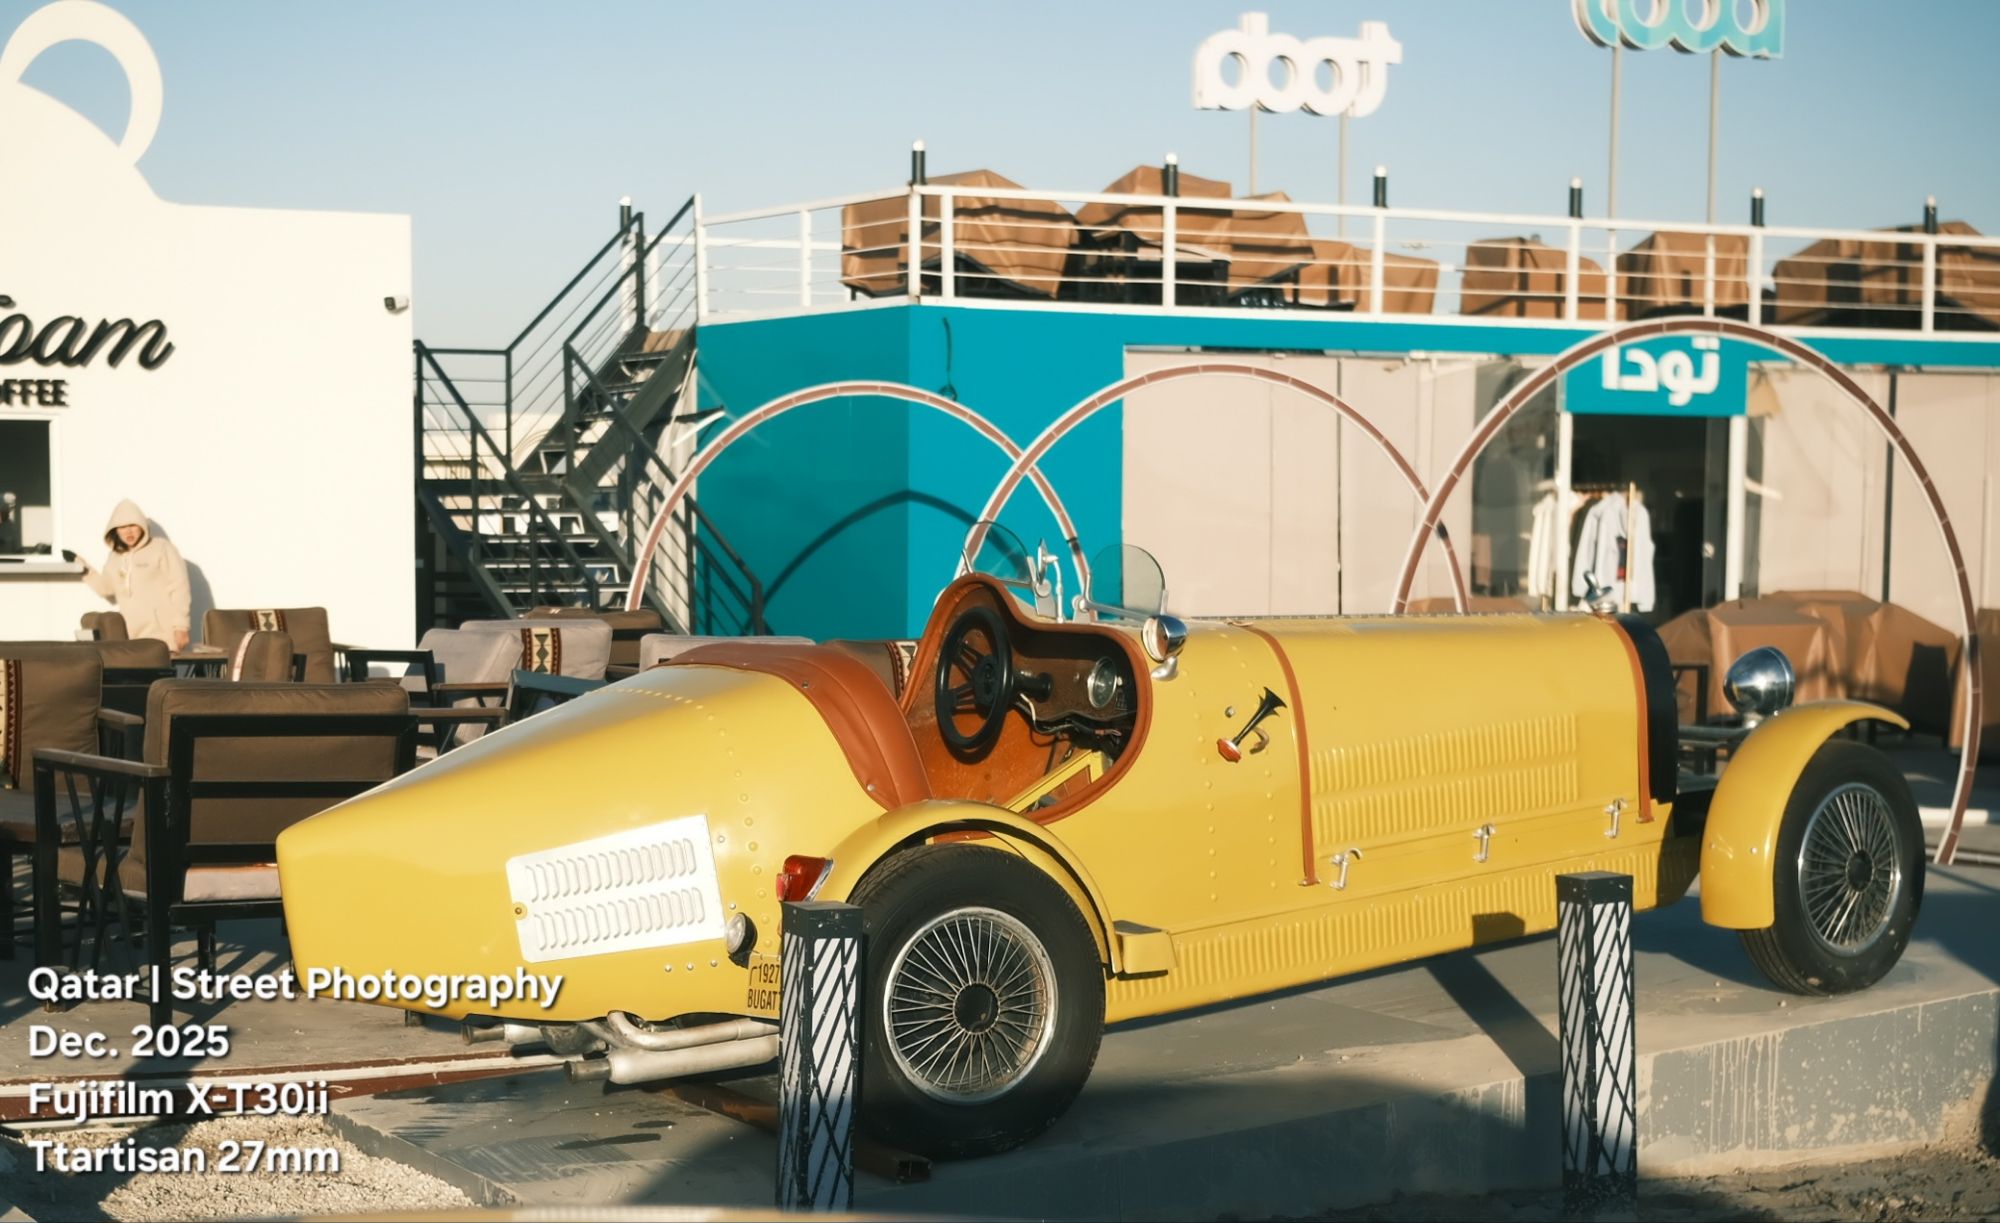
I was driving in a restaurant area when I saw this car. I think it’s just a sample!
I take the shot using Fujifilm X-T30ii camera with Ttartisan 27mm lens.
Qatar, DohaPort _62
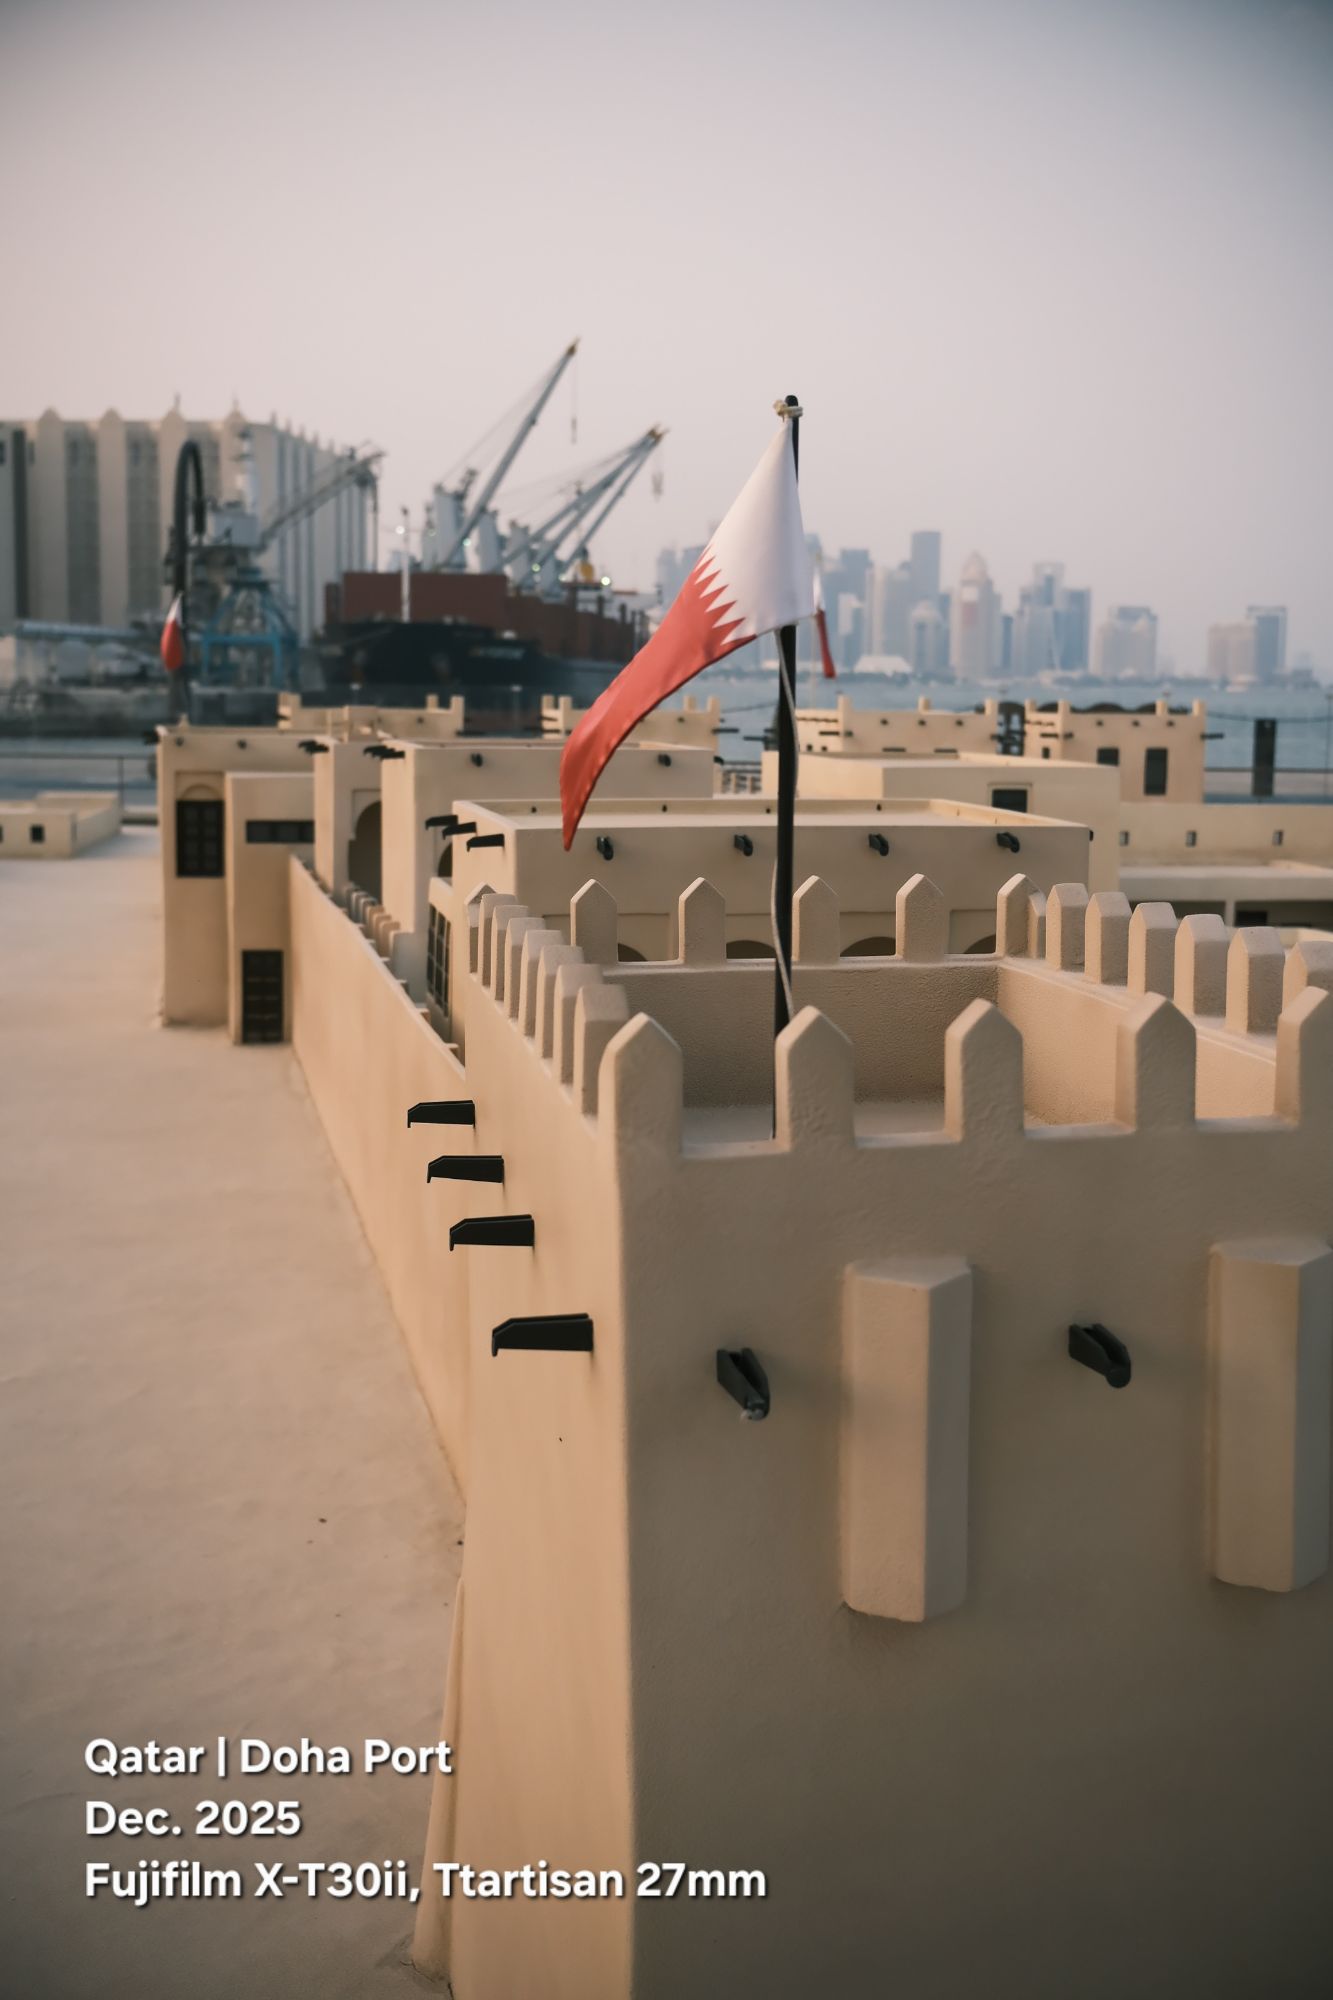
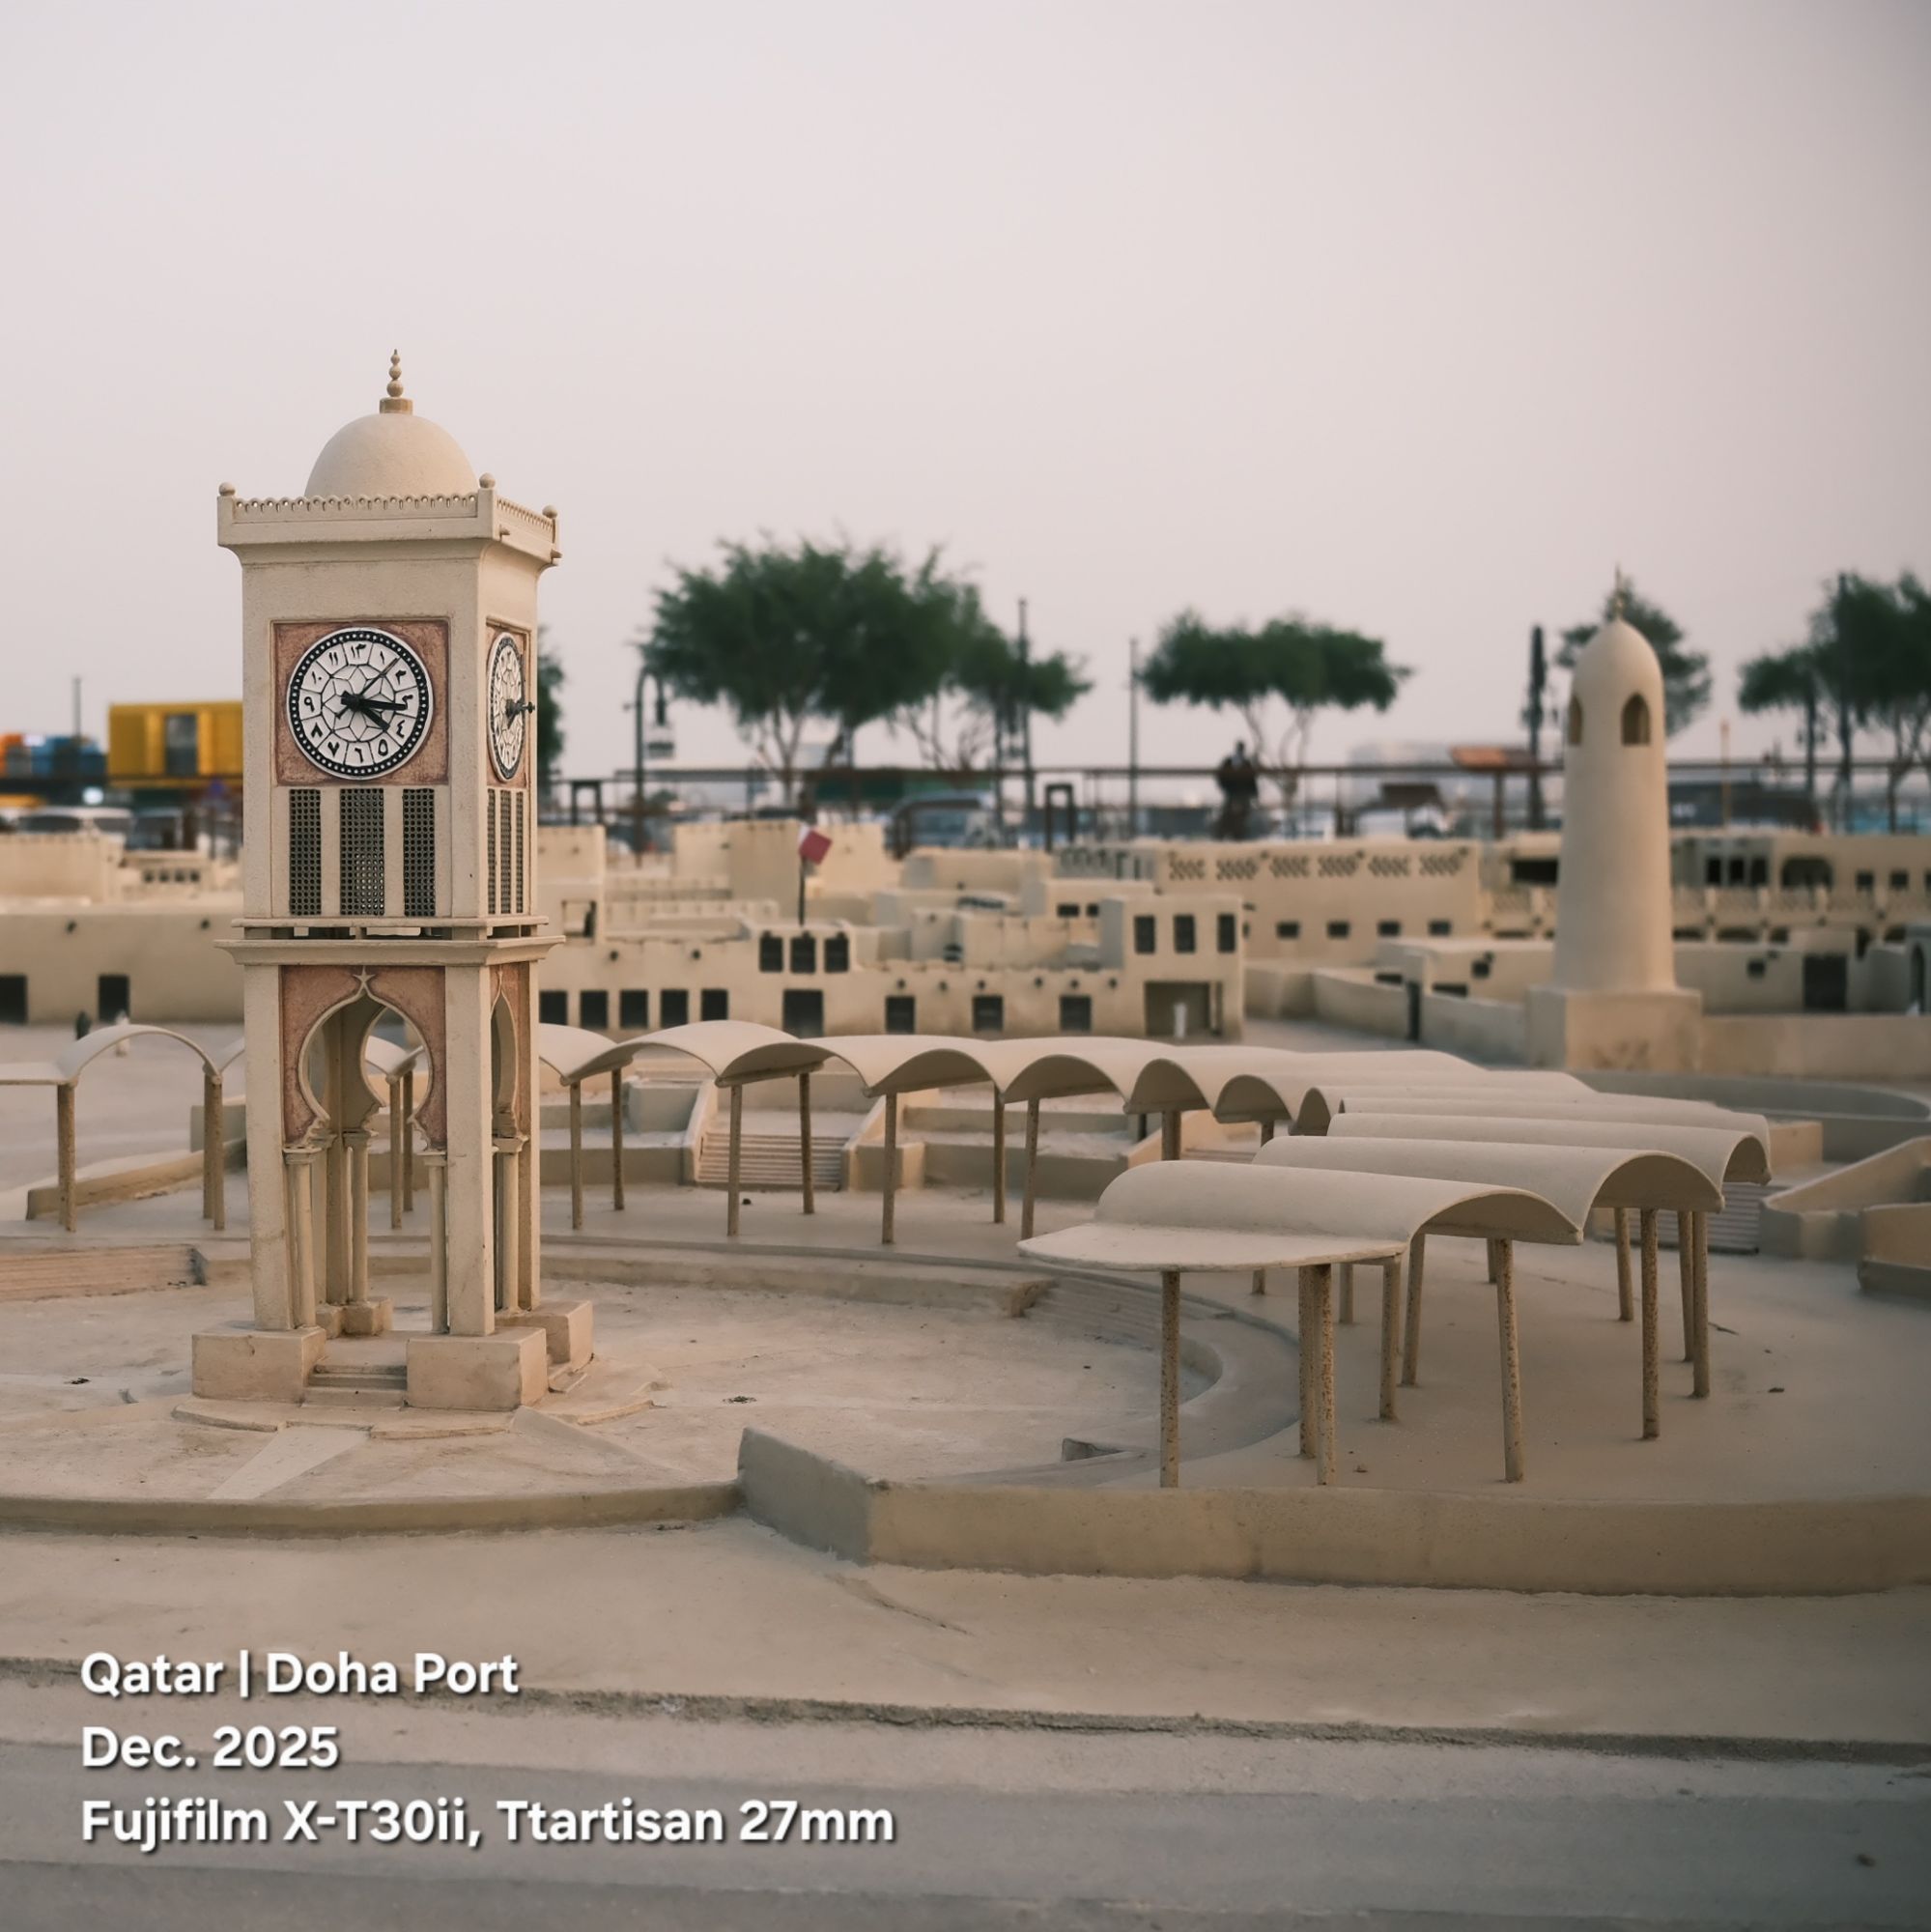
The Ttartisan 27mm lens is giving excellent output if we use the right lights and setting. Here is a shot from Qatar DohaPort, I use the FujiFilm X-T30ii camera with Ttartisan 27mm f2.8.
Manual Mode:ISO 640, S.S 1/1000s, F/4.
Photos from Qatar _290
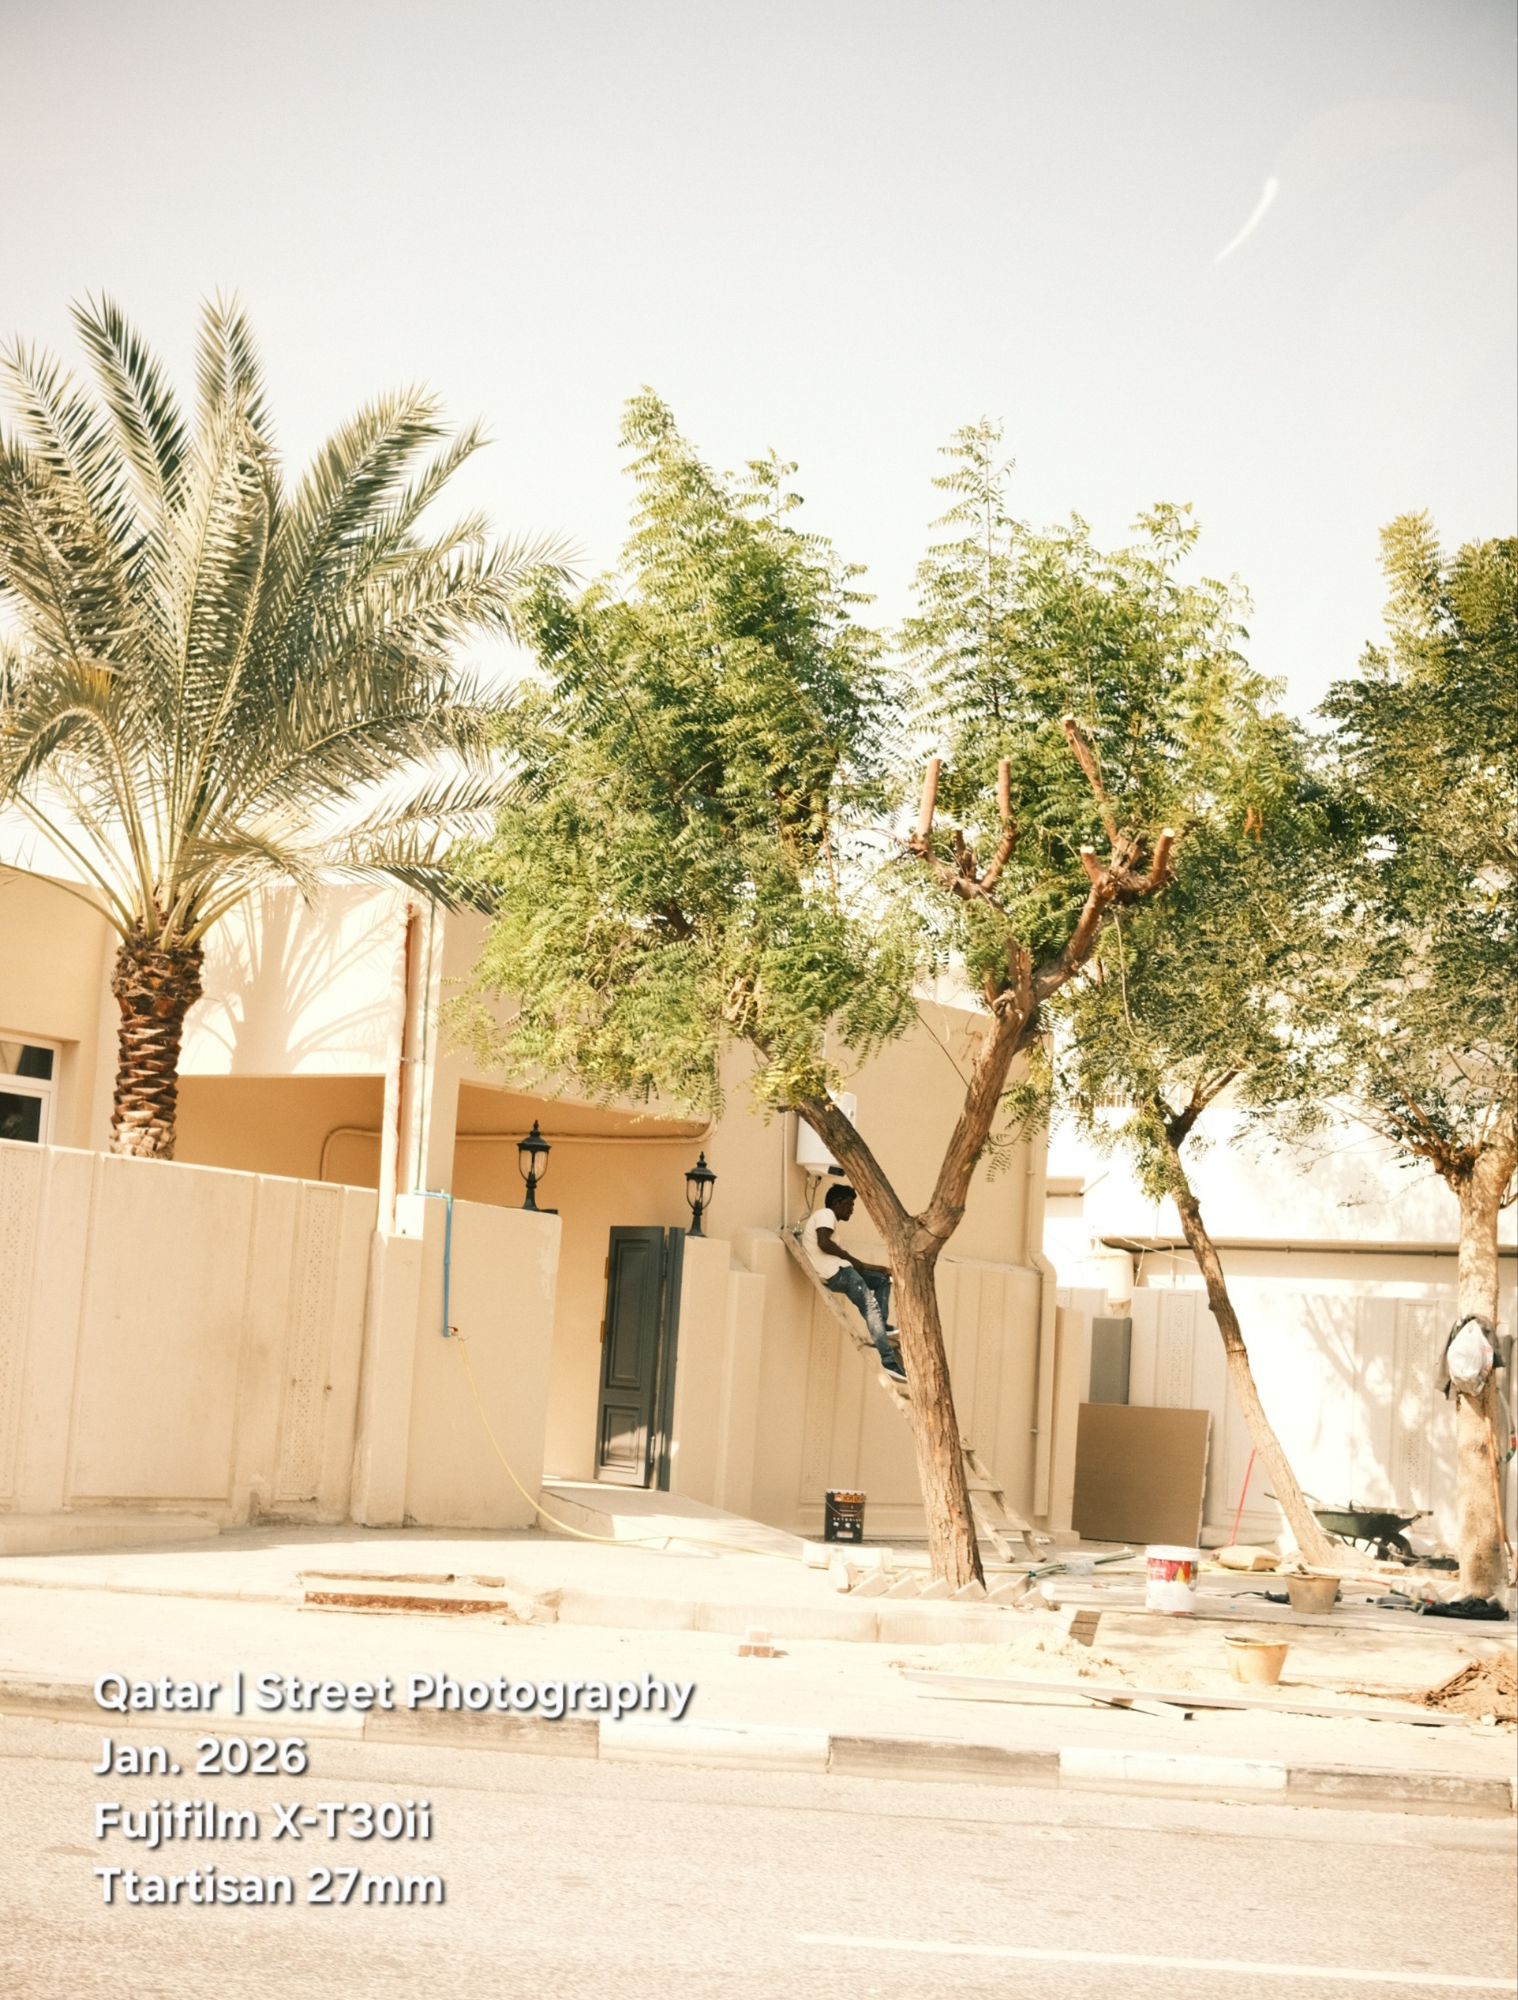
A worker is trimming the tree 🌳. I take the shot using Fujifilm X-T30ii camera with Ttartisan 27mm f2.8 lens.
I am using Classic Neg Peachy film simulation in this shot.
Photos from Qatar _289
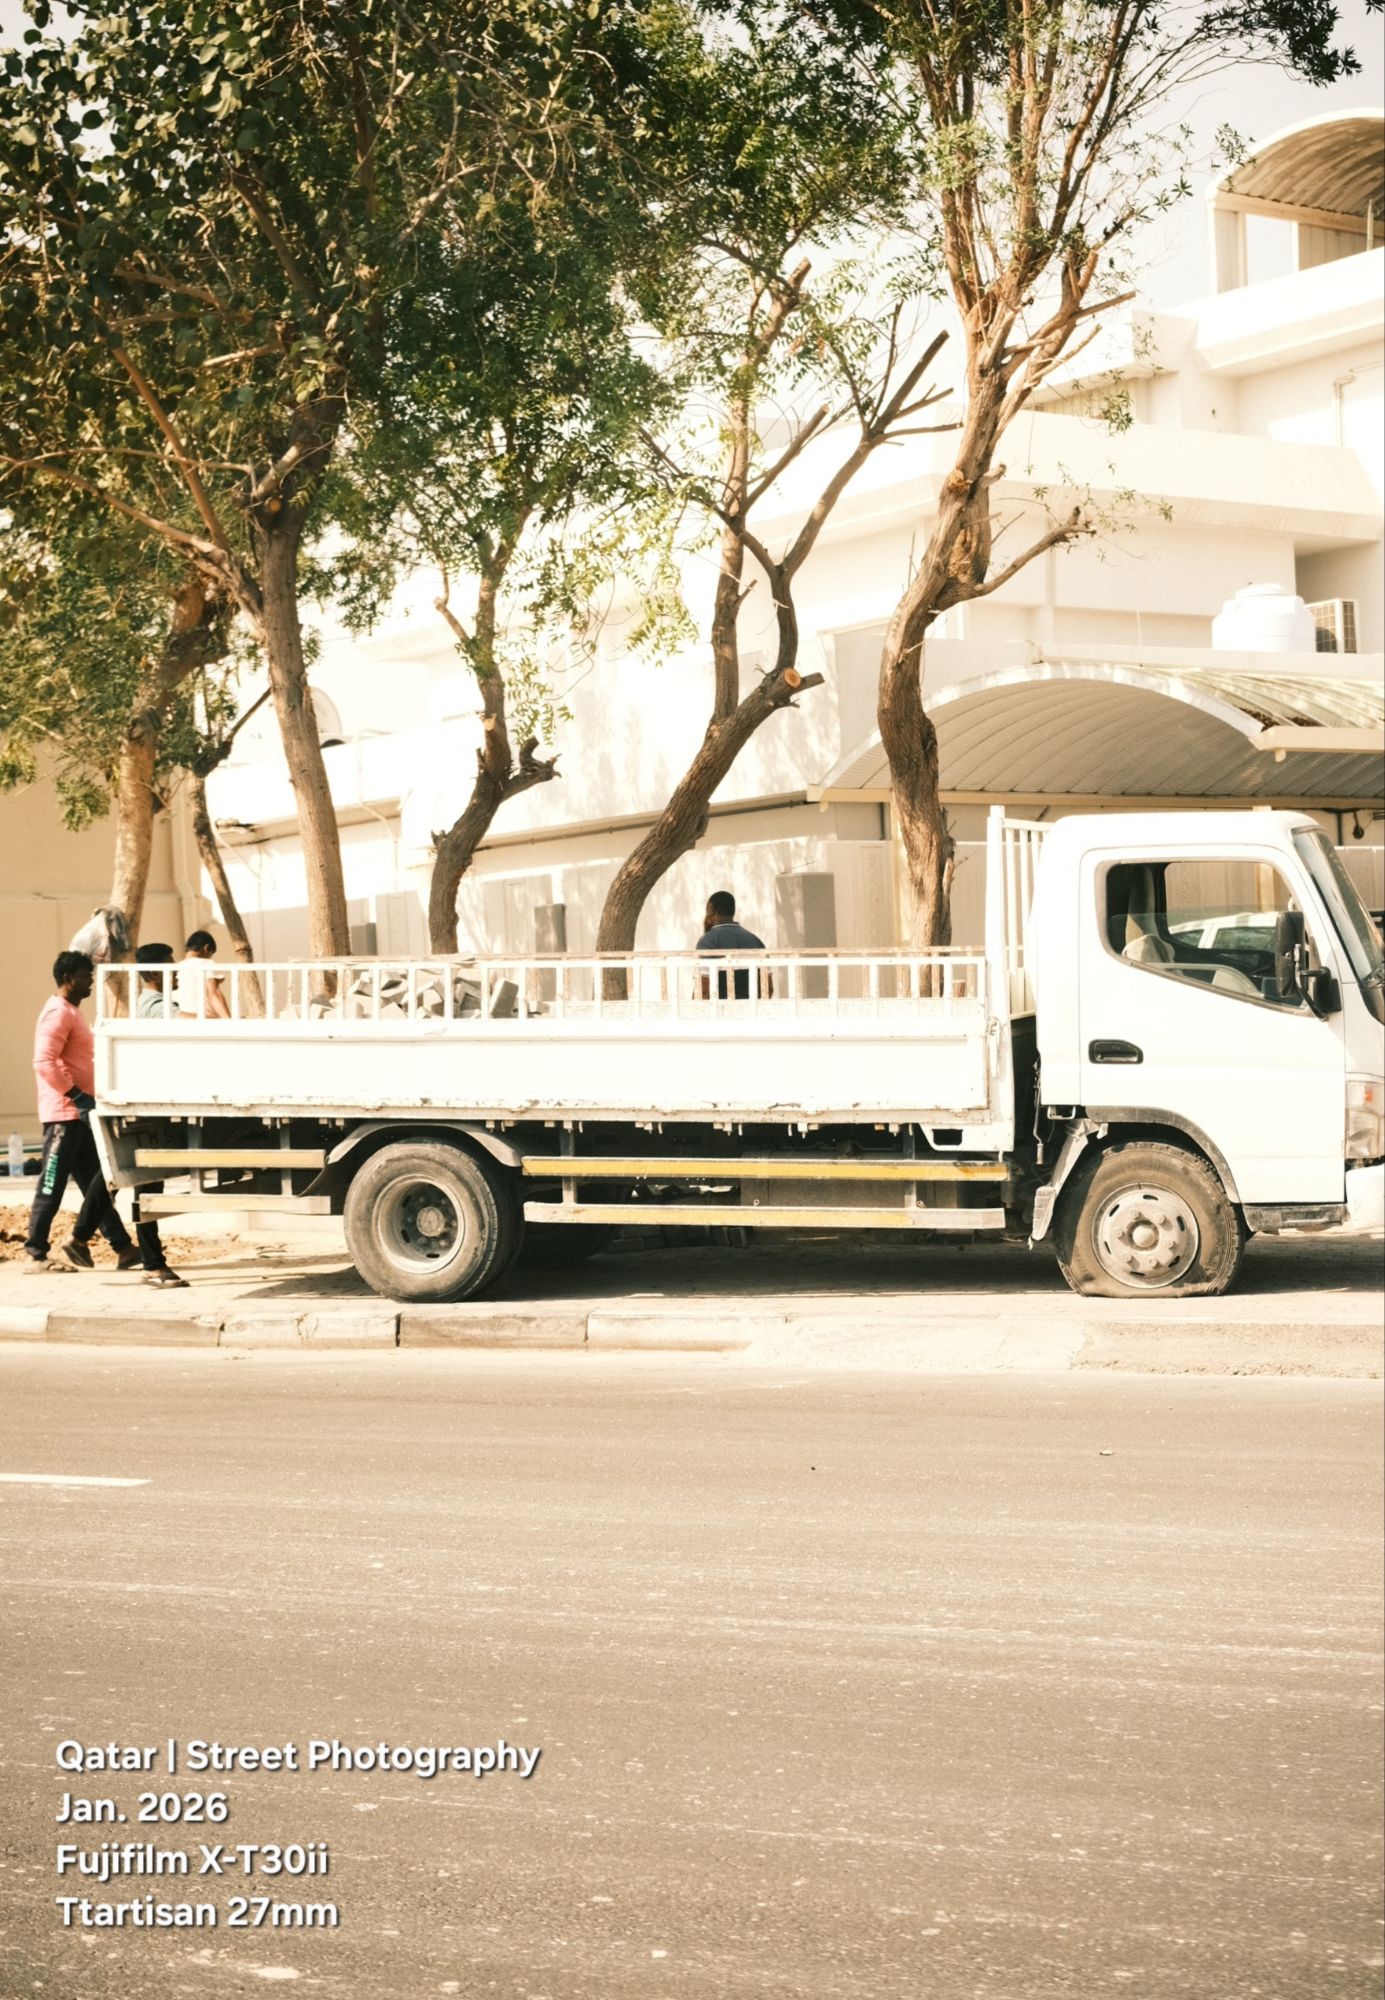
Some trees in the road became big and needed to be trimmed. Here are some workers cutting the branches that hang on to the road.
I use the FujiFilm X-T30ii camera with Ttartisan 27mm and Classic Neg Peachy film simulation.
Photos from Qatar _287
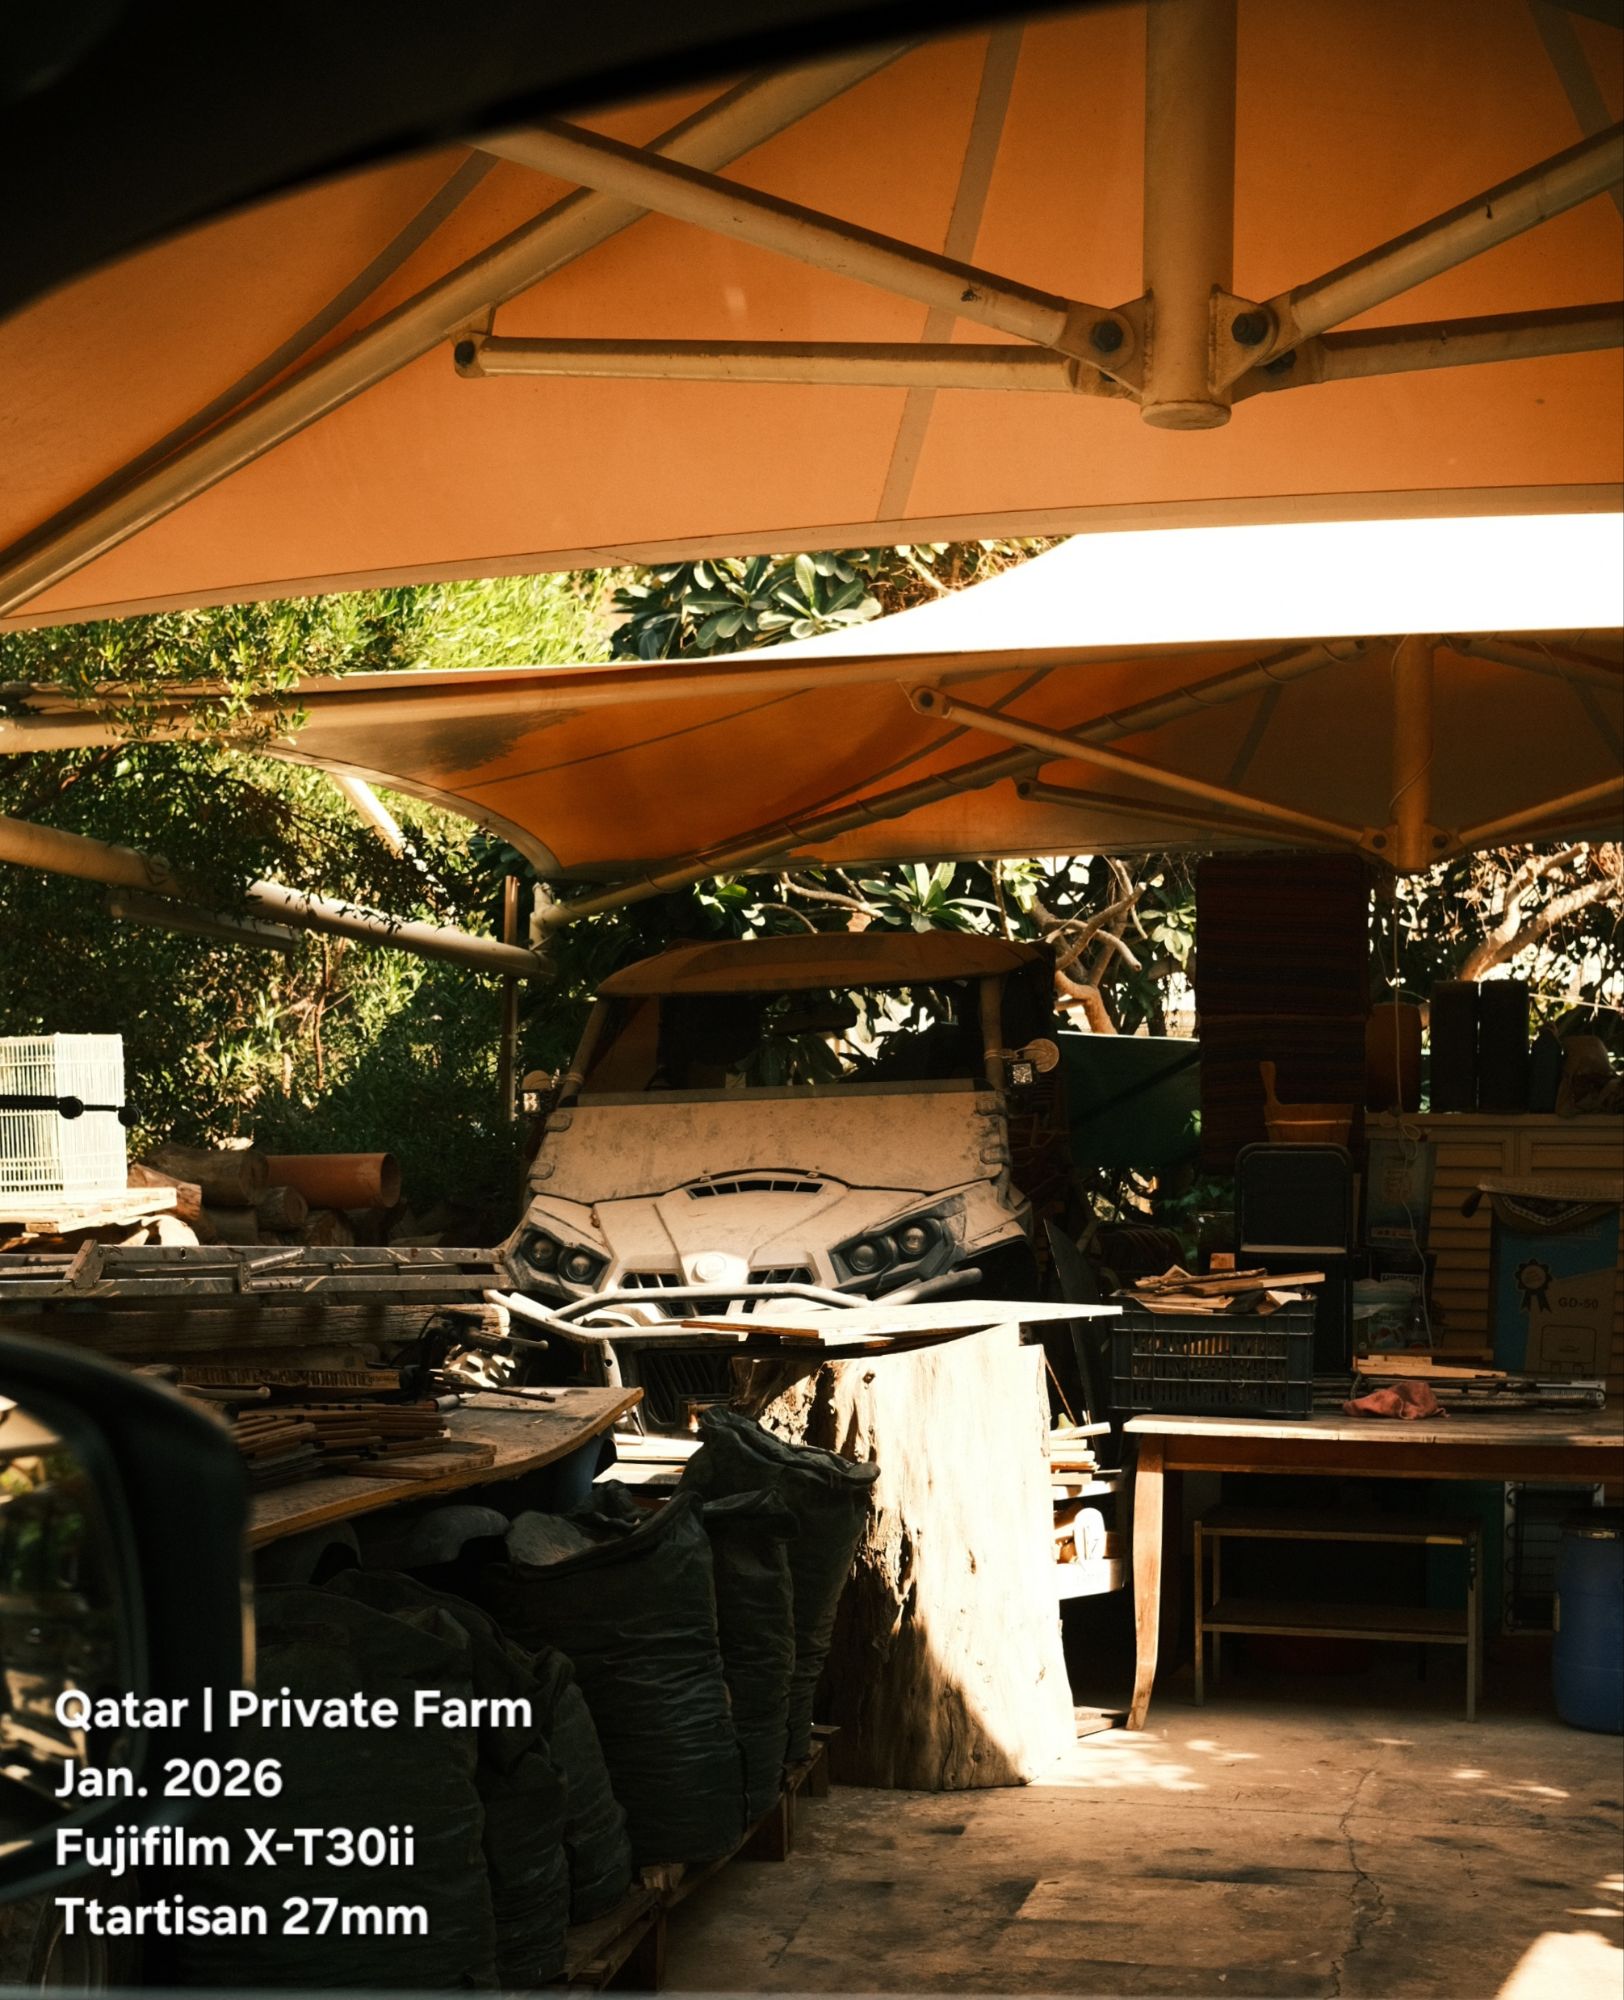
A photo from a private farm, using Fujifilm X-T30ii camera with Ttartisan 27mm.
Qatar, DohaPort _60

Government place, small scale building, I take the shot using Fujifilm X-T30ii camera in Black and white.
Old Doha Miniature Project: It is considered one of the pioneering projects in the region that documents the city in miniature, and includes models representing Doha’s journey from the sea to the renaissance.
Qatar, DohaPort _59
 Click to Enlarge
The Clock Tower in Qatar, this is a small scale of a famous building. Visitors can walk between these models in an interactive experience that showcases the beauty of Qatar, its landmarks, and its history.
Photos from Qatar _286
 Click to Enlarge
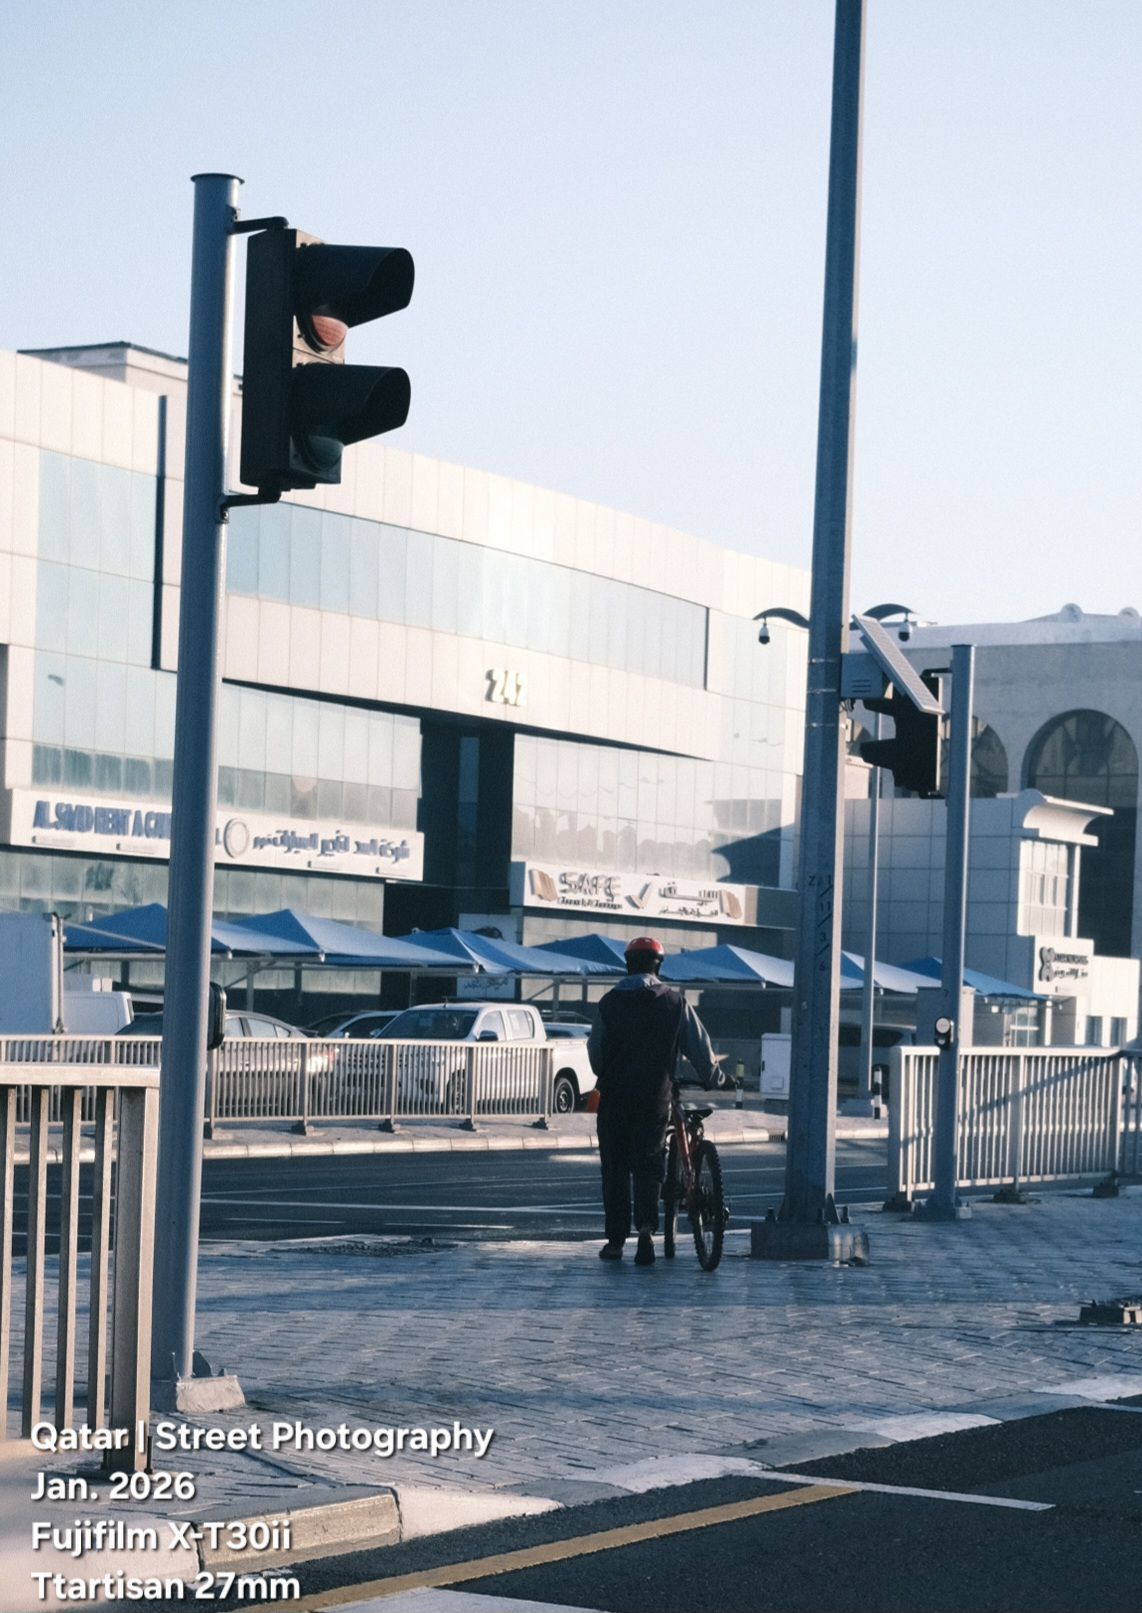
Two of the film simulations that will give you a very nice look in the morning are the classic Neg Blue and Classic Neg Peachy.
I take this photo using the Classic Neg Blue, with Fujifilm X-T30ii camera and Ttartisan 27mm lens.
You can find the recipe for the film simulations here on this page.
Photos from Qatar _284
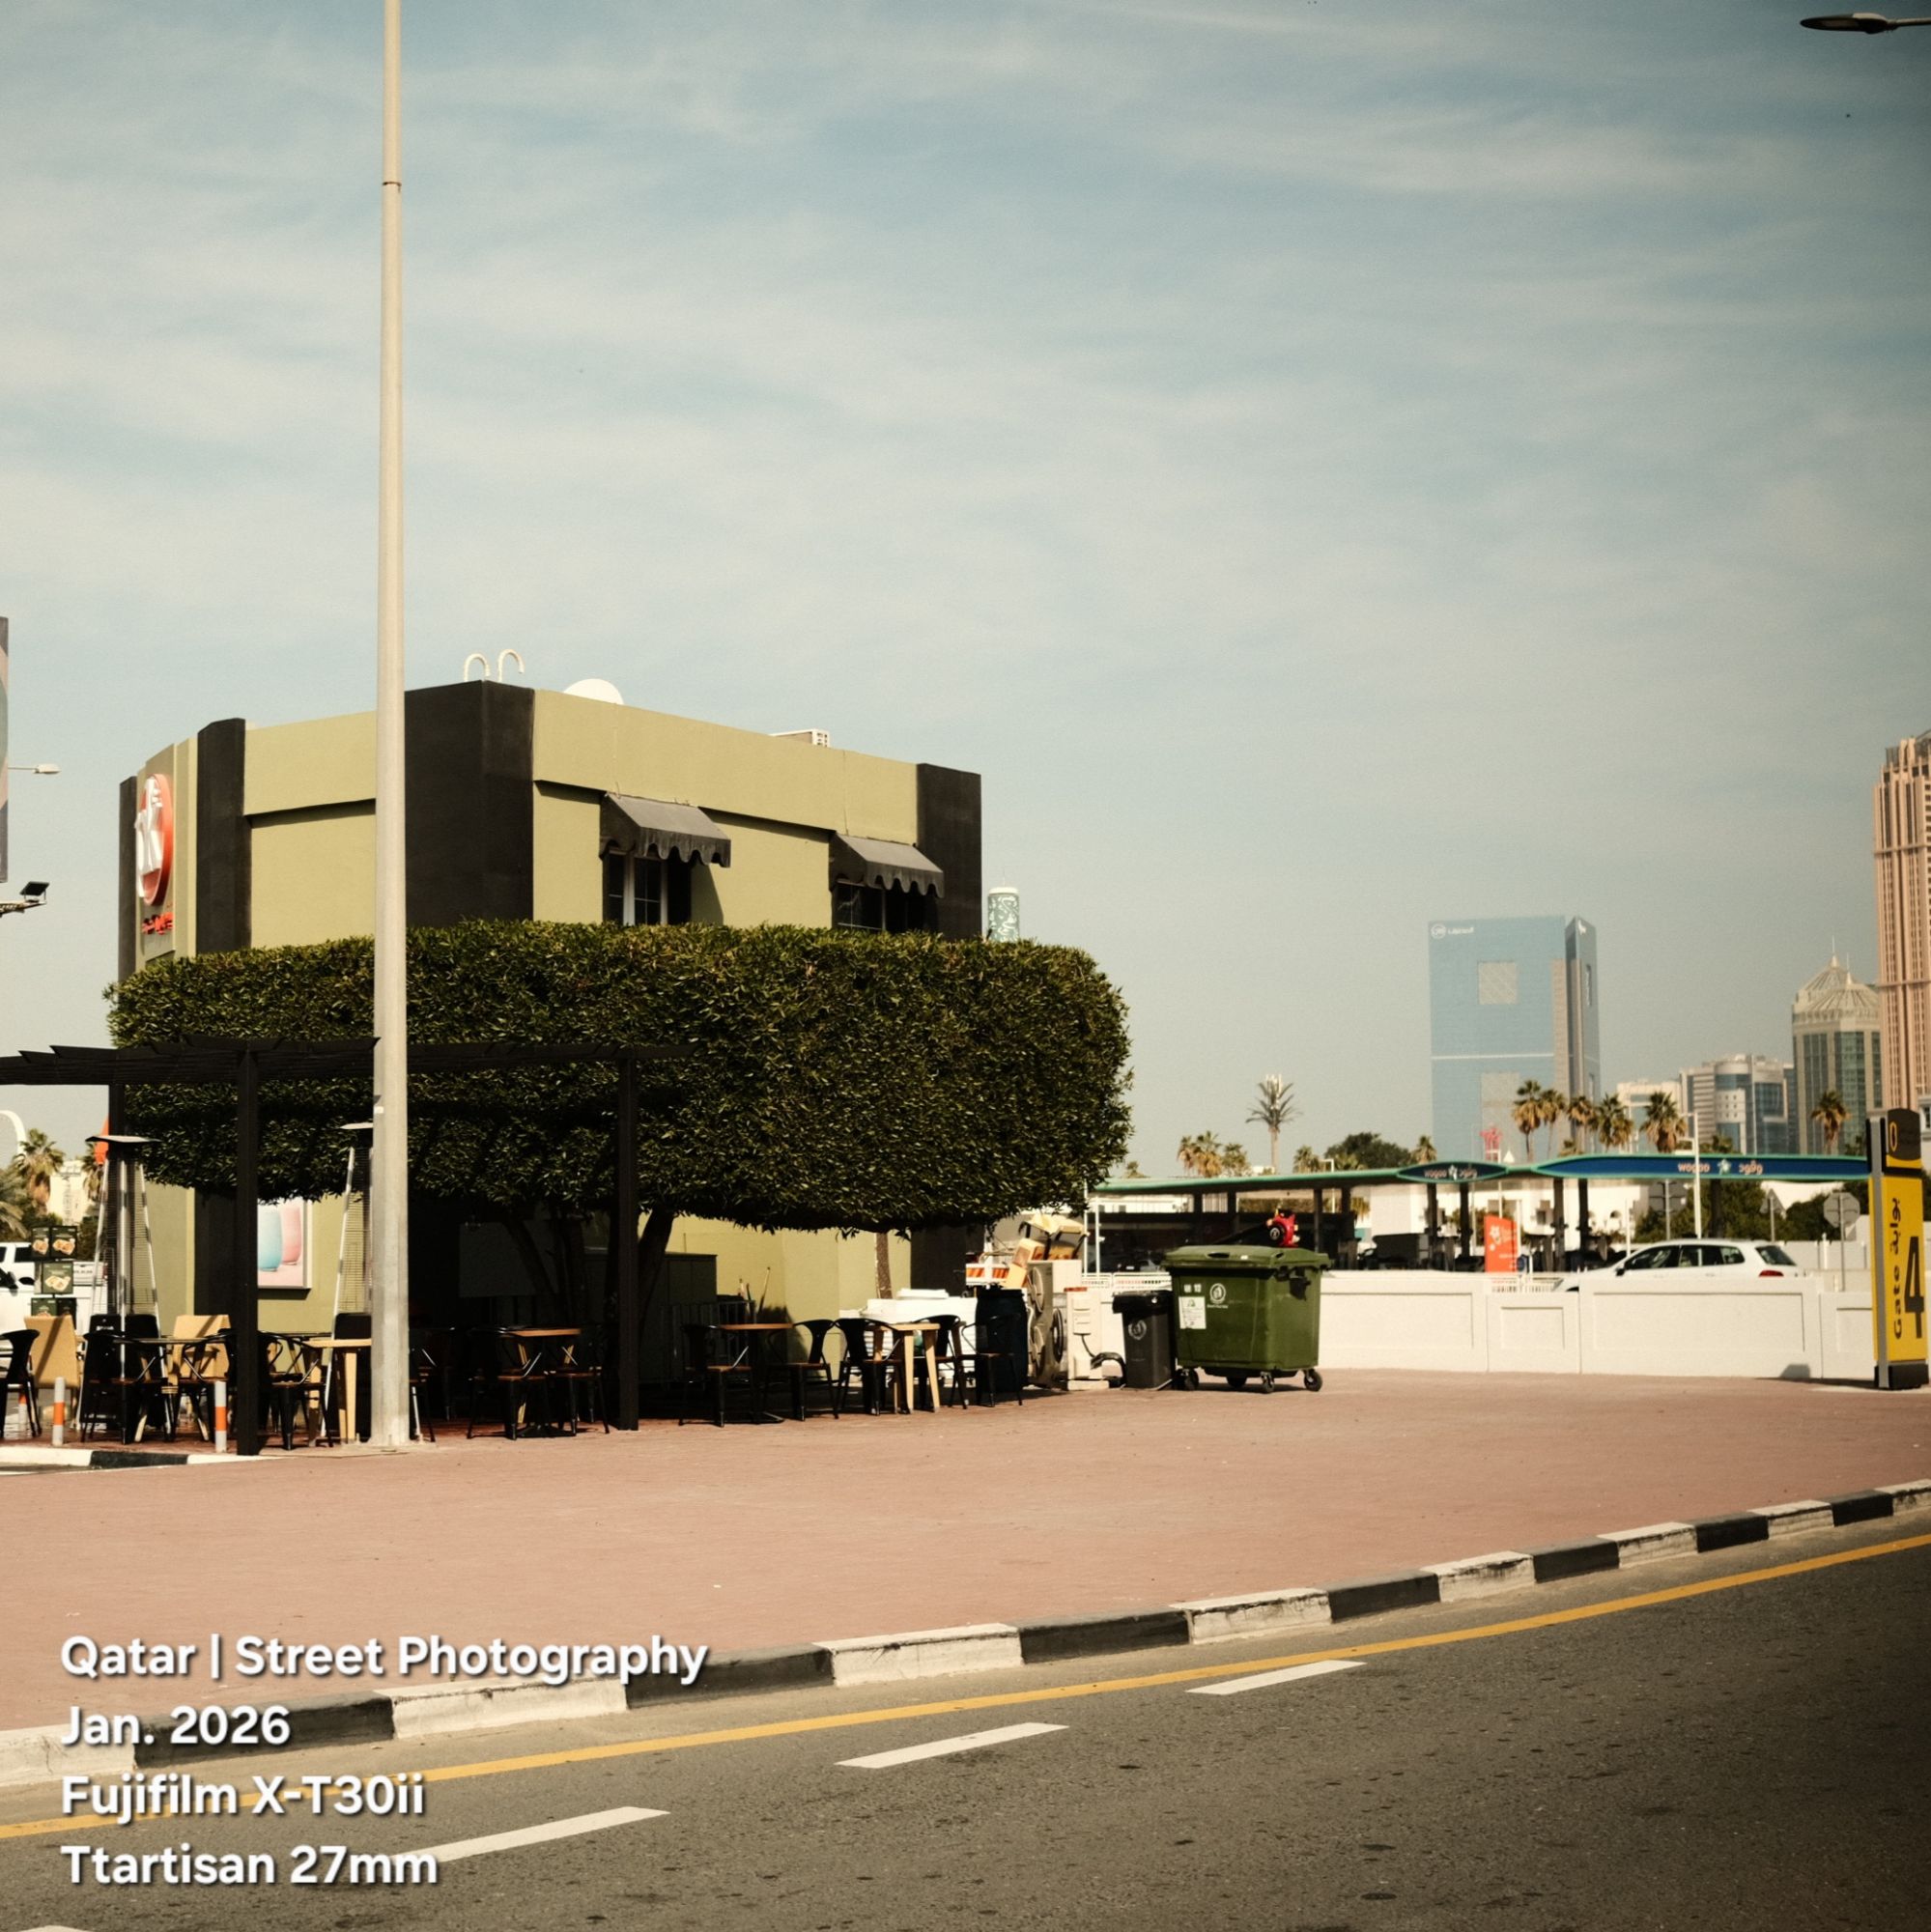
Some trees grow up here and been trem to be a big umbrella that makes a good and beautiful shadow for the restaurant visitors to sit on.
I take the shot using Fujifilm X-T30ii camera with Ttartisan 27mm lens in manual mode ISO 160 , S.S 1/1000s , F 3.2,
Qatar, DohaPort _57
 Click to Enlarge
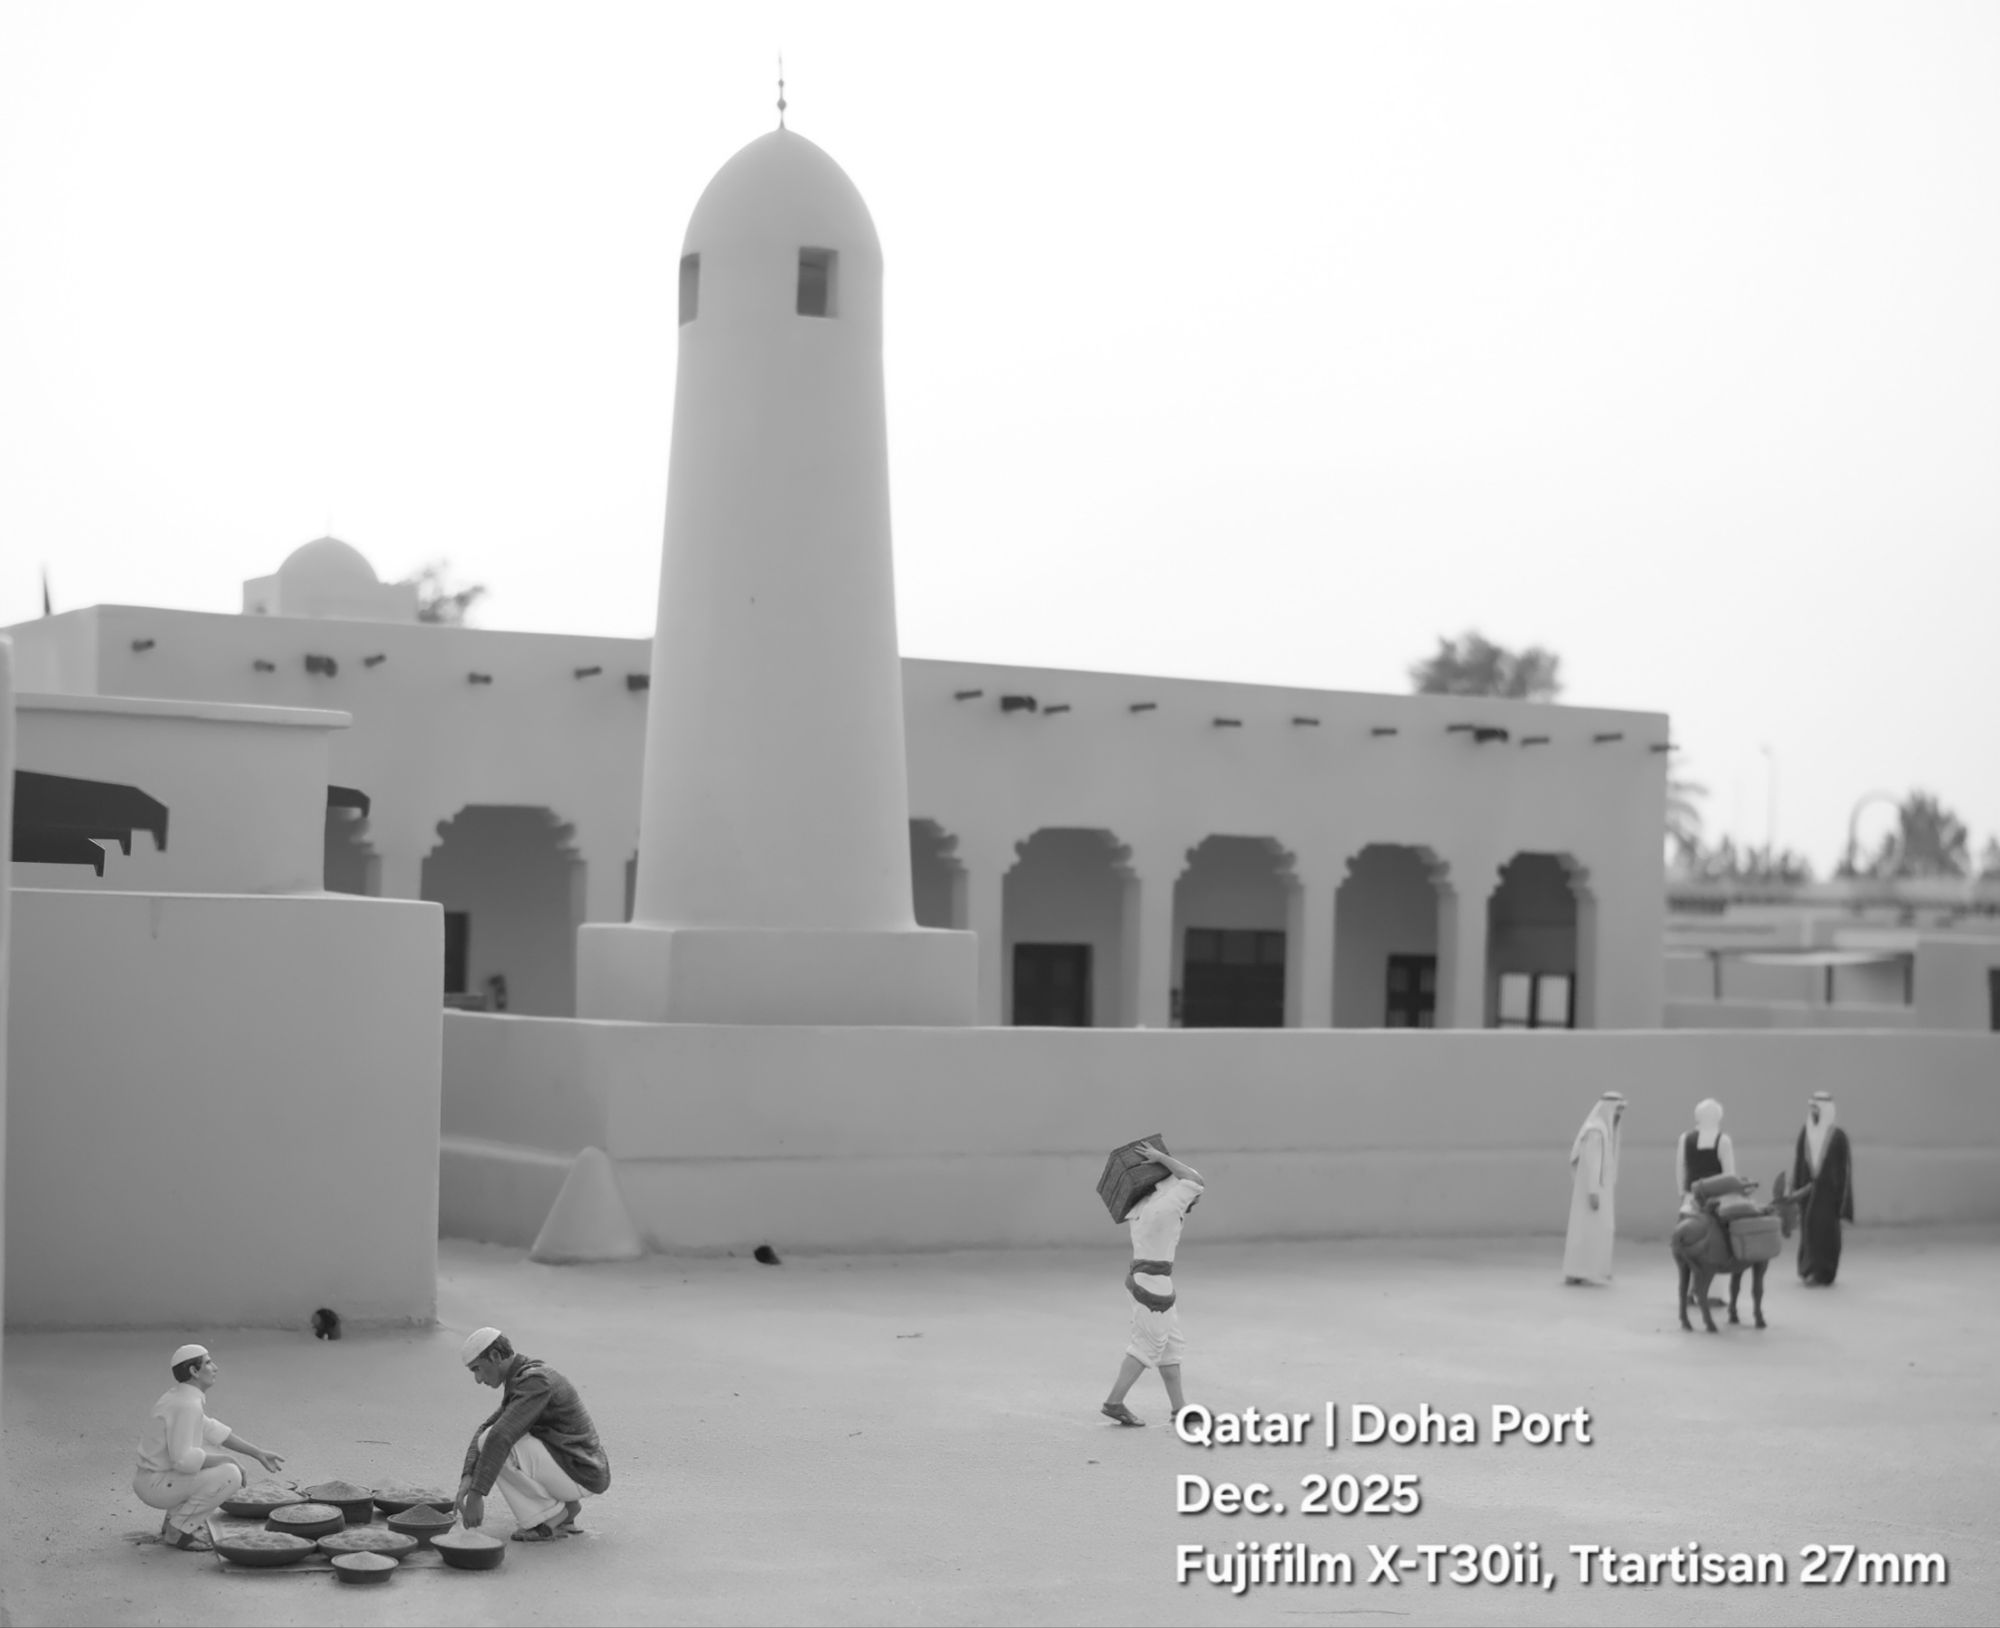
Almost all mosques in Qatar 🇶🇦 (we can say in Gulf Countries) between 20s & 70s are similar in shape and architecture, this small scale building is part of a whole city placed in the Old DohaPort for visitors to see the heritage through intricately crafted scale models.
Photo taken in ground level using Fujifilm X-T30ii camera with Ttartisan 27mm f2.8 lens in black and white film simulation.
Taking pictures is not my main daily practices, but when i start playing with my camera, i really enjoy my self.
Thanks for visiting my Space..


