Archive
Python Project: Expenditure App Part 1
Python Project:
Two months back I start to learn #Python “Python is a #computer #programming #language “, you can say it grabbed me very quickly. I start to read some #sample #code from the net, then downloading the requirement and after 10 working days I was writing #codes in python and doing what I love ‘Solving #mathematics puzzles with #python’.
So I decide to contribute in training or publishing python language by posting some codes block with explaining and comments, also by developing an application so we will learn on a real example.
I am publishing some codes on my Twitter (@h_ta3kees):
https://twitter.com/h_ta3kees?s=09
and I will do the same here on my blog.
The coming posts will be about the application that we will start develop I will call it ‘Expenditure App’.
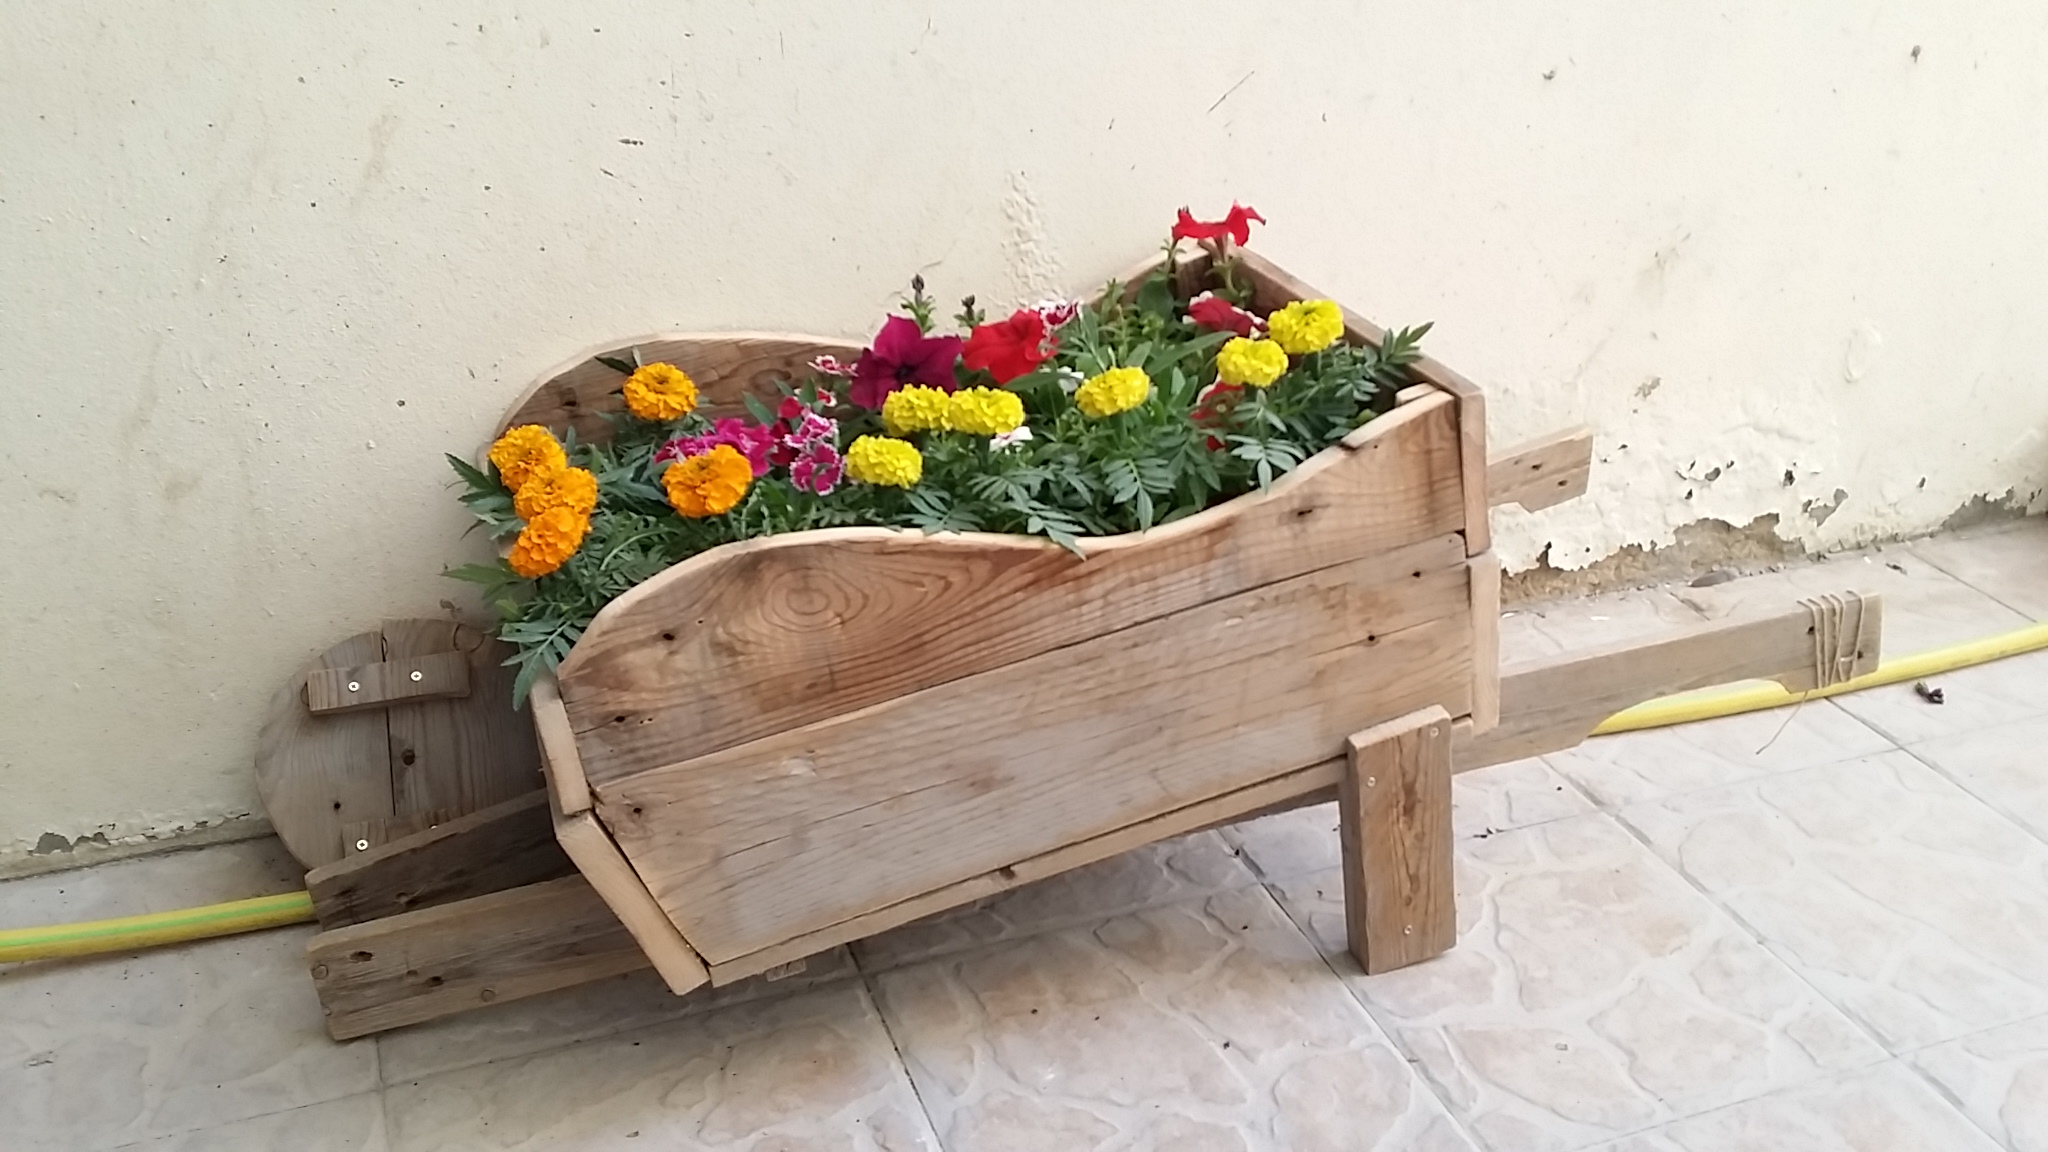
Flowers Wheelbarrow
Project Name: Flowers Wheelbarrow
Start Date: 7/1/2018
End Date: 24/1/2018
Working hours: 1 hours daily (not working in weekends)
|
Tools: Drill || Screws/Nails || Saw | Gloves || Wood || Sander or Sander paper || Measure || Pencil || Paint |
Wheelbarrow Size:
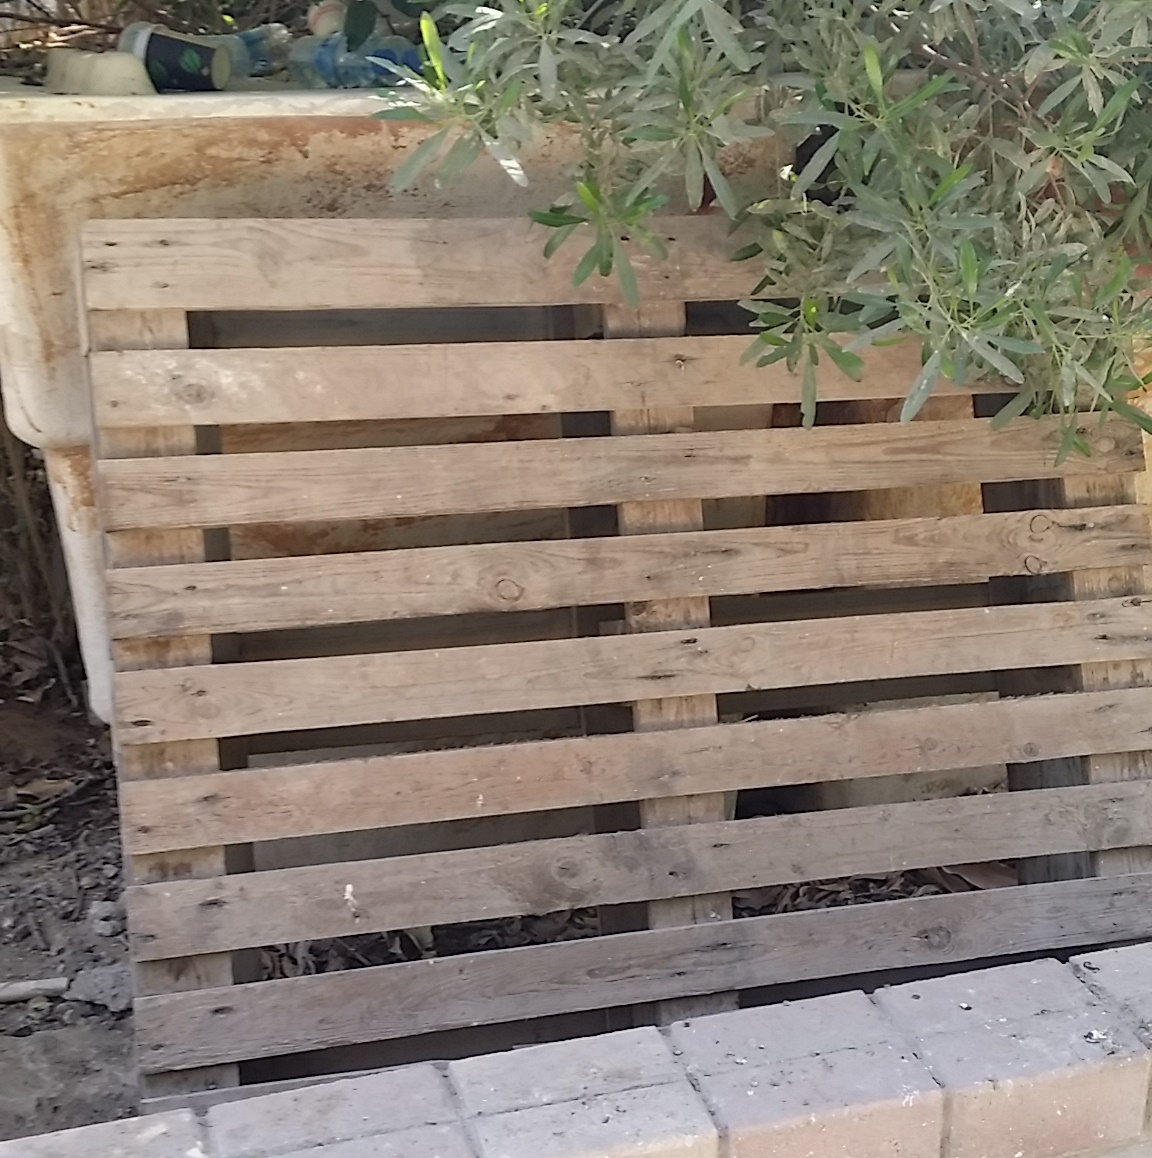
You have to decide the size of the Wheelbarrow you want to build, this will give you an idea of how much wood and Nails you may need. I use a old wood pallet in my yard; the disassembling it was not easy.
|

|
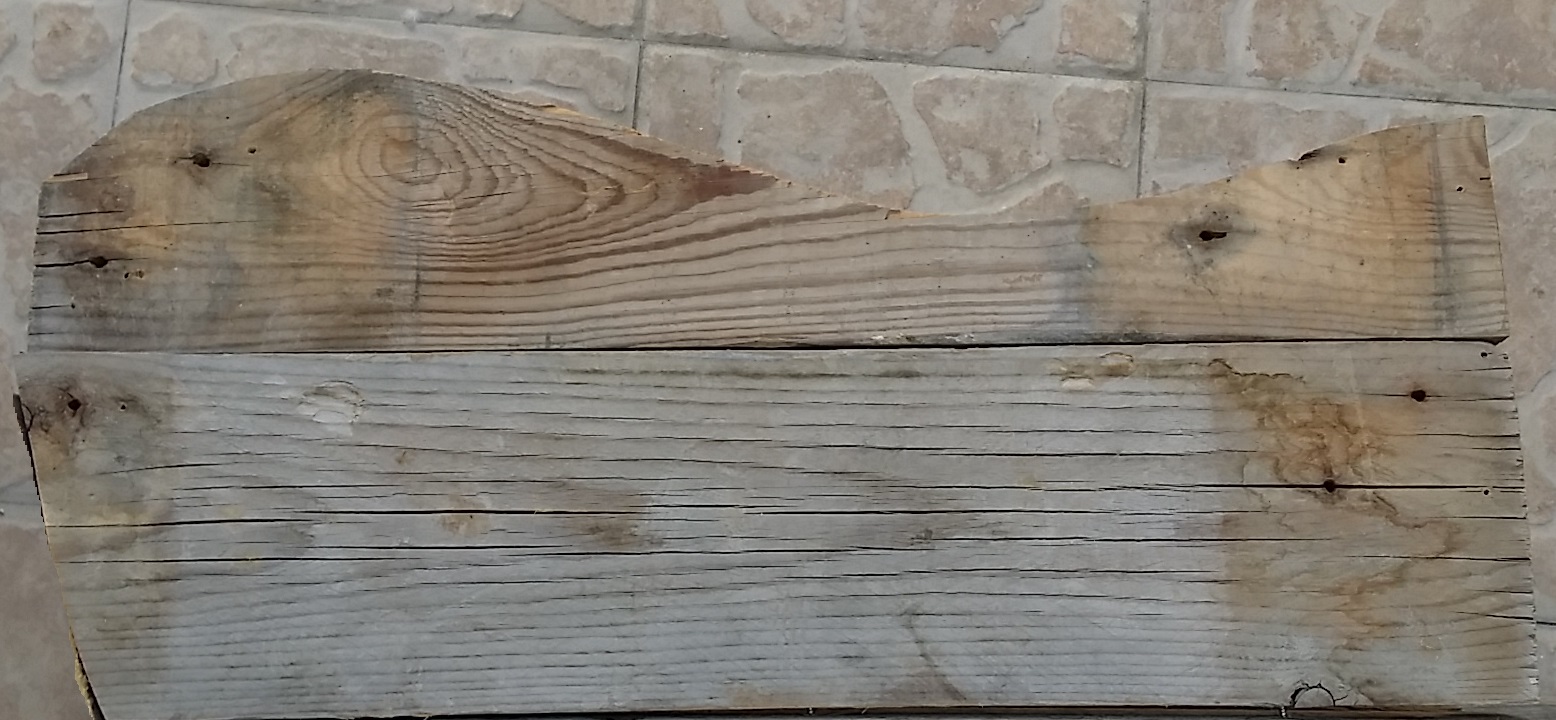
| Wood pallte | After Disassembling |
Sketches: First thing to start with..
Start with some Sketches, Here is my fast sketch of this Flowers Wheelbarrow i start with fast lines then add the measures and dimensions, the image here before the measures.

Fast Sketches of the Wheelbarrow parts
To create the wheel:
I draw a circle on a paper (diameter is important) glue it on a 2 pieces (5″ diameter, 2.5cm-thick ) wood strips from the pallet, and cut-off.

Needs more sandpaper
Wheelbarrow Side:
You need two pieces for the side, I cut the upper side in curve to give it some design.
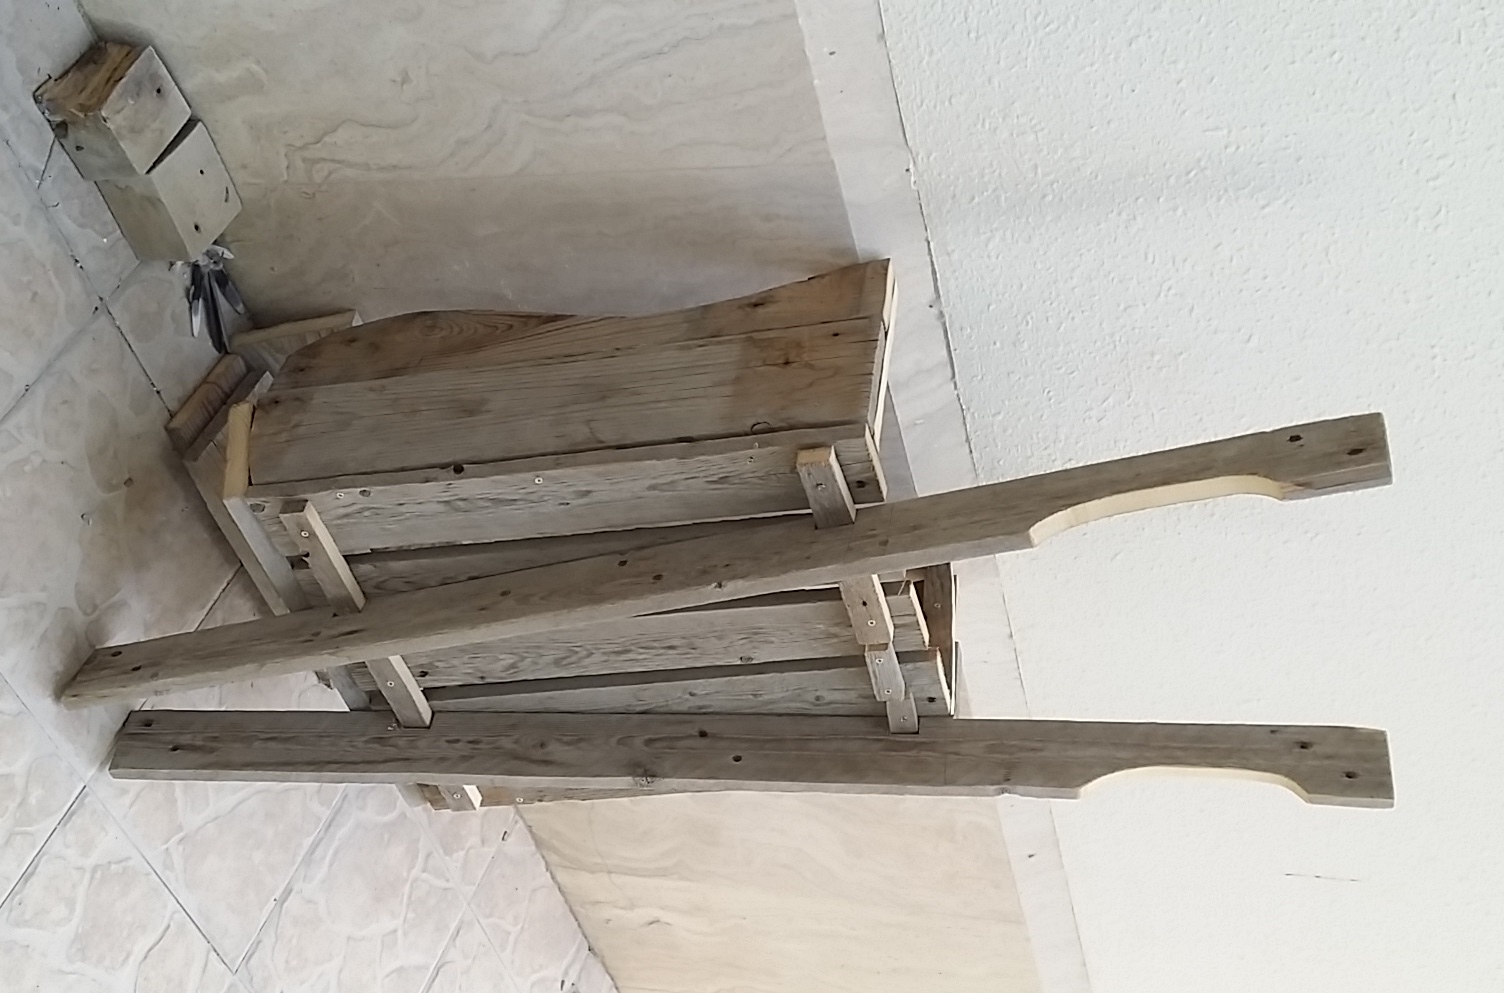
Fixing everything: re-assembling
After fixing all parts you will get something like this, also I apply the sander machine on all the parts to make it smooth.

|
 |
 |

|
Paints:
I am using the Dark Walnut (code: PPF-51 or #4e3d36) color.
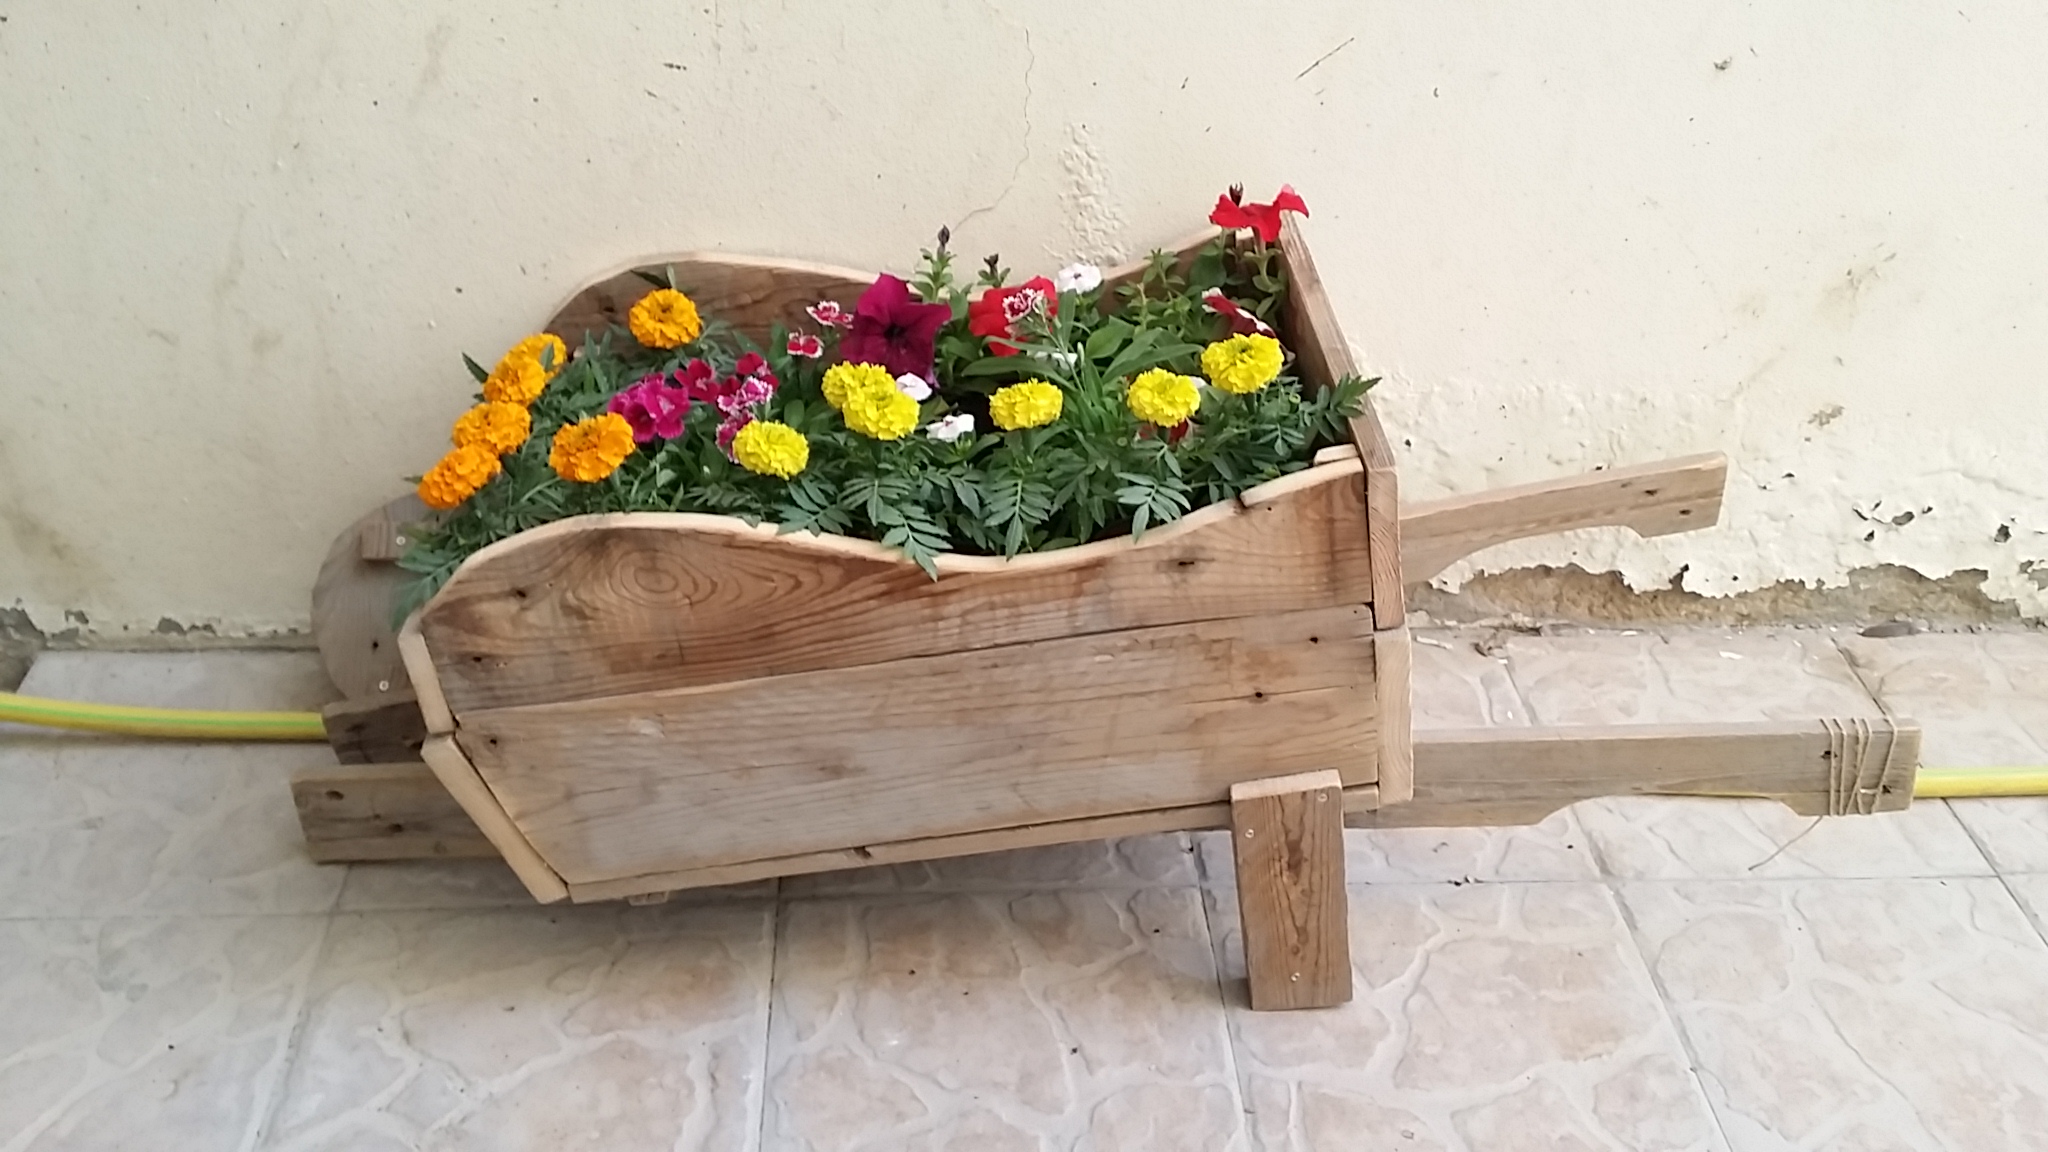
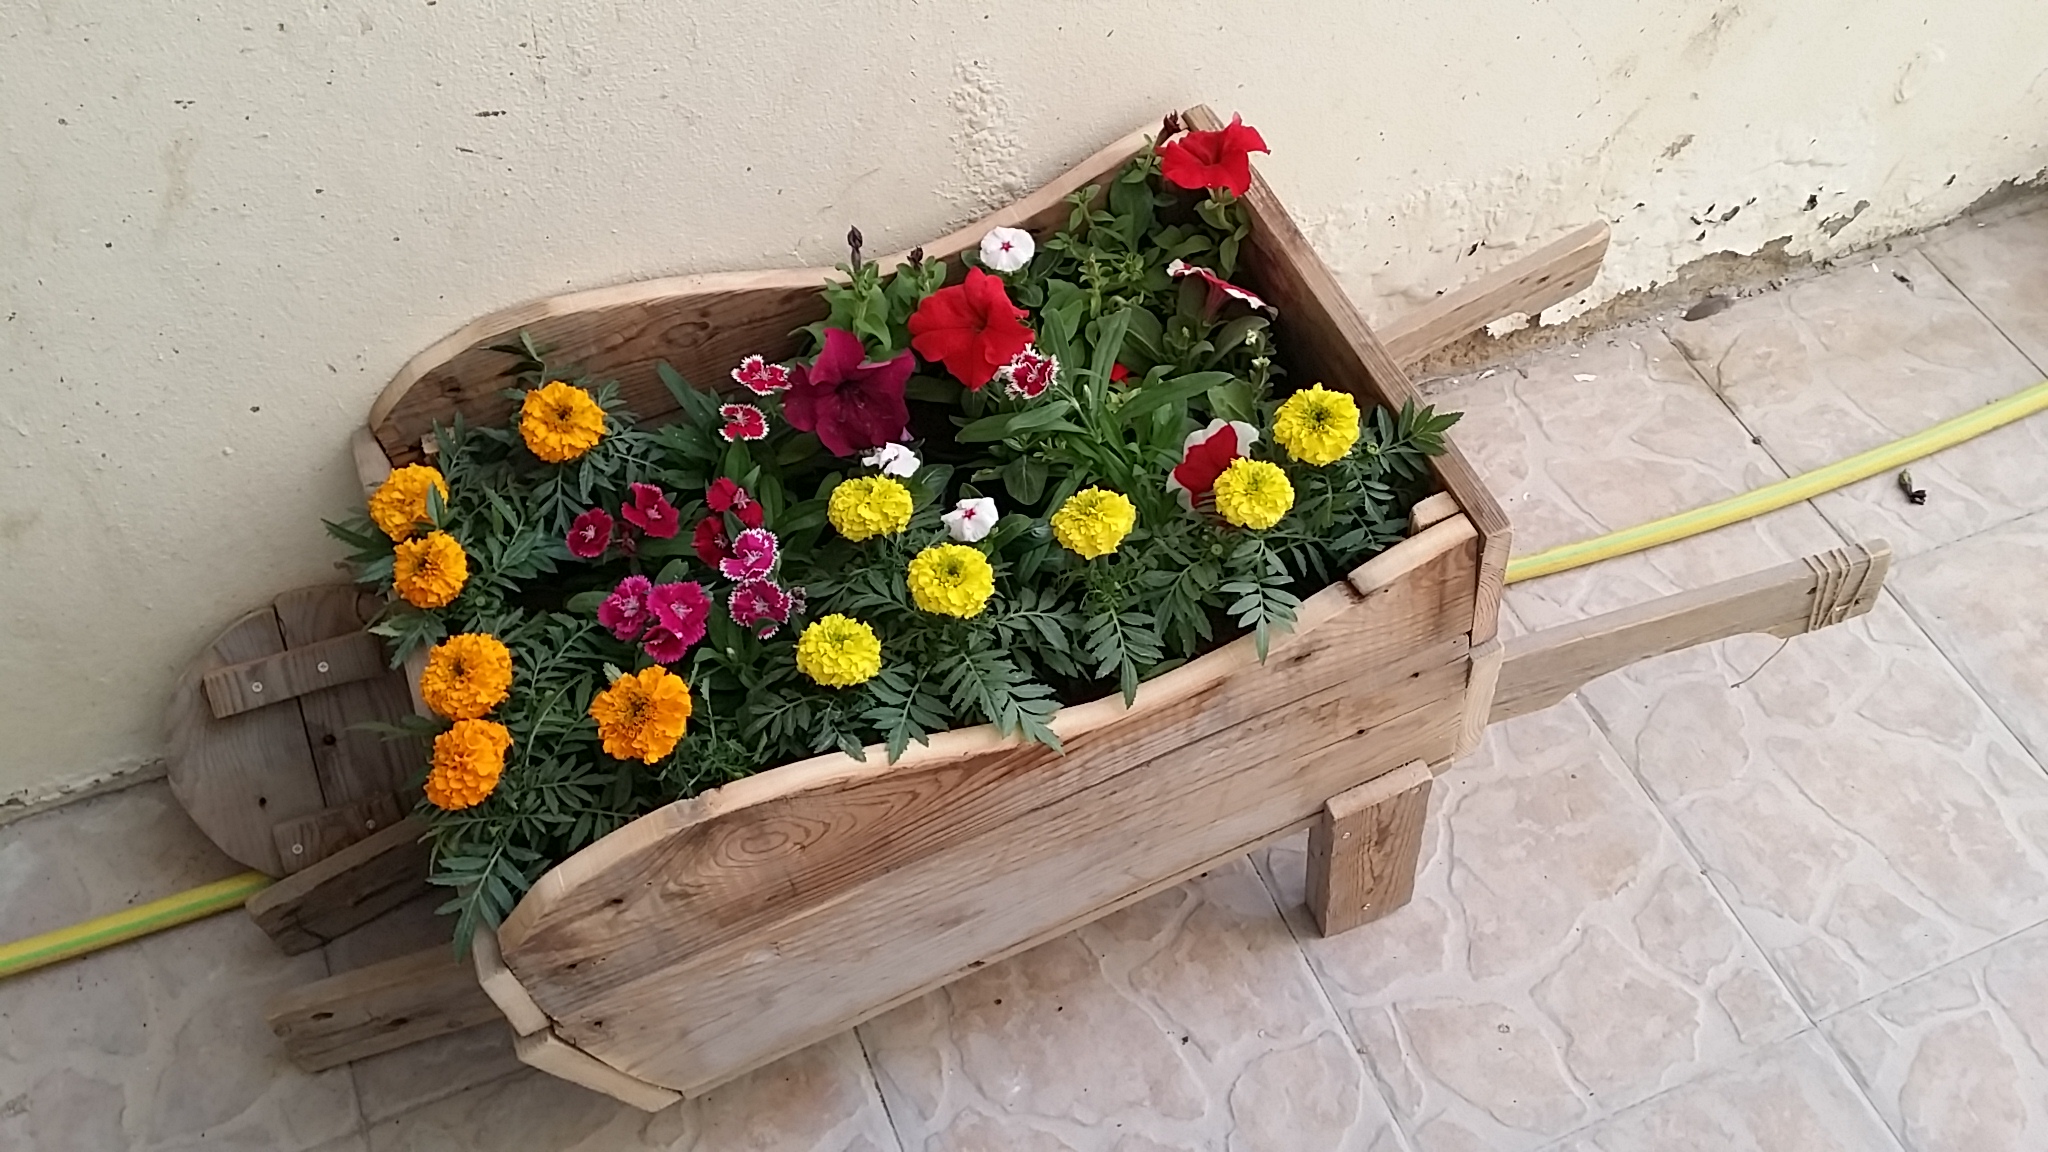
Final looks
This is the final look of my Flowers Wheelbarrow still did not paint it, i may keep it like this.. am not sure.
|
|
|
|
Tips: Don’t throw out any remaining parts of what you are cutting, you may need it for this project or for other once. |
The Bonsai experiment -2
Back to my “Bonsai experiment” this part was on 27/12/2017 but I am posting it now..
Phase 2:
So, after 24h of putting the seeds in water, I drop the compost discs in water for some time it absorbs some water and get swell. Then I prepare the Plastic Bags label them with date and seeds name, then I squeeze each compost to get rid of the extra water and open the thin surround tissue and put it in the pots. Add the seeds to each pots (don’t miss the labels) and put it in the Plastic Bags.
Now, Move them to cool area for 2-3 weeks and lets see what will happen..
Here are some photos:
Seeds are in water for (24 hours) 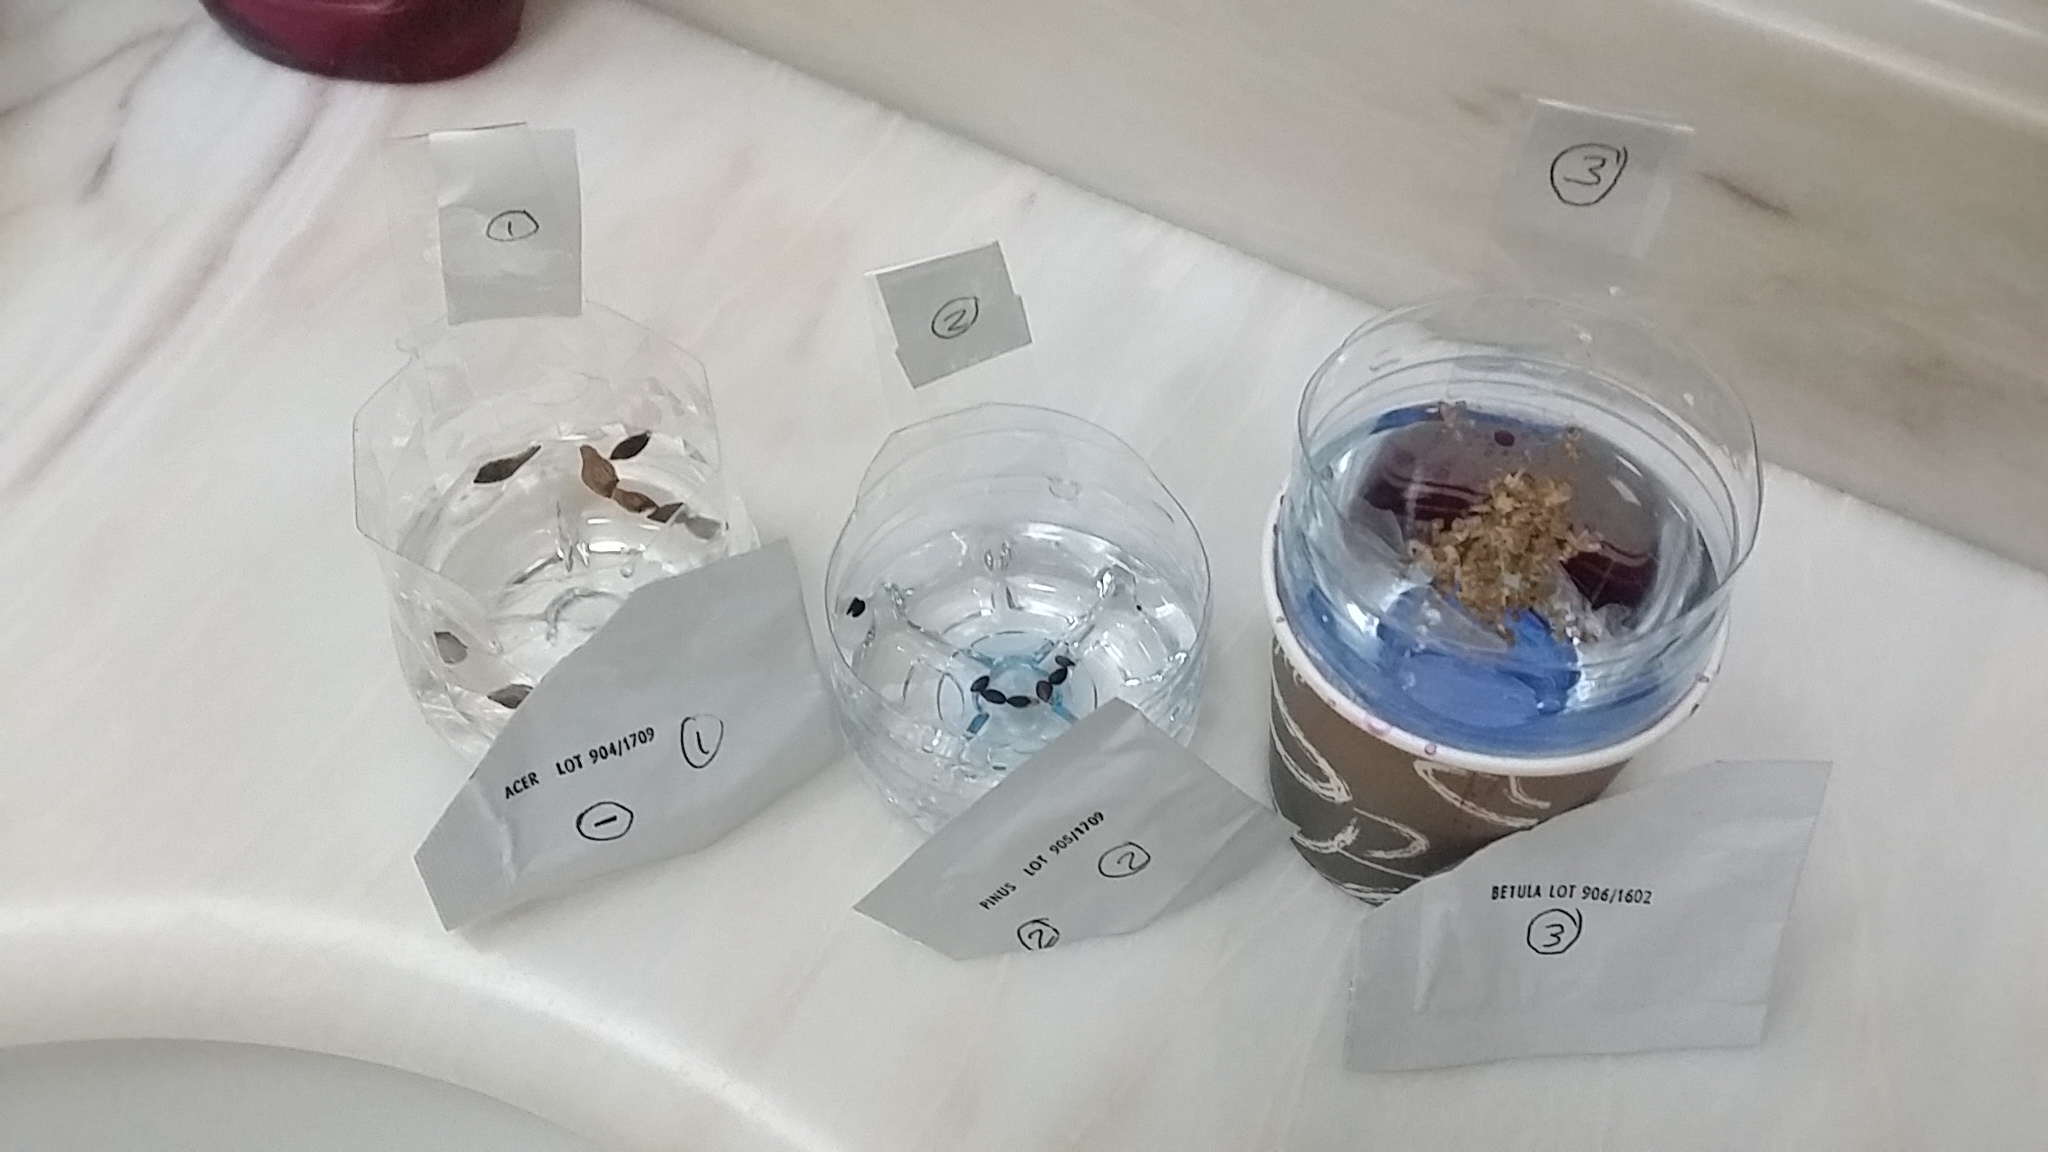 |
Compost discs are in water and they get swell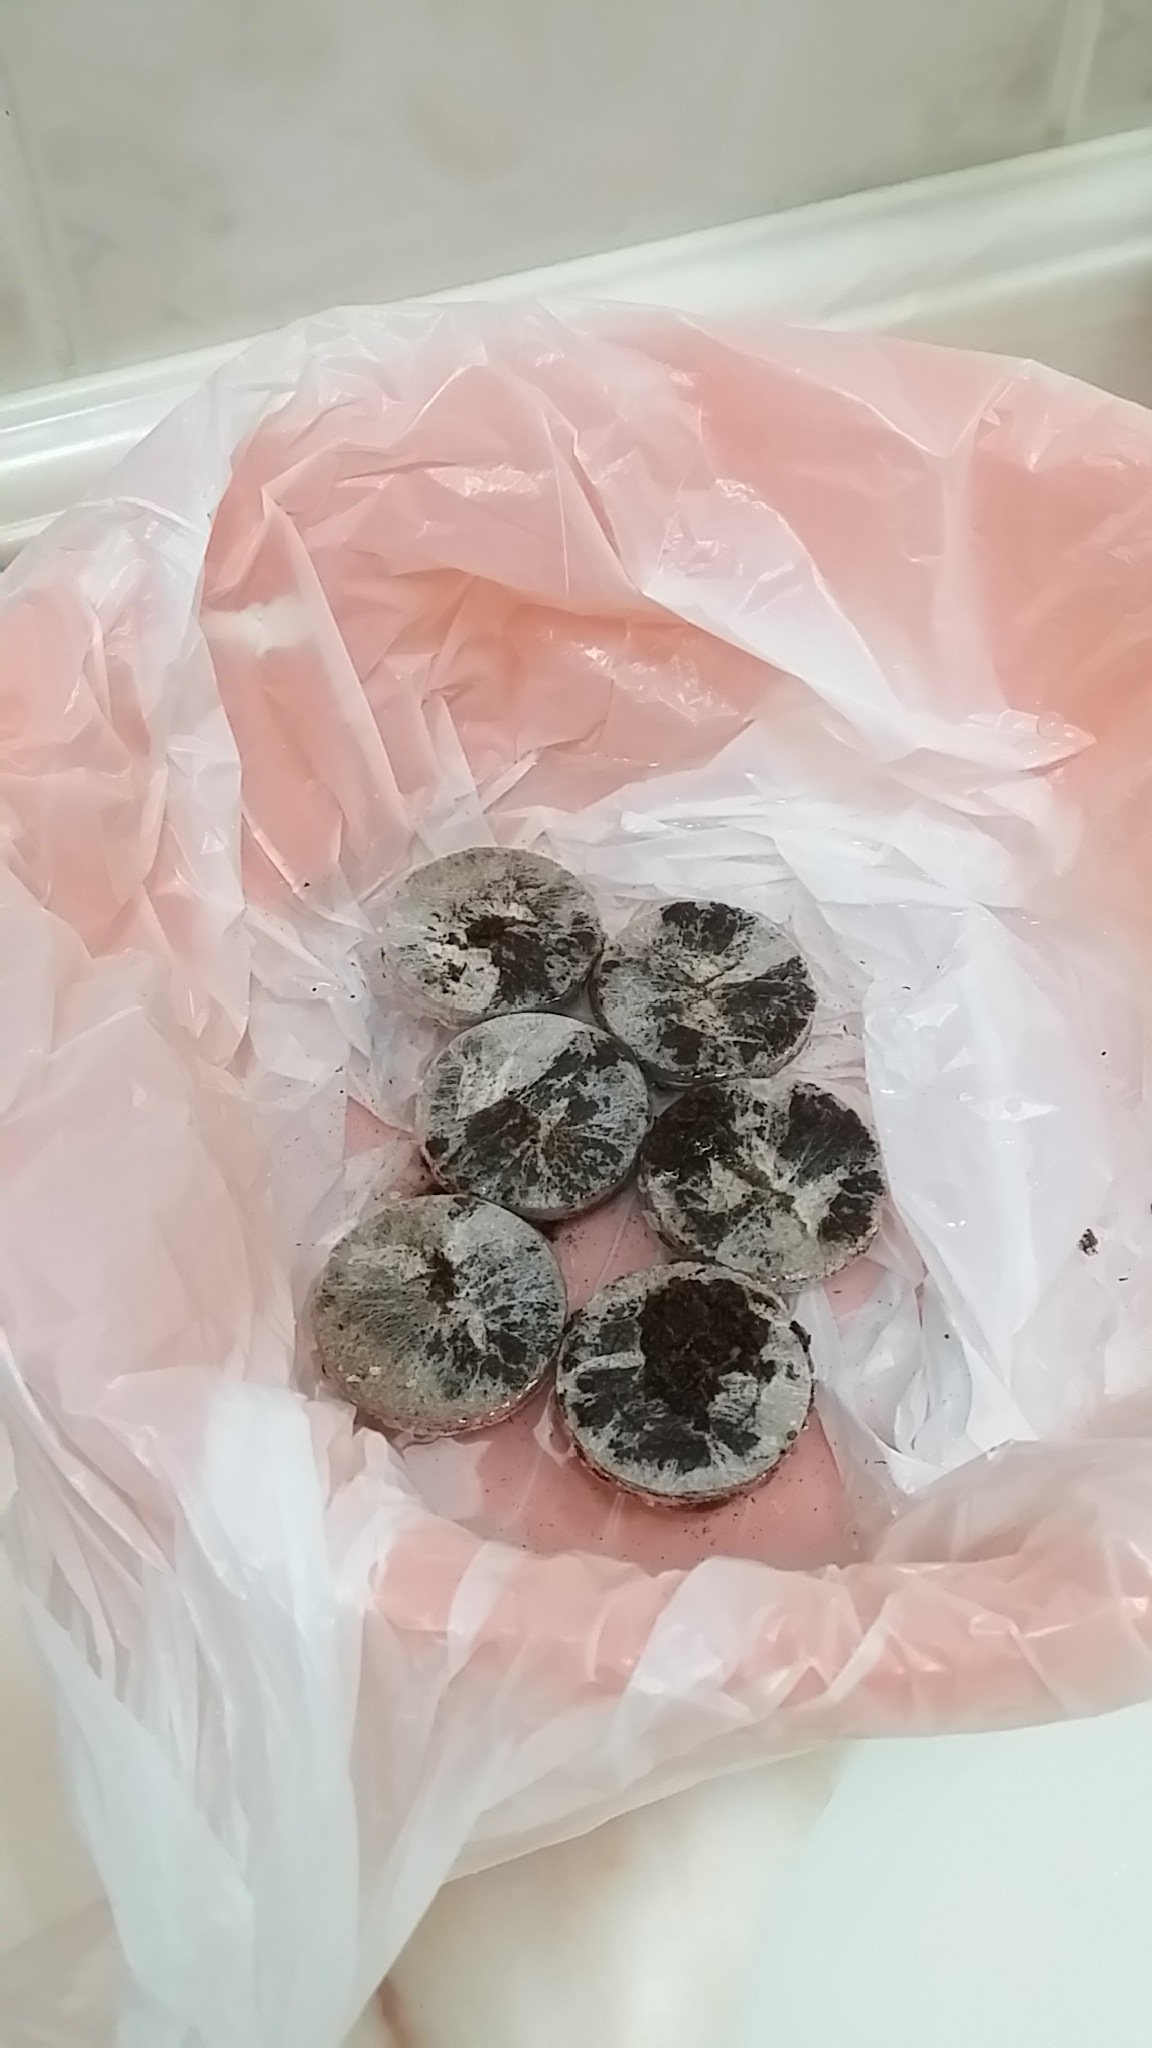 |
Posts are in the Plastic Bags after adding the seed to the Compost 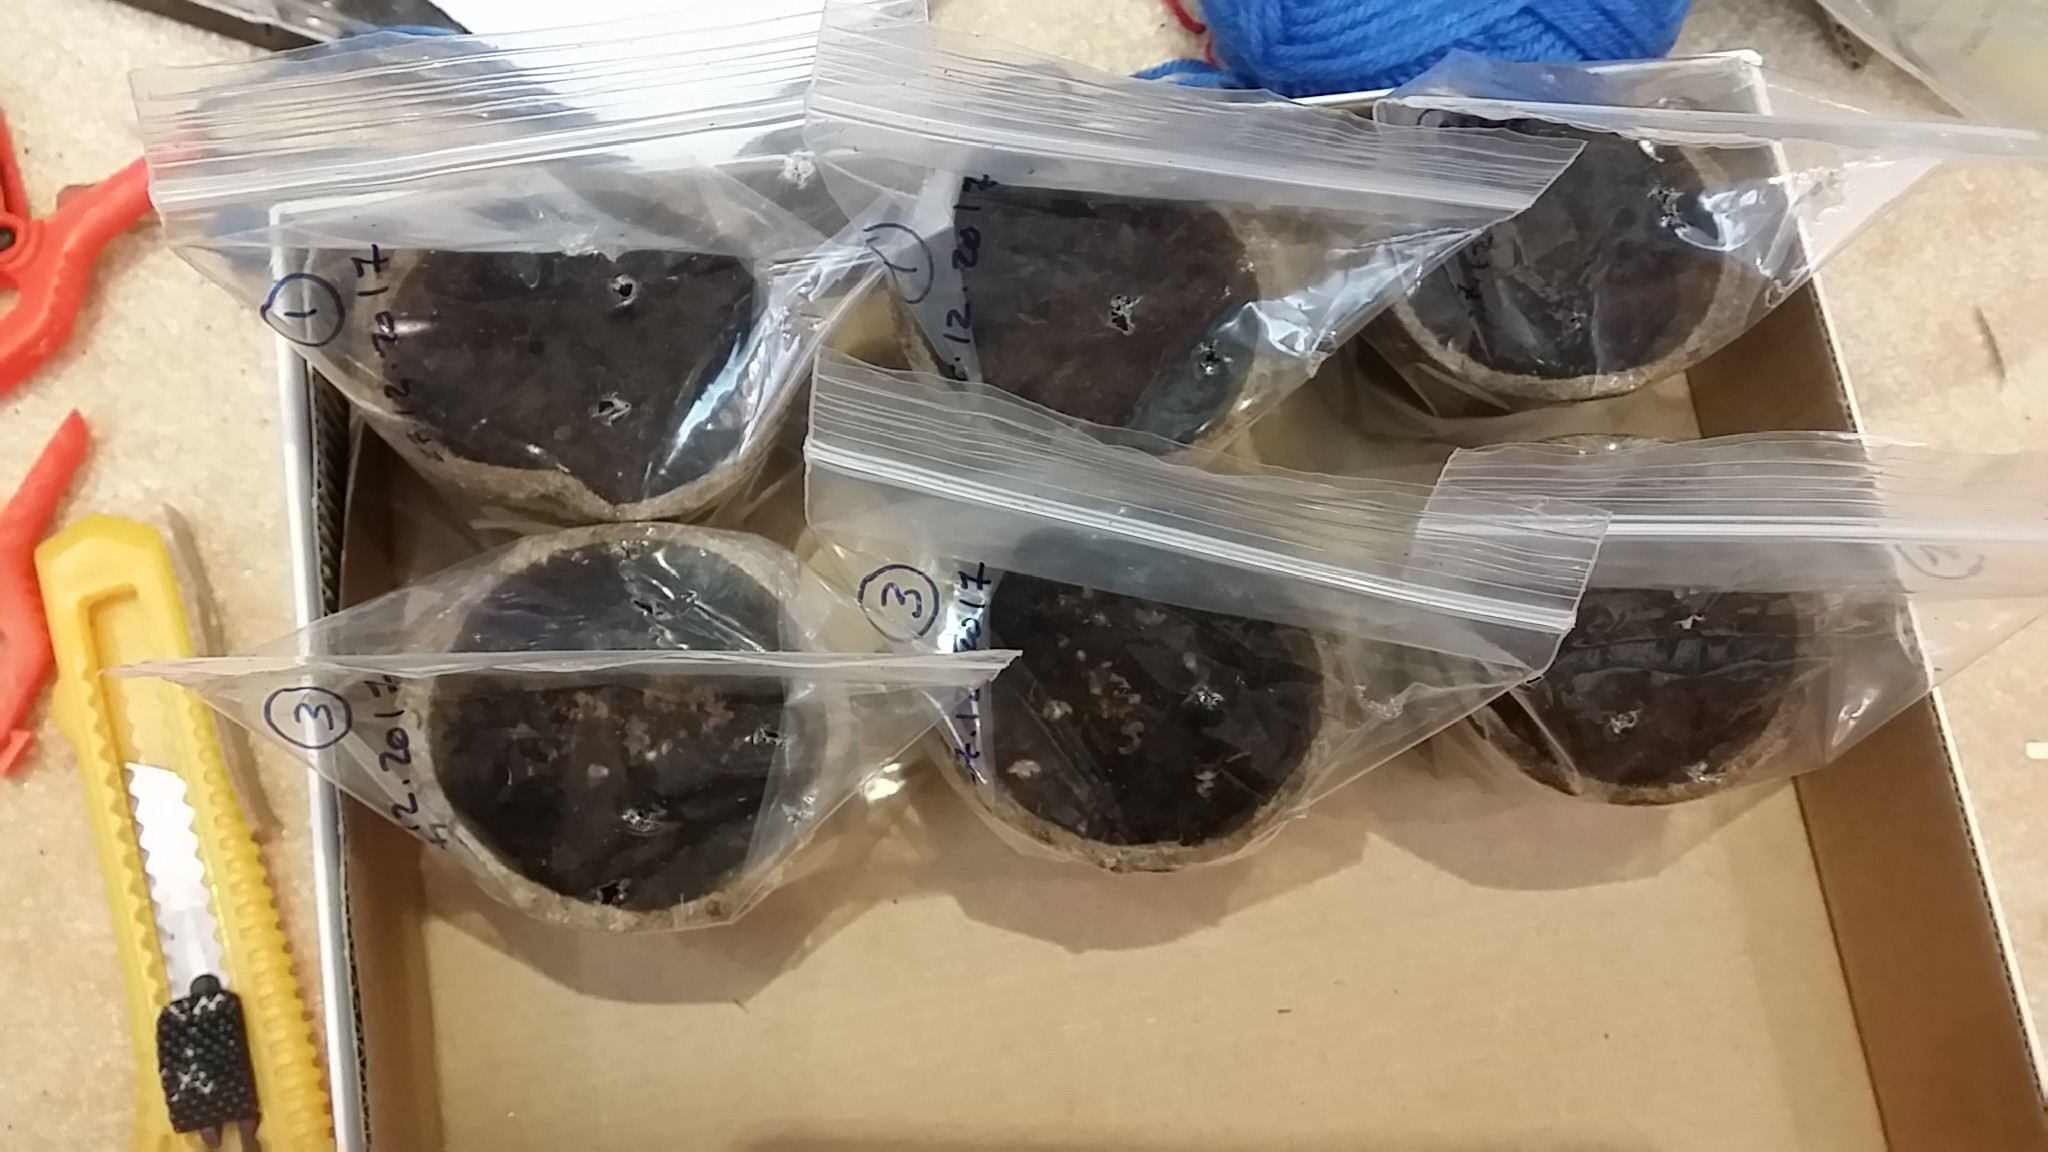 |
Now… we will come back after 2-3 weeks to see what may happen..
Bonsai Experiment Follow-up:
Bonsai post 1 | Bonsai post 2 | Bonsai post 3 |
The Bonsai experiment
Two weeks ago I was jumping through some web pages and i come over the Bonsai trees, I like the idea and the over-all tree looks and shapes, later I fond the Bonsai kit in amazon, so i add it to my cart and 10days later I got it (International Shipping).
Now, I will start this experiment of growing a Bonsai 🙂 I will do some other posts about this project to follow up.
The Bonsai kit:

Contain:
- Plastic Bags
- Peat plugs
- labeling sticks
- 6 pots
- 3 packets of seed: (Seeds are)
- Silver Birch (Betchula Pendula)
- Red Maple (Acer Rubrum)
- Mountain Pine (Pinus Mugo Pumilio)
- instruction book
The instruction:
Ok, it was not easy to understand the instruction, I tried to simplify it into some point and I hope I am right.
1. To put the seeds in water for (24 hours)
2. Then put the compost discs in water for some time it will absorbs water it will swell.
3. Open it and put it in the pots.
4. Add the seeds to each pots. (label each pots with the date and seeds name)
5. Put the pots in the Plastic Bags for 2-3 week in cool place.
6. Then move the Plastic Bags into refrigerator for 4-6 weeks. (not sure about the points 5 and 6)
7. Now, after that the seeds should be start germinate!! so we then remove it from the bags.
This process should take 1 year before the Bonsai Tree takes it shape. I will do other post with more photos of this experiment.
Bonsai Experiment Follow-up:
Bonsai post 1 | Bonsai post 2 | Bonsai post 3 |
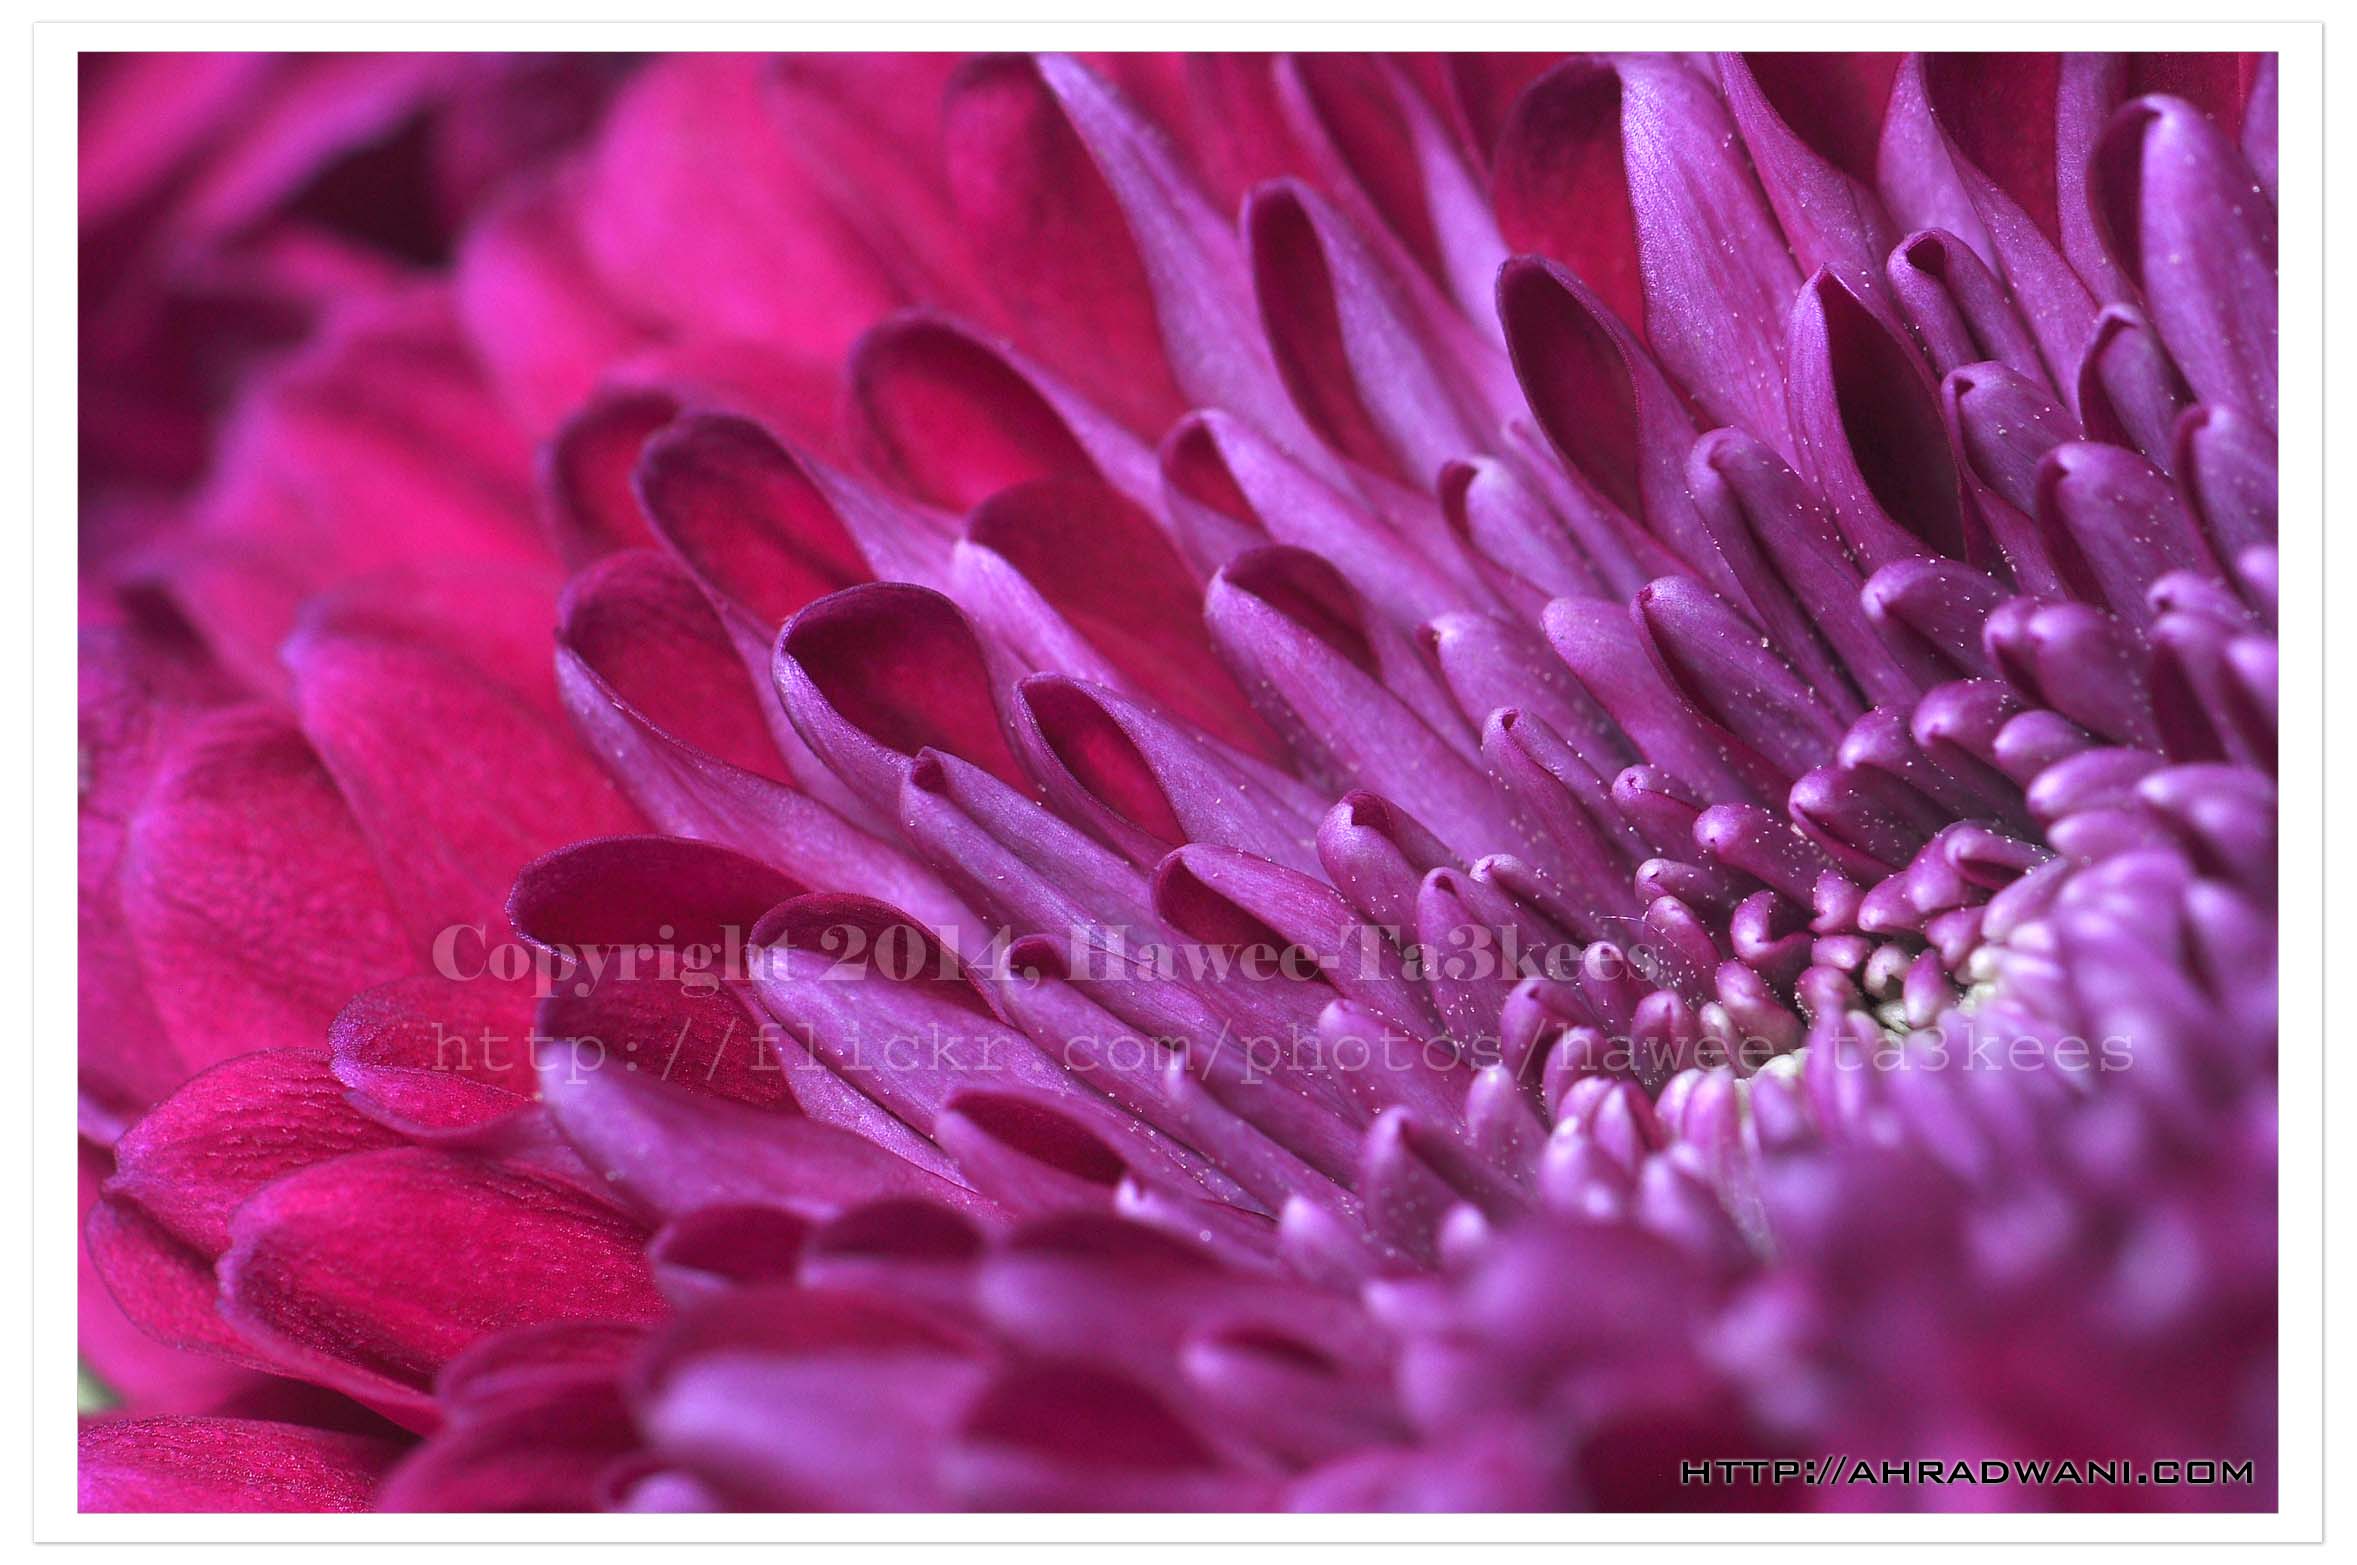
Macro
All you need is a tripod and a good lens, here I am using Nikkor 18-300mm with Nikon D7100 and I set the Exposure to 1/2sec. and 100ISO, I did not use any flash or light source just the normal room light.
Click to Enlarge
::Camera Setting::
Camera: Nikon D7100
F-number: f/9
Exposure: 1/2sec.
ISO: 100
Lens: Nikkor 18-300m @ 105m
 Follow me on Twitter..
Ali,
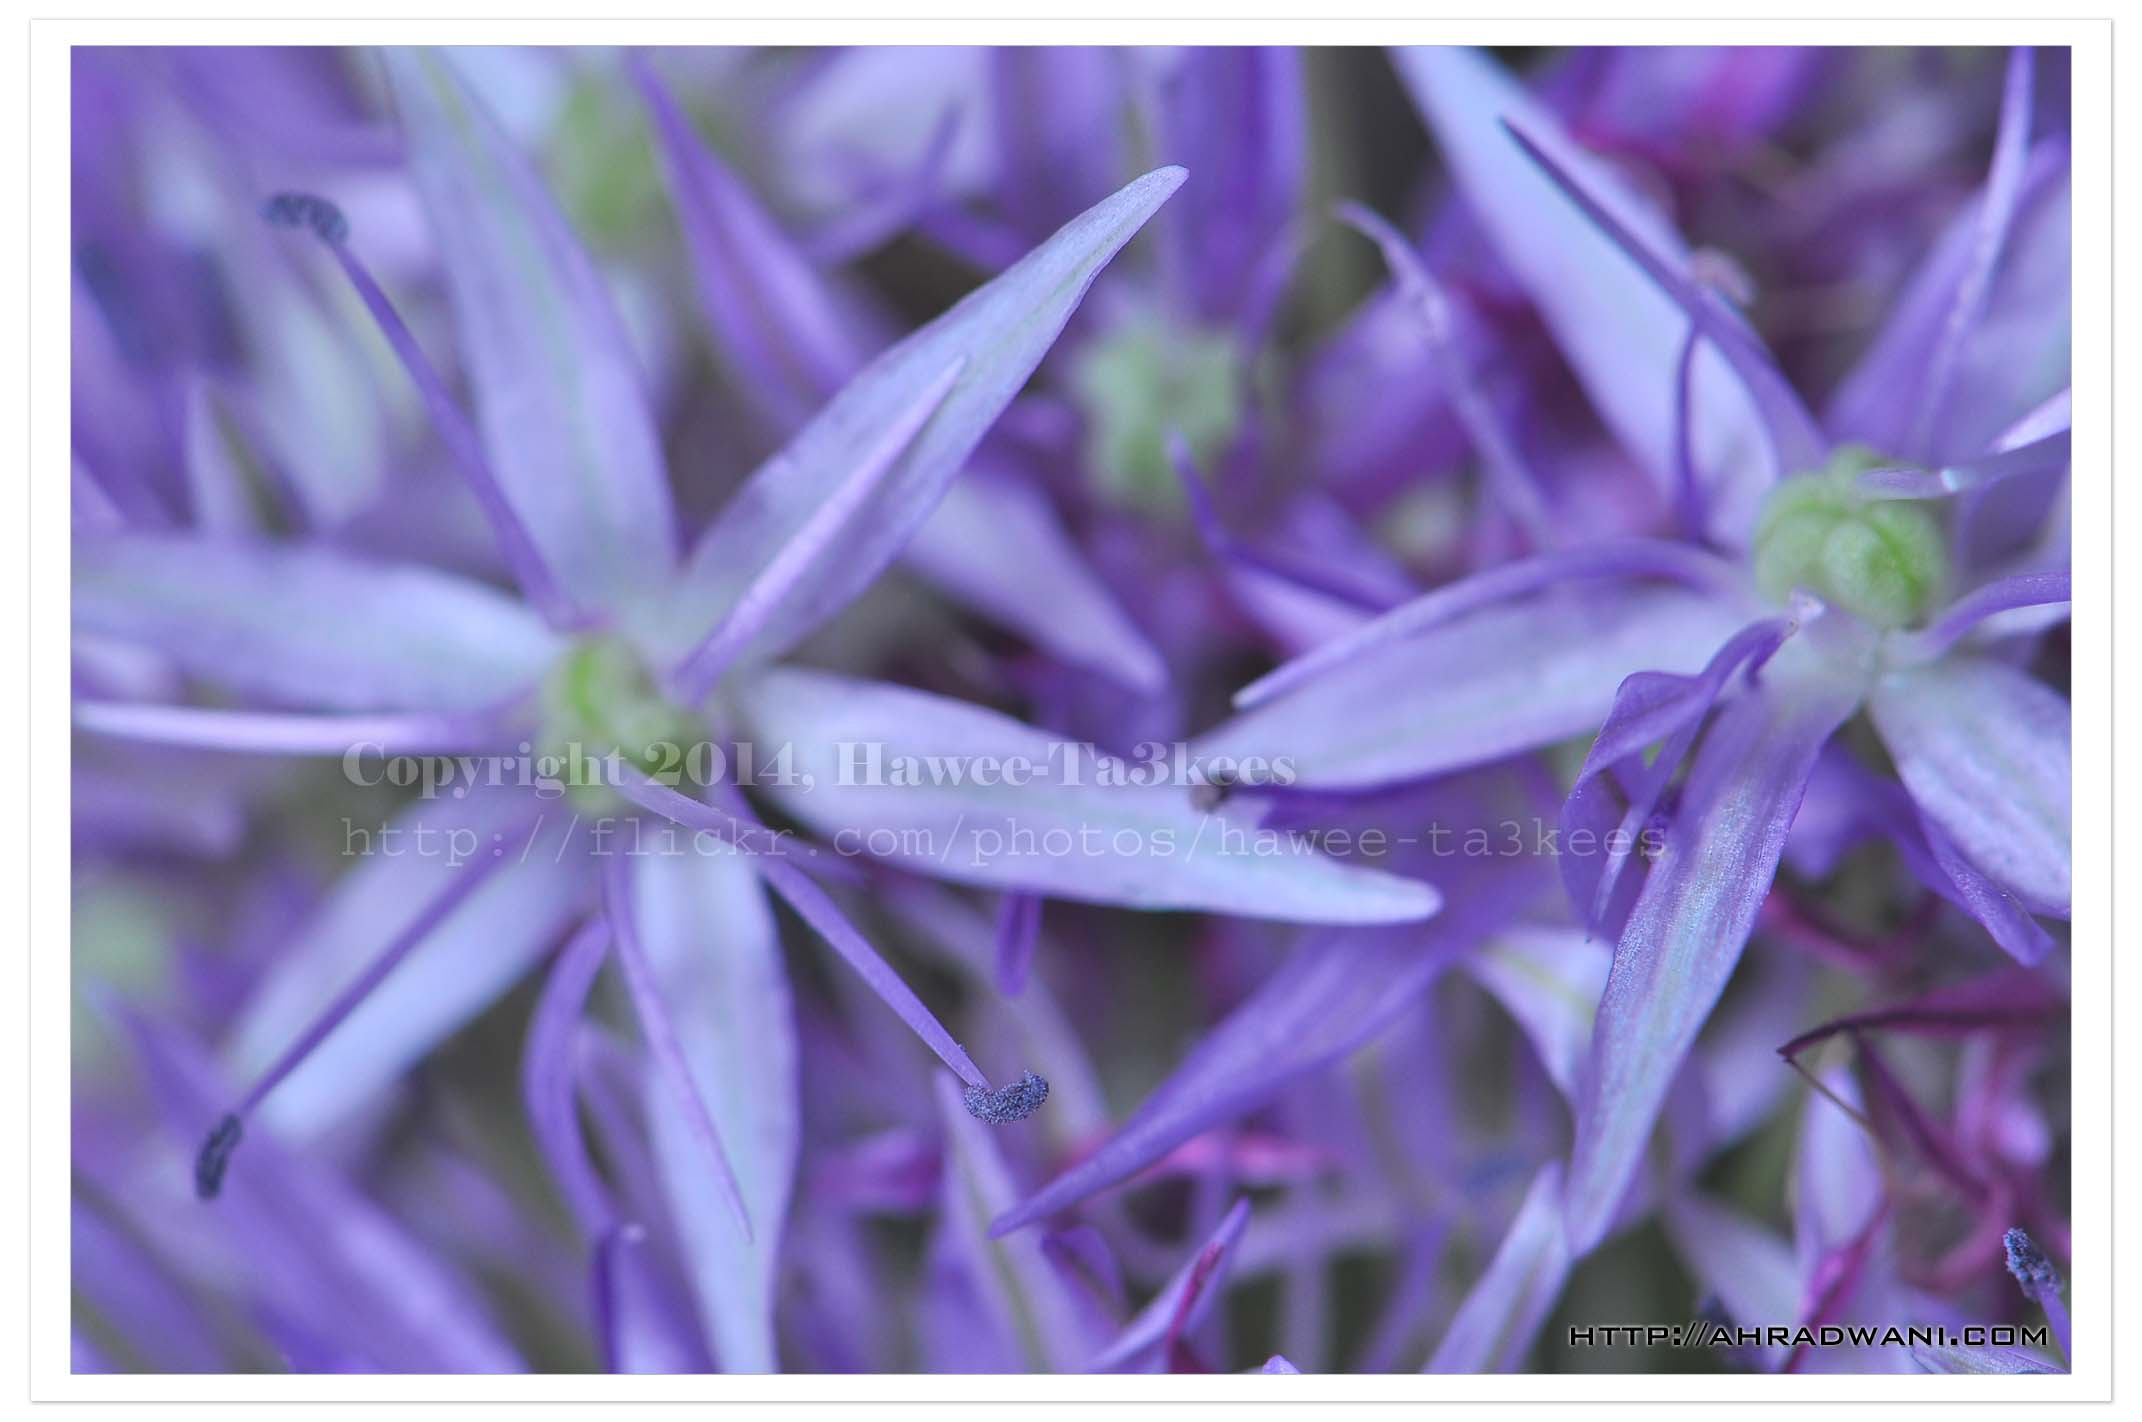
Macro
Macro on a small flower were the background is a another bunch of yellow tiny flowers. I use the Nikon D7100, Nikkor 18-300mm to take this shot.
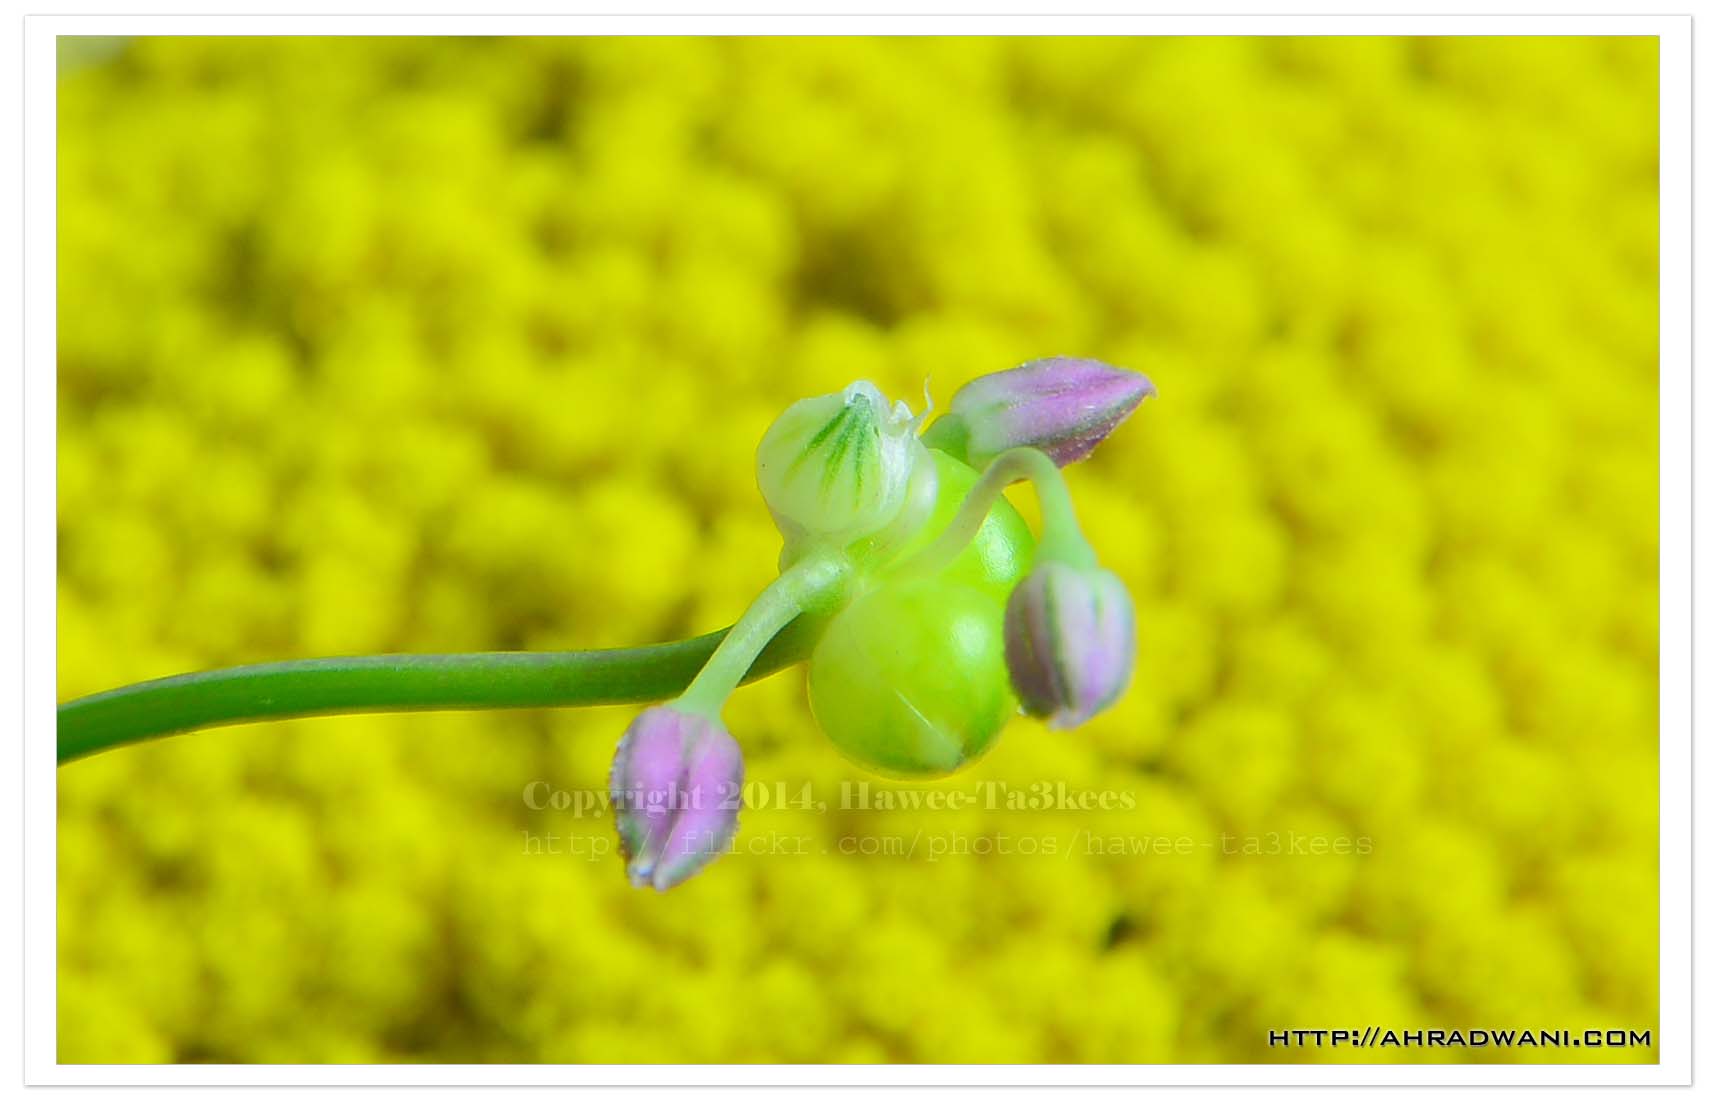
::Camera Setting::
Camera: Nikon D7100
F-number: f/20
Exposure: 3 sec.
ISO: 100
Lens: Nikkor 18-300m @ 300m
Ali,
The Crescent
This is the New Moon of Ramadan, all Muslims will start fasting during the day for all the coming 30th day, finding the moon is very impotent in the first night but it is very difficult. This is a photo in second night of it’s age, using Nikon D7100, Sigma 50-500mm lens and a tripod.
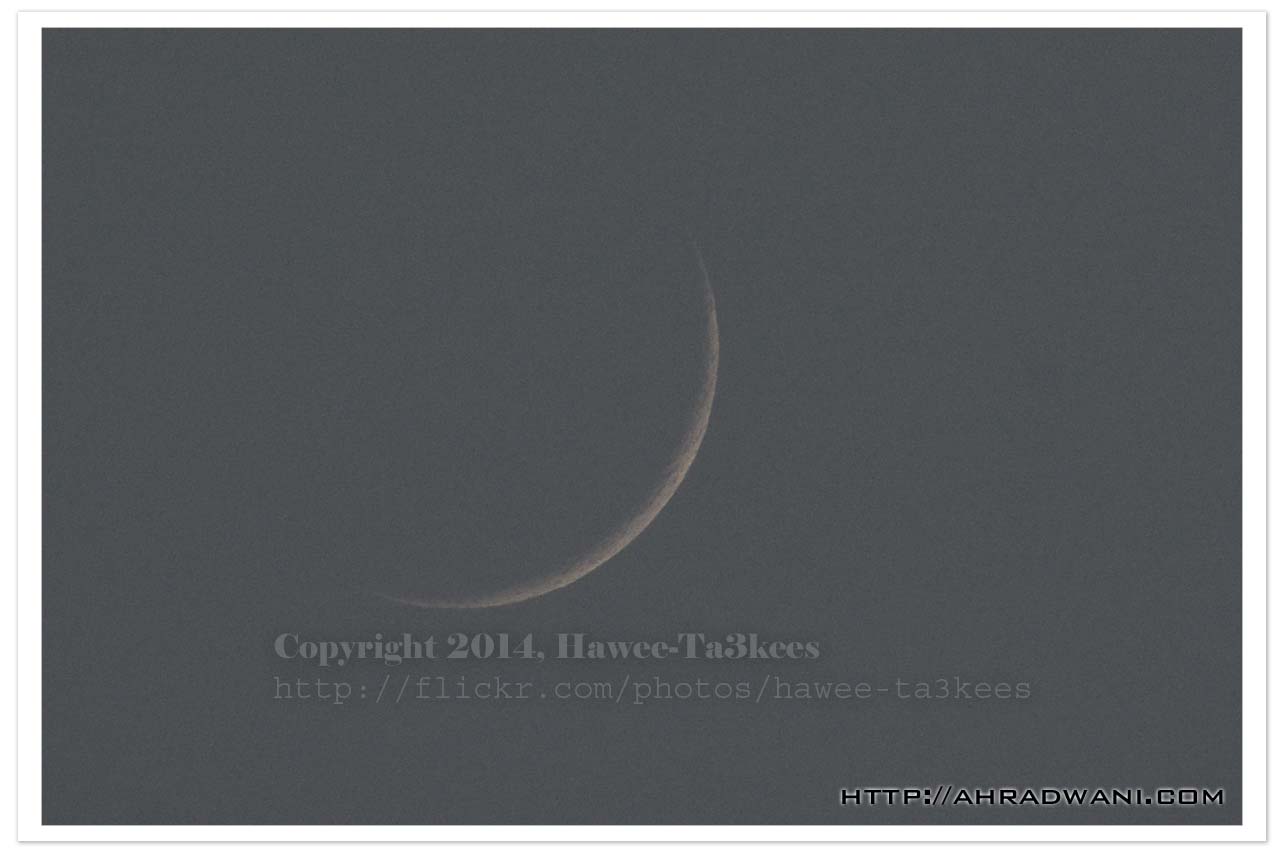
::Camera Setting::
Camera: Nikon D7100
F-number: f/9
Exposure: 1/125 sec.
ISO: 450
Lens: Sigma 5-500mm @ 500mm
Date Tima: 29/6/2014, 18:42 GMT+3
Ali,
Macro 105m-Crop
If you can go back to the Previous Post for the Red Flower; this is a crop of it, I use the Crop in photoshop.

::Camera Setting::
Camera: Nikon D90, F-number: f/9, Exposure: 1/160 sec., ISO: 200
Lens: Nikkor 105m Macro
Ali,
Nikkor 105m
Here is another shoot from Macro Session using the Nikkor 105m lens along with my Nikon D90 camera, for lighting in this session I am using TT520 Speedlight.
::Camera Setting::
Camera: Nikon D90, F-number: f/9, Exposure: 1/160 sec., ISO: 200, Lens: Nikkor 105mm Macro
Ali,
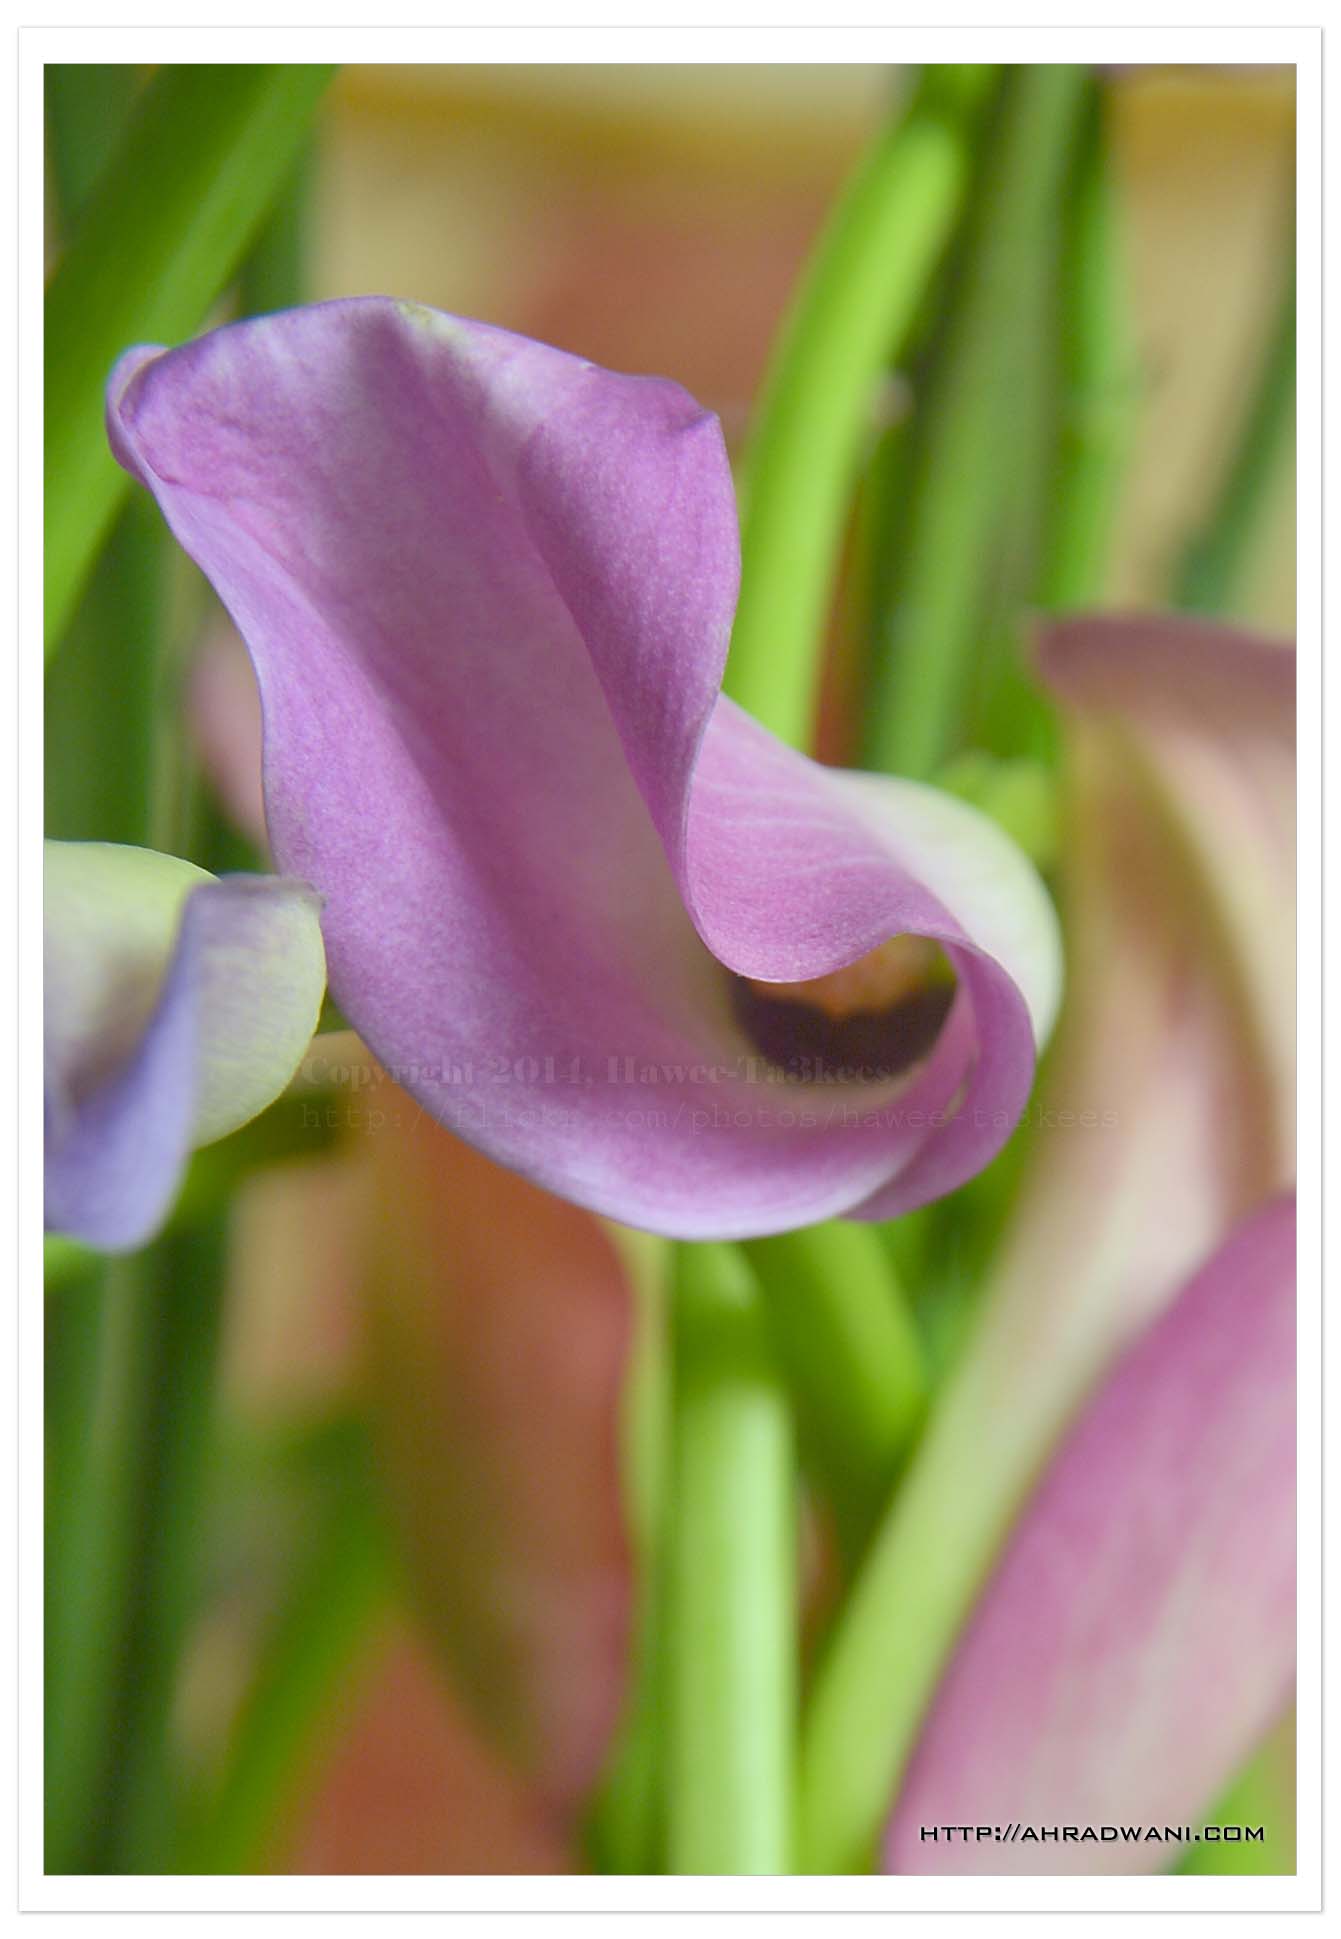
Macro Violet
The light is a key in any photography, here I think in need more lights to this small Violet Flower. I am using Nikon D90, Nikkor 105mm lens camera in hands, which is not a good practice; with macro lens you have to use tripod.
::Camera Setting::
Camera: Nikon D90
F-number: f/9
Exposure: 1/160 sec.
ISO: 200
Lens: Nikkor 105 Macro
Ali,
Taking pictures is not my main daily practices, but when i start playing with my camera, i really enjoy my self.
Thanks for visiting my Space..


