Archive
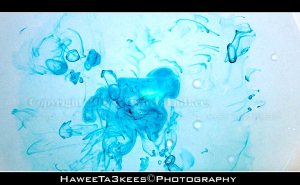
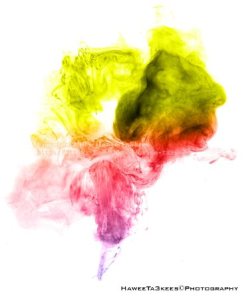
Ink in Water
The Equipments
o Water + Water container or Glass.
o Food color or normal ink.
o Use Camera Flash or light source.
o Camera on Stand.
o Manual Focus.
o High Speed shutter.
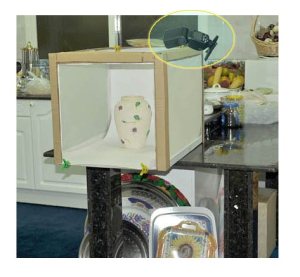
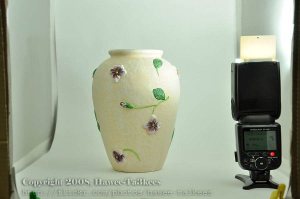
here is the studio set-up that i use
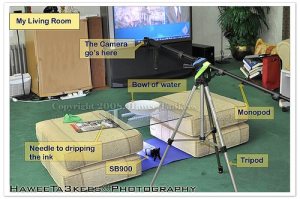
List of things in this Studio:
[o] Bowl of water. [semi-transparent bowl]
[o] Needle for dripping the ink.
[o] Food ink, or any normal ink.
[o] I used a Tripod and Monopod [as shown] to get the camera Top to bottom.
[o] Nikon SB900 as speed-light.
[o] Camera Nikon D90 + 35mm lens.
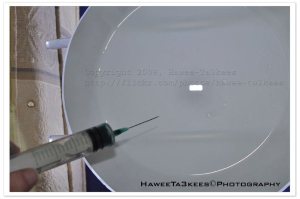
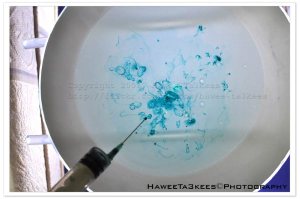
some original shots without any photoshop edits: [No crop, No colors.. Just resize to W800]

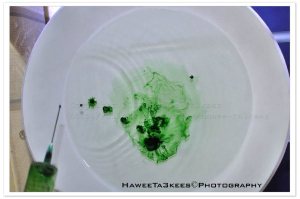

Sample shots after Photoshop edits

From more photos and sample shots, visit my Flickr ,, Hawee – Ta3kees
Ali,
Ali,
🙂 Feel free to visit my Flickr: Hawee Ta3kees
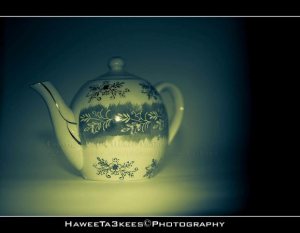
Adobe LightRoom
Adobe LightRoom:
[Last Update: 27-03-2010]

for this photo, you can see the studio and the HomeMade LightBox… Click Here

For more photos visit my Flickr .. Hawee-Ta3kees
Ali,
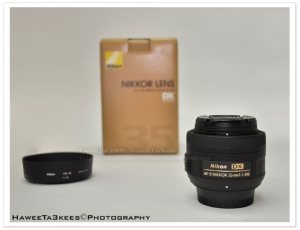
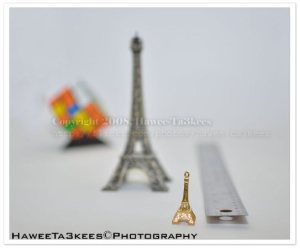
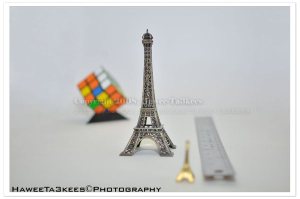
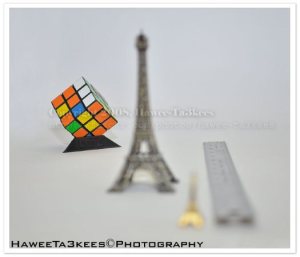
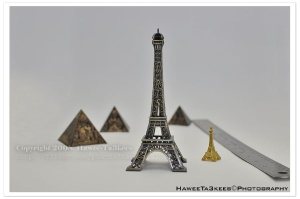
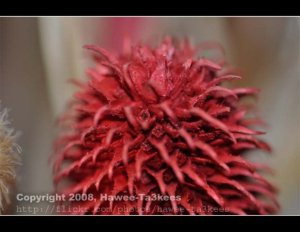
The Peach with 35mm
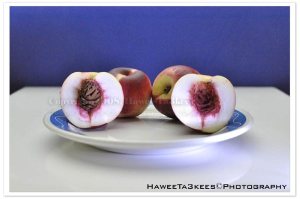
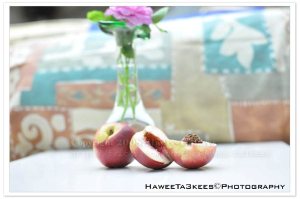
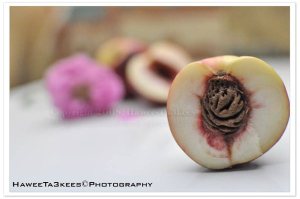


Nikon 35mm f1.8 Lens
* Aperture: f/1.8
* Focal Length: 35 mm
* ISO Speed: 250


* Exposure: 0.033 sec (1/30)
* Aperture: f/4.5
* Focal Length: 35 mm
* ISO Speed: 250
* Exposure Bias: 0 EV
* Flash: On, Return detected

* Aperture: f/5.0
* Focal Length: 35 mm
* ISO Speed: 250
* Exposure Bias: 0 EV
* Flash: On, Return detected
* Aperture: f/14.0
* Focal Length: 35 mm
* ISO Speed: 250
* Exposure Bias: 0 EV
* Flash: On, Return detected
* Exposure: 0.8
* Aperture: f/22.0
* Focal Length: 35 mm
* ISO Speed: 250
* Exposure Bias: 0 EV
* Flash: On, Return detected
Strobist Techniques
Strobist Techniques: Part 2, [ Click here to read Part1 ]
The light is the key element in the photography, you may use the day-light, or the camera built-in flash but to play with lights and shadows you will need one or more external lights with remote fire capability. (I have the Nikon SB-900)
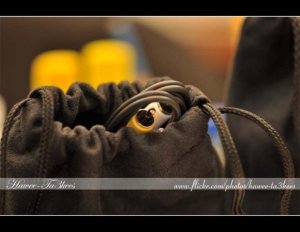
In this article (Part 2) i will use the same LightBox with black background and Glass as a reflection of the object, again SB-900 Nikon SpeedLight will be used in remote sync with my Nikon D90, also i will use a flashlight as another light source.
This is the LightBox with black background, and sb900 position.

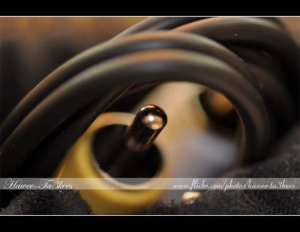
The position of the of the FlashLight.

The result after Crop, you can see the reflection on the Glass.

The SB-900 placed inside the LightBox with 50% light power, [no flashlight]
Same after crop the SB-900.

The result, after croped.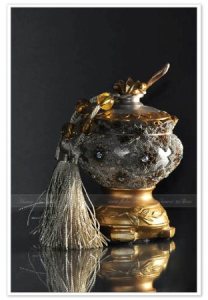
other photos for different objects will be post.
More on my Flickr: Hawee-Ta3kees
Regard,
Ali ,
Strobist Techniques
- The Studio is my Kitchen.
- Home Made LightBox.
- Stand for the camera.
- SB-900 SpeedLigth.
- I will use the normal room light -ceiling light-.


Light in position 3, left, flash on the lightbox, 50% light power.


Qatar Islamic Museum – متحف الفن الاسلامي، قطر
* Designed by architect I. M. Pei. [ Chinese-born American architect]
* Opened to the public in December 2008.
* Showcases a selection of Islamic artefacts.
* Museum have nearly 5,000 square meters of exhibition space.

 Islamic Dagger wih gold and shell hand, hang with its Green & Gold Scabbard.
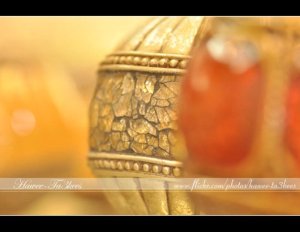
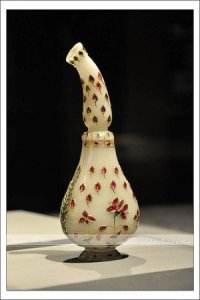 The Arab use this to Splashing the "Rose Water" (kind of perfume) on their guests. This masterpieces made of shell decorated by Red, Green and gold flowers.

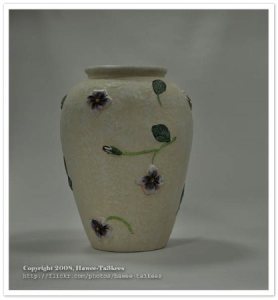
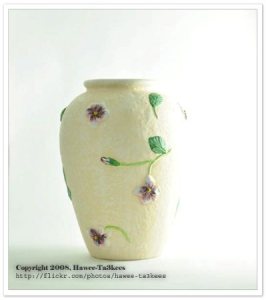
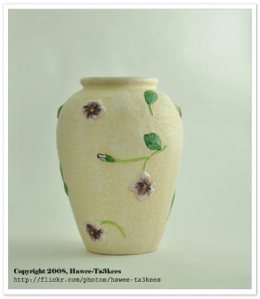
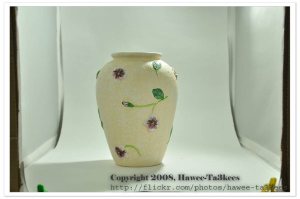
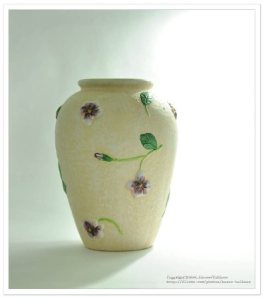
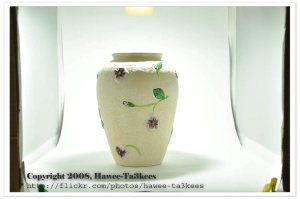
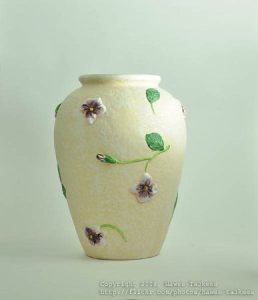
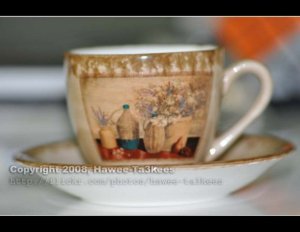
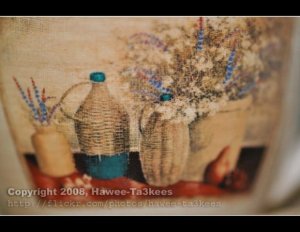
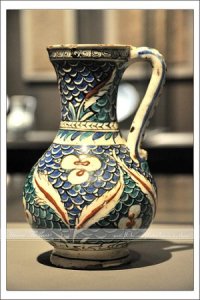 Two Potteries decorated by flowers and nice blue, orange, green and some whaite and yellow colors.
For more about Qatar Islamic Museum visit my flickr account Hawee-Ta3kees, or Click here to go direct to the Museum of Islamic Art in Qatar.
.
What we meant by a 100% crop?
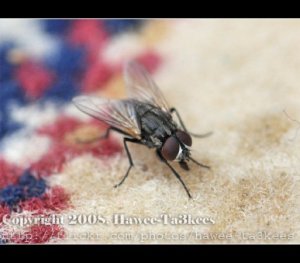
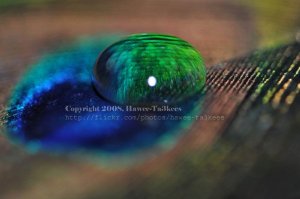
Macro Shots with 105mm macro lens
Shots @ 1:1, … Croped image.

[Upload in 29-3-2009]

Shot @ 1:4, iso:Lo 1, shutter:1/60


__________________________ [More photos in my Flick Hawee – Ta3kees ] __________________________
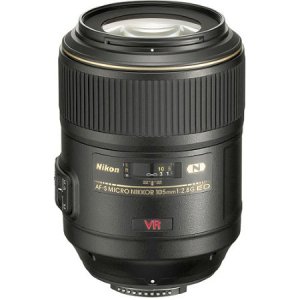
New Nikon 105mm Macro lens
Taking pictures is not my main daily practices, but when i start playing with my camera, i really enjoy my self.
Thanks for visiting my Space..


